

I’ve been running a couple of Ubuntu servers on AWS (not the free ones) for years that are still using PHP 5.5. Even though it is out of support I’ve kept with it. They host one of my old applications that I thought may be a problem on PHP 5.6 or later.
I have two of these Ubuntu 14.04 LTS servers; one for test and one for production. I had a recent request to host another application that required PHP 5.6 as a minimum. These servers are under utilised so I went ahead and upgraded on the test server. Both applications work fine and so now I’m upgrading the production server.
I will probably never have to do this again unless there is a reason to reinstall PHP 5.6. So, I thought I would document the steps as they may be useful to someone else. Especially, if they had to apply the GD fix previously mentioned in my article here.
I know PHP version 7.1 and later bundled has a fully functioning GD library. Although, I don’t know if my old application will work on that. I am also a bit late getting to PHP version 5.6. It has just gone end of life with the final version 5.6.40 released on January 10, 2019. There will be no more security patches on PHP 5.6 but I’ll save the version 7 upgrade for another day.
So, as this article is intended for others, I will write it as a set of instructions and show screenshots along the way.
Preparation
The first thing to do , if you haven’t already, is run through the updates/upgrades to make sure your system is up to date.
sudo apt-get -y update

sudo apt-get -y upgrade

sudo apt-get -y dist-upgrade

sudo apt-get -y autoremove ââpurge

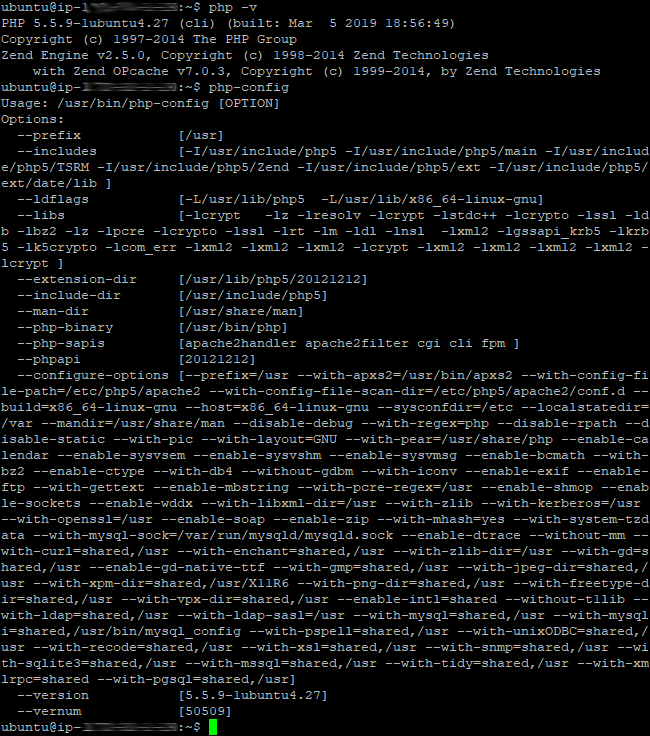
Have one last look at PHP version 5.5. You should check the config too because we need to make sure that gets changed.
php -v
php-config
Getting started
If you previously held the GD Library from getting accidentally updated, now is the time to free it.
sudo apt-mark unhold php5-gd

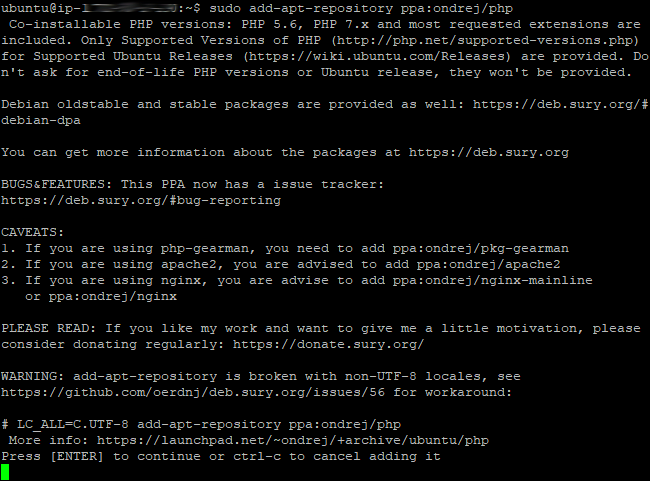
Then add the repository for PHP and press Enter when prompted.
sudo add-apt-repository ppa:ondrej/php

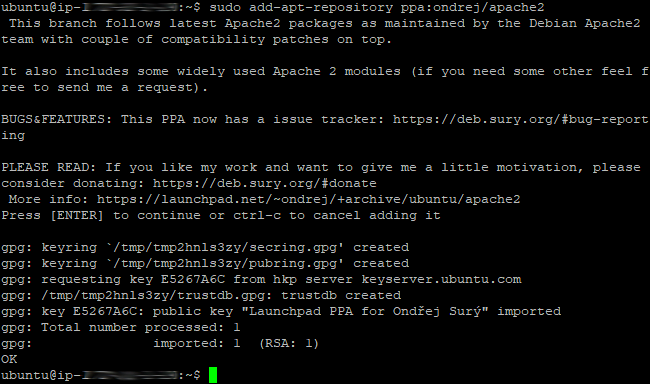
Add the Apache2 repository if not previously using “ondrej” ppa file.
sudo add-apt-repository ppa:ondrej/apache2
Run the update command to refresh the system library.
sudo apt-get -y update

Installing PHP 5.6
Attempt to install PHP 5.6 whilst still having PHP 5.5 running.
sudo apt-get -y install php5.6

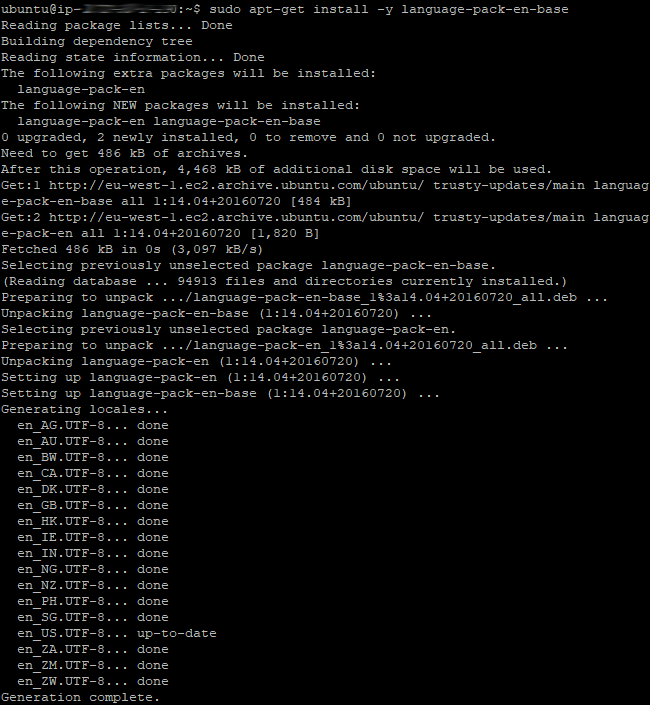
If this is not successful, you will need to install the language pack and use a slightly different command to get the PHP and Apache ppa files. If all is good with the PHP 5.6 install jump to Installing Apache.
Note: If you have an error installing PHP 5.6, follow here the steps here.
sudo apt-get -y install language-pack-en-base
Note: If the language pack install fails, you will have to use “sudo apt-get install software-properties-common” before running that command.
sudo LC_ALL=en_US.UTF-8 add-apt-repository ppa:ondrej/php

sudo LC_ALL=en_US.UTF-8 add-apt-repository ppa:ondrej/apache2

sudo apt-get -y update

sudo apt-get -y install php5.6
Installing Apache
Once PHP 5.6 has been installed, install apache2.
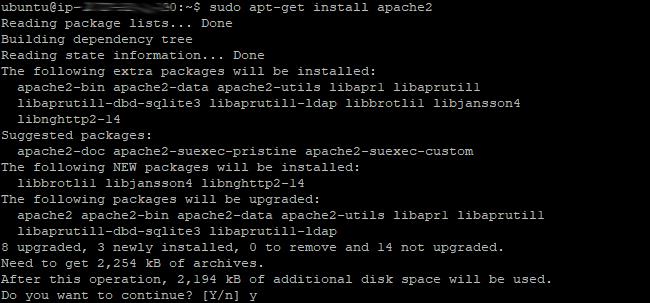
Note: Don’t use “-y” flag this time as you want to answer “N” to the questions after “Enter to continue” so that you keep your current Apache settings.
sudo apt-get install apache2

Other PHP 5.6 Modules
Now install the other PHP 5.6 packages that you might need, including the PHP 5.6 GD Library and resume with the “-y” flag.
sudo apt-get -y install php5.6-mcrypt php5.6-mbstring php5.6-curl php5.6-cli php5.6-mysql php5.6-gd php5.6-intl php5.6-xsl php5.6-dev php5.6-imap

Switch from PHP 5.5 to PHP 5.6
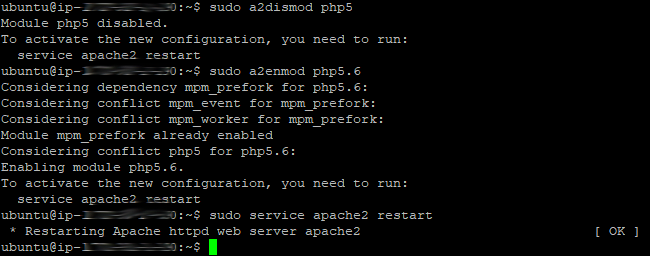
First, disable the existing PHP 5.5, enable PHP 5.6 and then restart Apache.
sudo a2dismod php5
sudo a2enmod php5.6
sudo service apache2 restart
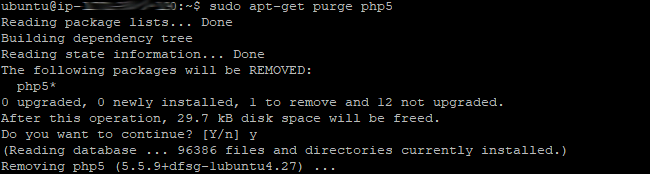
Then delete all the previous PHP 5.5 installation files and modules from the system.
sudo apt-get -y purge php5
sudo apt-get -y purge libapache2-mod-php5 php5-cli php5-common php5-dev php5-gd php5-imap php5-json php5-mysql php5-readline pkg-php-tools

Reinstall Freetype and Pear, if you previously had Pear installed. I’m not sure whether reinstalling Pear is required but Freetype is.
sudo apt-get install freetype* –reinstall

sudo apt-get install php-pear –reinstall

Finishing up
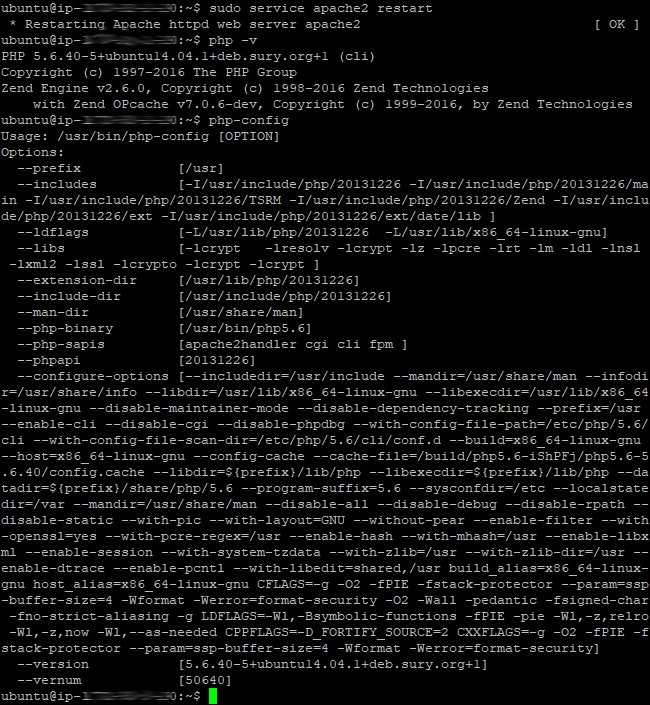
Restart Apache again and then check the PHP version and config file.
Note: Make an note of the value in “ââextension-dir”.
sudo service apache2 restart
php -v
php-config
Fixing the GD library issue
This section only applies if you are using the extended GD library commands that are not in the bundled version of the module.
First, test that the basic GD Library is not working.
php -r “var-dump(function_exists(‘imageantialias’));”

So, assuming it returned “false”, we need to replace the bundled GD library with the latest available.
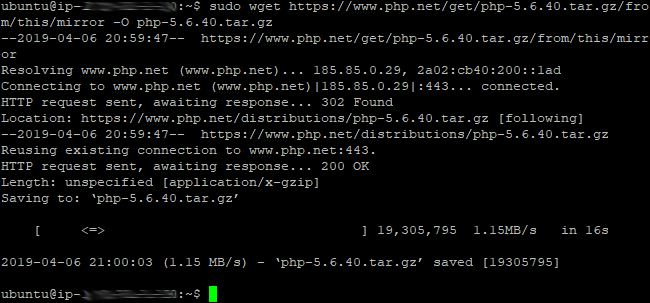
Fetch the latest PHP 5.6 archive.
sudo wget https://www.php.net/get/php-5.6.40.tar.gz/from/this/mirror -O php-5.6.40.tar.gz
Expand the archive, visit the GD directory and PHPIZE it.
sudo tar -xzf php-5.6.40.tar.gz
cd php-5.6.40/ext/gd
sudo phpize

Update the GD directory configuration.
sudo ./configure –with-php-config=/usr/bin/php-config –with-gd –with-vpx-dir=/usr –with-jpeg-dir=/usr –with-xpm-dir=/usr –with-freetype-dir=/usr

Build the executable module file.
sudo make

It will build in the modules directory so switch to that and copy/replace the GD library (gd.so) in the PHP 5.6 extension directory that you made a note of earlier.
cd modules
sudo cp -f ./gd.so /usr/lib/php/20131226/gd.so

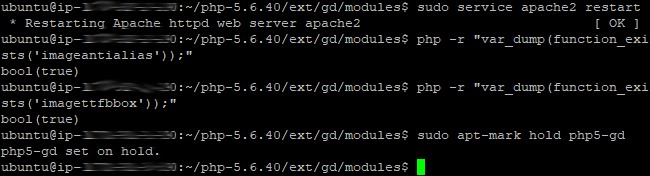
Restart Apache and run the GD test. If successful also ensure that one of the GD Freetype functions works too. If that is good too, reset the hold on the GD library so it doesn’t get overwritten with the usual updates.
sudo service apache2 restart
php -r “var-dump(function_exists(‘imageantialias’));”
php -r “var-dump(function_exists(‘imagettfbbox’));”
sudo apt-mark hold php5-gd
Finally
Run through the update sequence again and run a test to make that GD library hasn’t been overwritten.
sudo apt-get -y update
sudo apt-get -y upgrade
sudo apt-get -y dist-upgrade
sudo apt-get -y autoremove ââpurge
php -r “var-dump(function_exists(‘imageantialias’));”

If anything goes wrong you can reinstall PHP 5.6 or the GD Library bundled version easily enough.
Note: Only reinstall if the above methods do not work.
sudo apt-get install php5.6 ââreinstall

sudo apt-get install php5.6-gd ââreinstall

Note: If you don’t need the PHP 5.6 archive or the folder where you built the GD library module, you can remove them. Alternatively, you can remove just the build directory and follow the GD library fix steps above to repeat it.
To remove the PHP 5.6 build directory:
sudo rm -r php5.6.40

To remove the PHP 5.6 archive:
sudo rm -r php5.6.40.tar.gz
