

I always have doubts when I see a claim that something is free but I needed to set up a server for a short period of time and have it publicly available for a few months. It will host three small demo applications and the number of users will be very low and their activity non-intensive. I really didn’t want to purchase anything as it’s for a non-profit or go through the trouble of setting up a more permanent solution as it has no reuse after this exercise.
I knew AWS had a “free” tier and so I wondered if that would suit my purposes and it did. However, unless you already have a verified AWS account and payment method, it can take up to 24 hours to get verified before you can create the server instance. I didn’t so I had to wait until the next day to get productive but it was worth the wait. Anyway, I thought I would document the steps here.
Your Free AWS Account
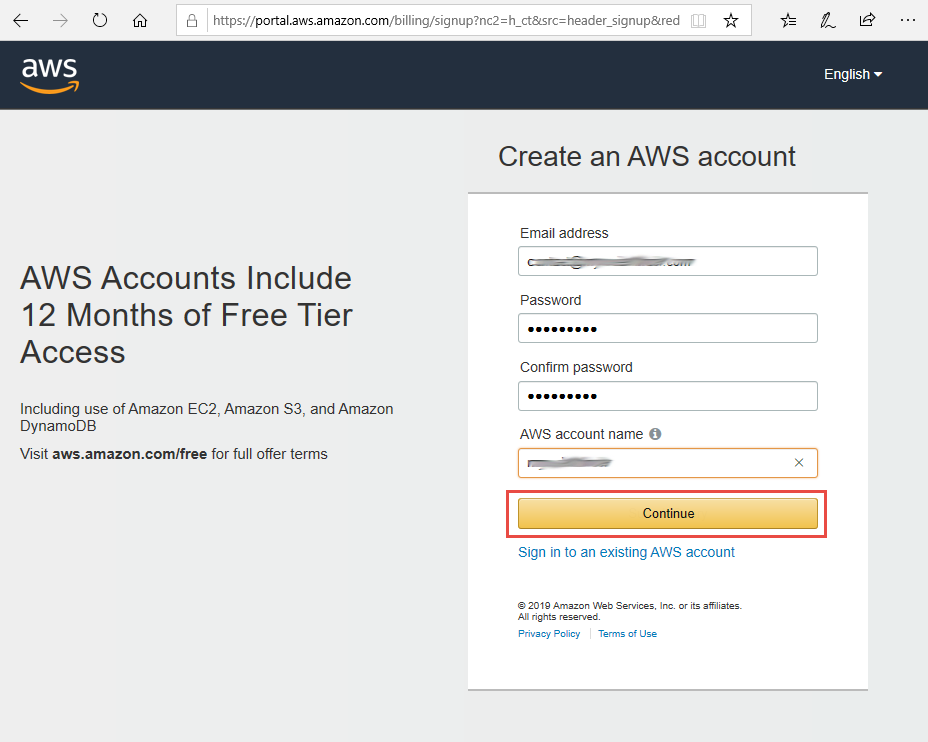
If you don’t already have an AWS account then you’ll need to sign up. The link to the AWS home page is https://aws.amazon.com/ and the terms of the free tier access can be found here. If you already have an account you can log in here. Otherwise, you can create a free account here.
Fill in the form and continue.
Then enter your name and address details. Choose if it is a company or private account – the difference on the entry form is the additional of the company name. Then next step is to add your payment card details. You will not be charged if you stay within the free limits but your card will be authenticated so that there is a payment method should you stray outside of what is free. Finally, you need to verify with a call back on your phone or a text (SMS) message to make sure that there is a number you can be reached on and as a means of verification.
Your email address is not verified in the traditional sense; you are not asked to click a link in an email to verify. Maybe that is because people don’t trust email links regardless of who it is from and if they were expecting it. However, it might be that they just check to see if it bounces as part of their verification process.
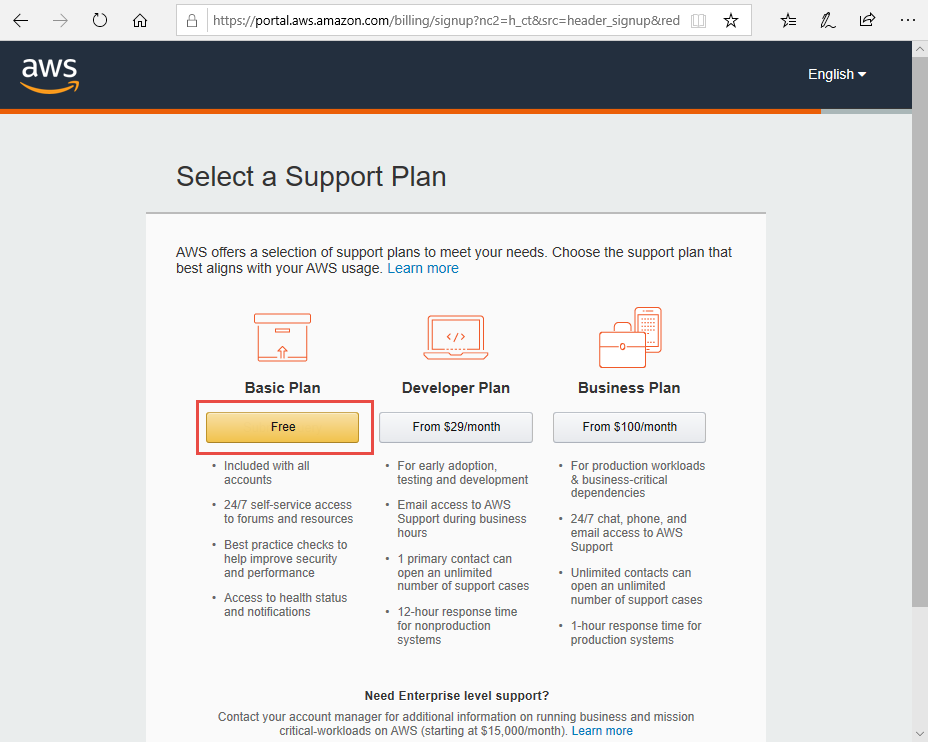
Anyway, I used SMS and received a 4-digit code in a text message which I entered. Then you get to the plan details and select “Basic Plan”.
Getting ready
You can now sign in here (or click through on the link that Amazon send by email).
You can browse the documentation whilst you wait for your account to be verified. Sometimes it is quicker than others but the longest that I waited was 12 hours and the quickest was less than 10 minutes.
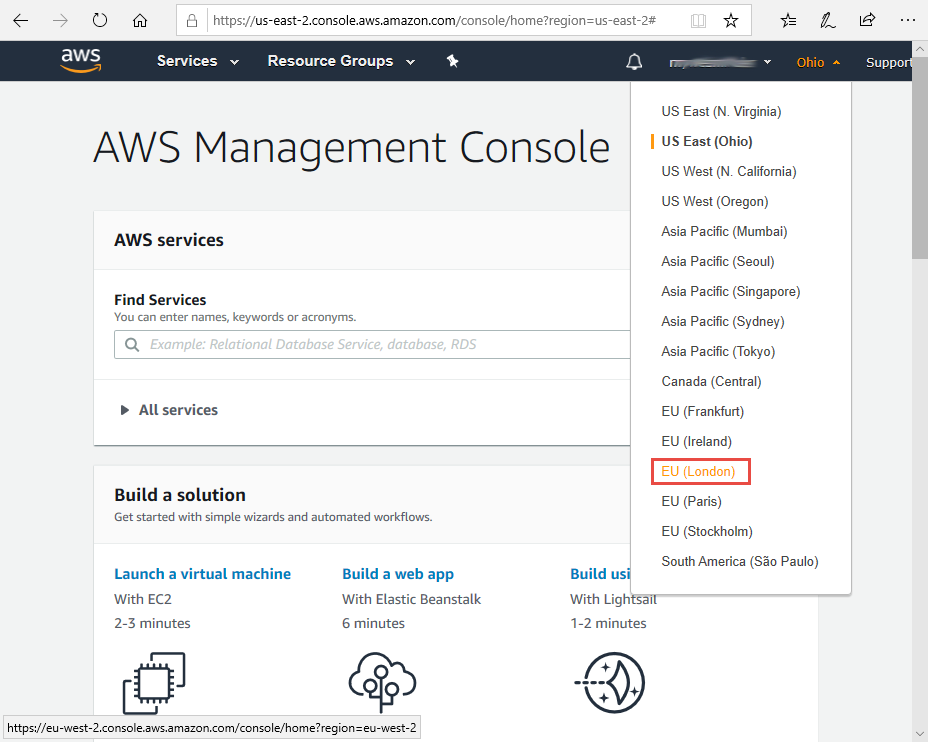
The first thing I did when I was in, is to switch my region to London, as the default is Ohio.
The next thing is to select “Services – EC2”.
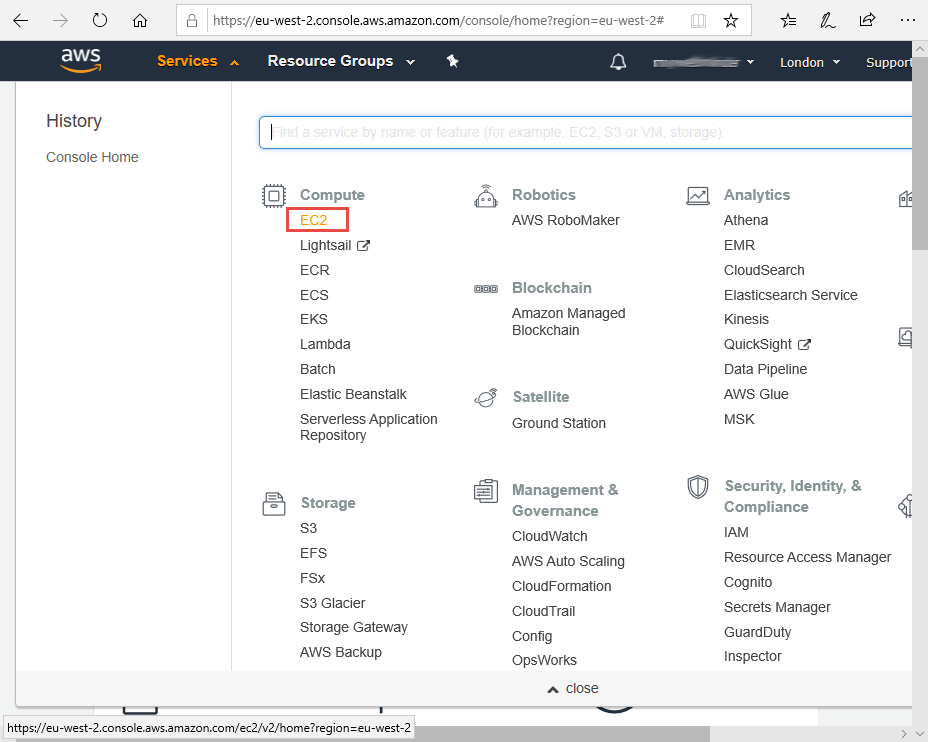
You will either get in and see a Launch Instance button or you will get a wait 24 hours message.
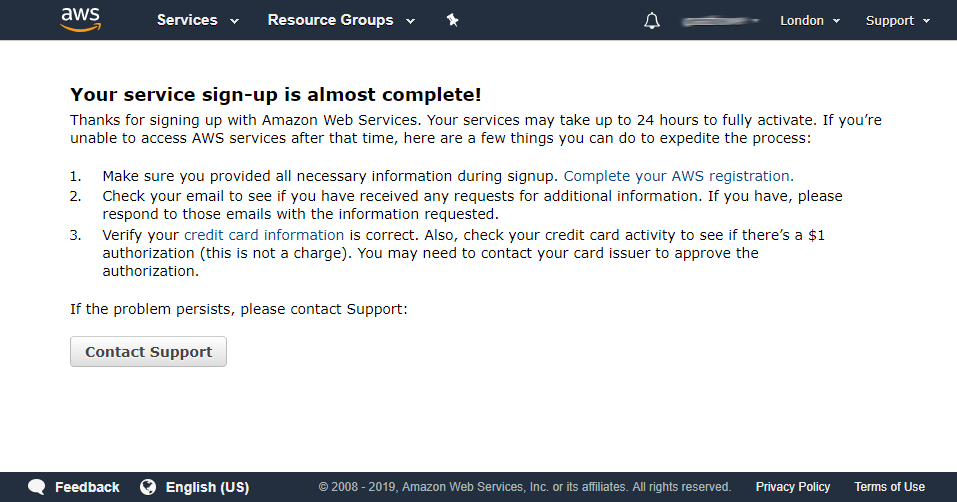
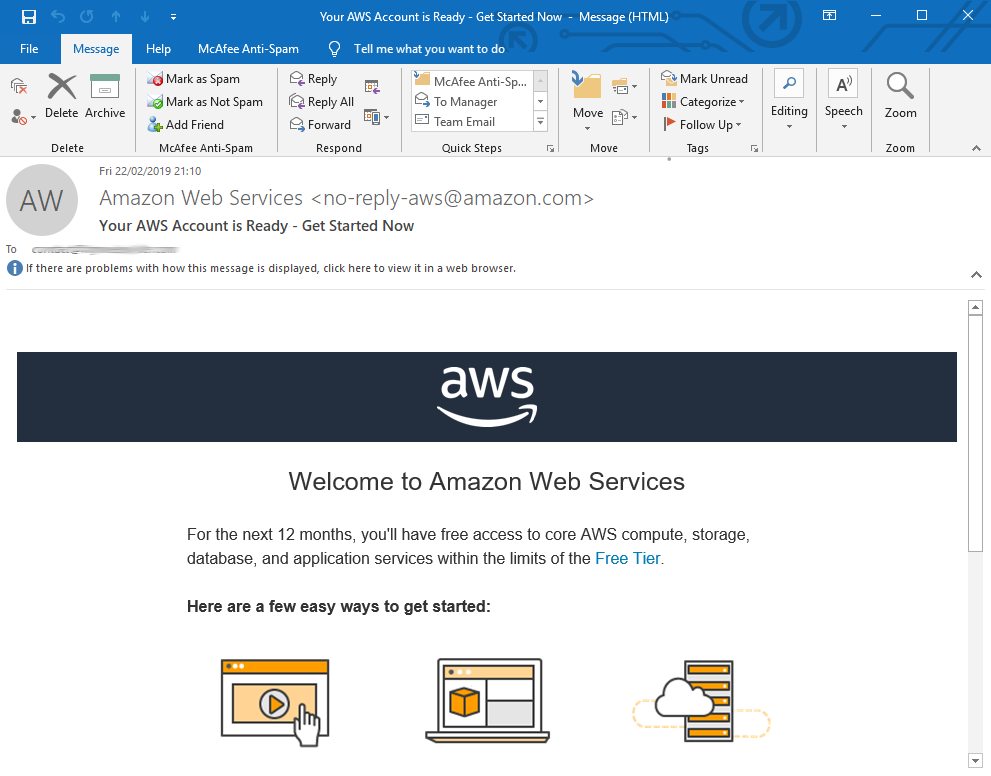
If that is the case, you can keep trying or wait for a further email to tell you that you are verified (like the one below).
Creating your server instance
Once you have a Launch Instance button, click it.

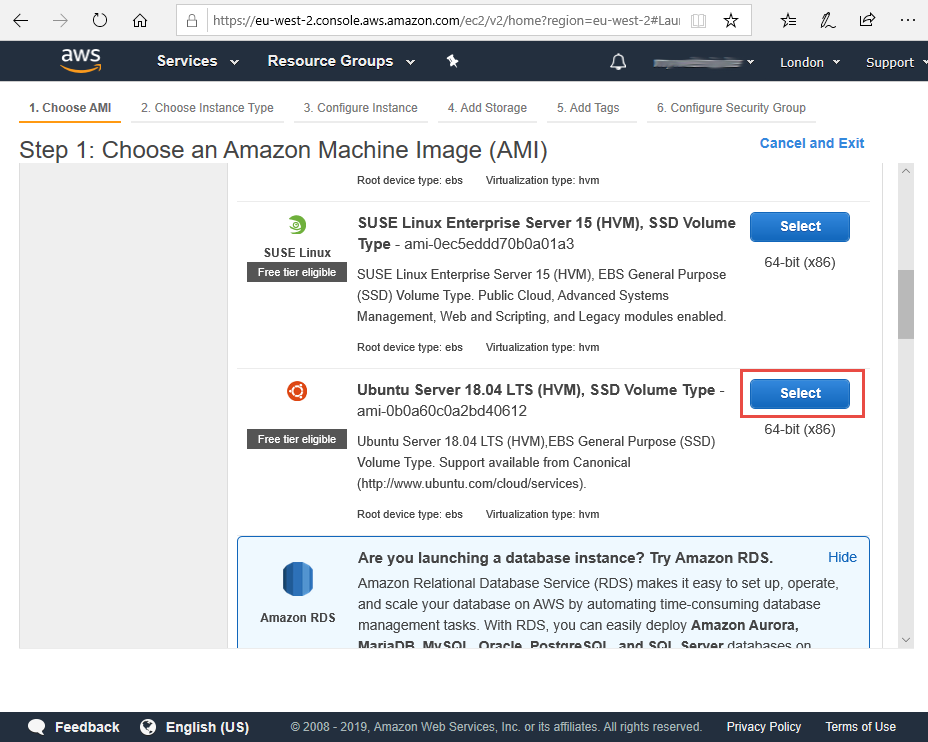
I put a tick in the “Free Tier Only” box to filter the number of Amazon Machine Images down from 35 to 19 (at the time of writing). I then scrolled down and chose Ubuntu.
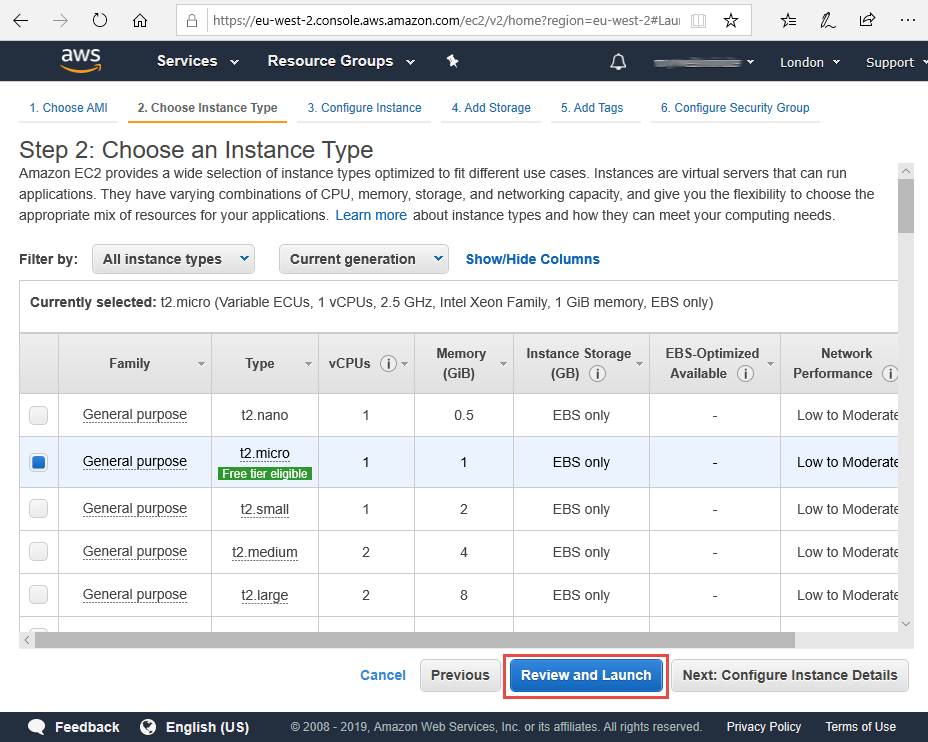
Next up, you can go through all the setting or choose a paid for version but I made sure the Free Tier option was selected and just clicked on Review and Launch.
Click Launch from the review page.

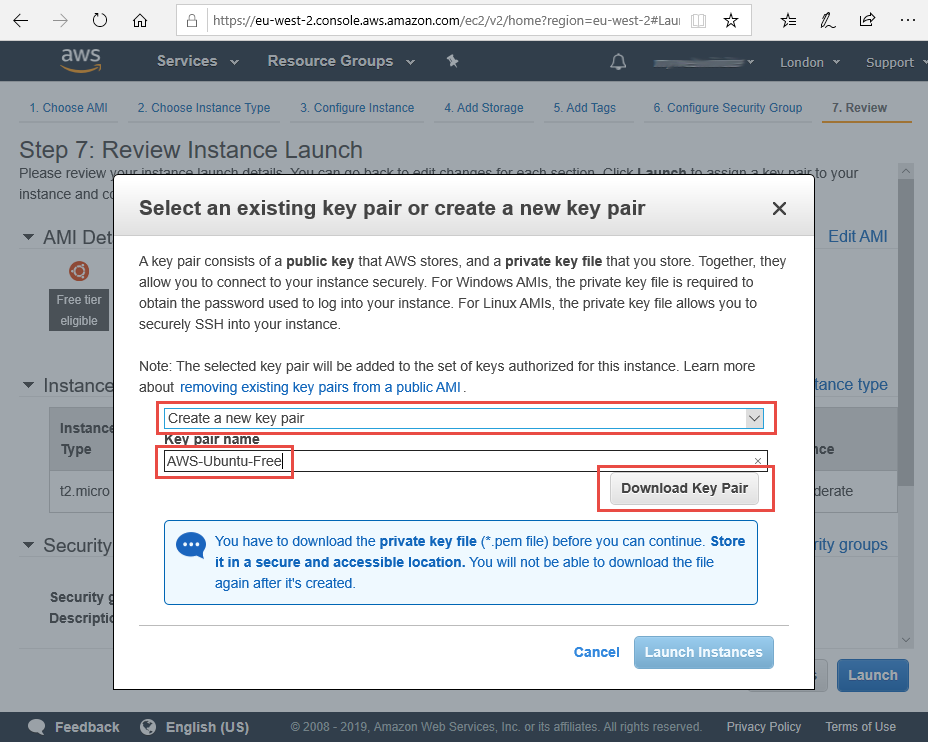
You will get a message to create a key pair. This is important as you will need this to access the server so you must not lose the file that you create/download.
Select “Create a new key pair” from the drop-down box, enter a relevant name (you might have more than one server so it’s good to name them) and click the Download Key Pair button. If you have a pre-existing key pair you want to use, you can upload it but personally I think it’s safer to have a unique one for each server.
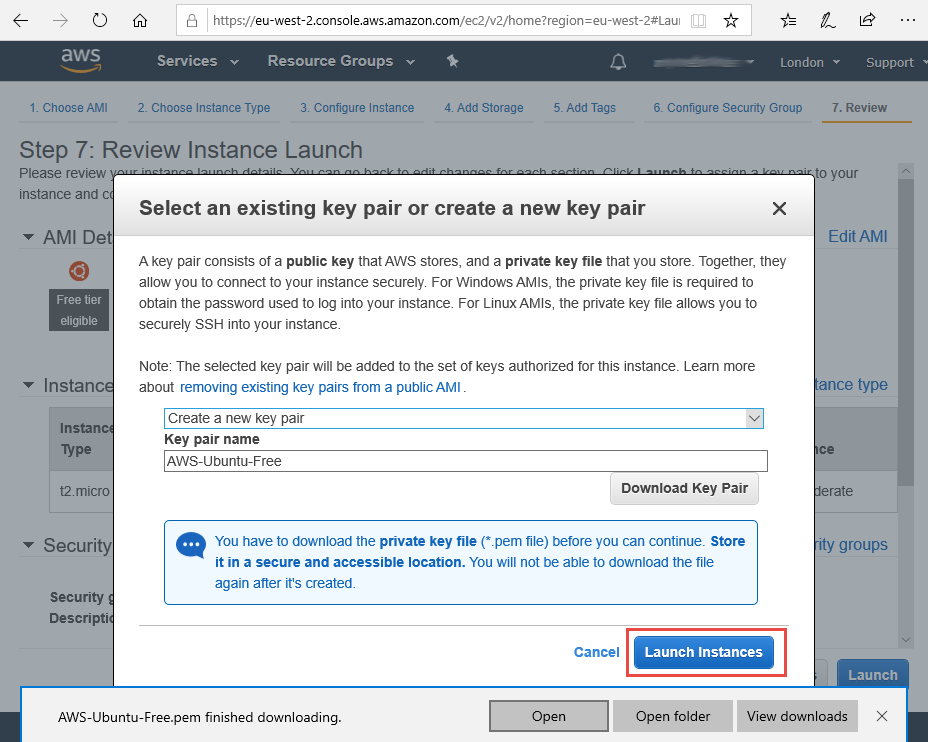
Once downloaded click on the Launch Instances button.
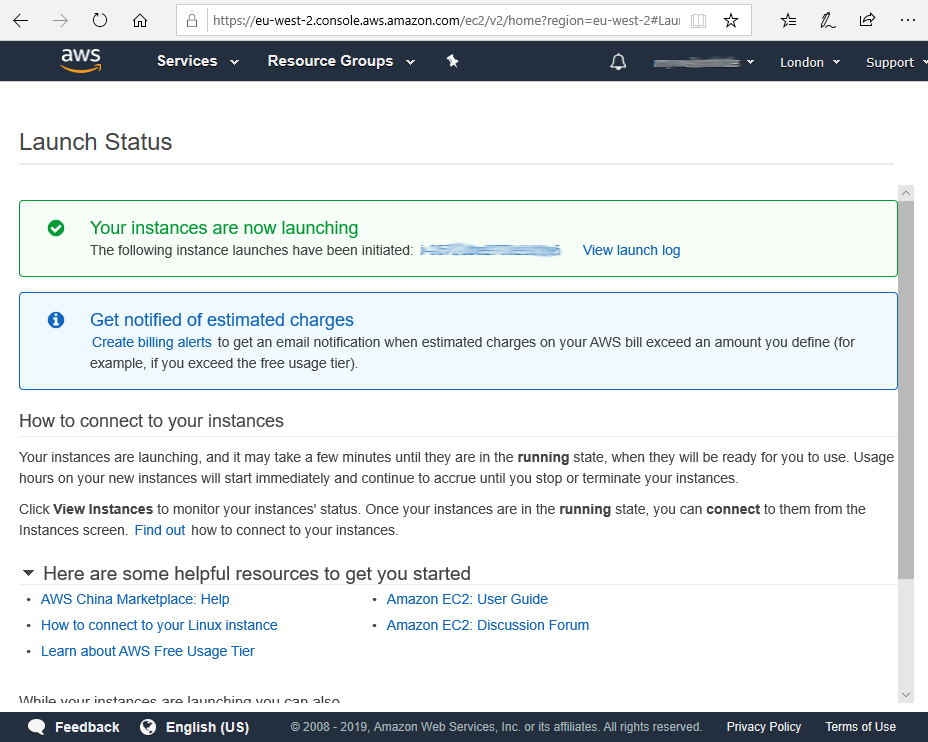
It will take a few minutes to launch and become available but whilst you are waiting you can prepare for the connection that will be needed.
Turning a PEM file to PPK file for PuTTY
If you are going to use PuTTY to connect to your new server then you will not be able to use the private key file (PEM) that you previously downloaded as PuTTY has its own private key file format (PPK). However, it is easy to convert from PEM to PPK.
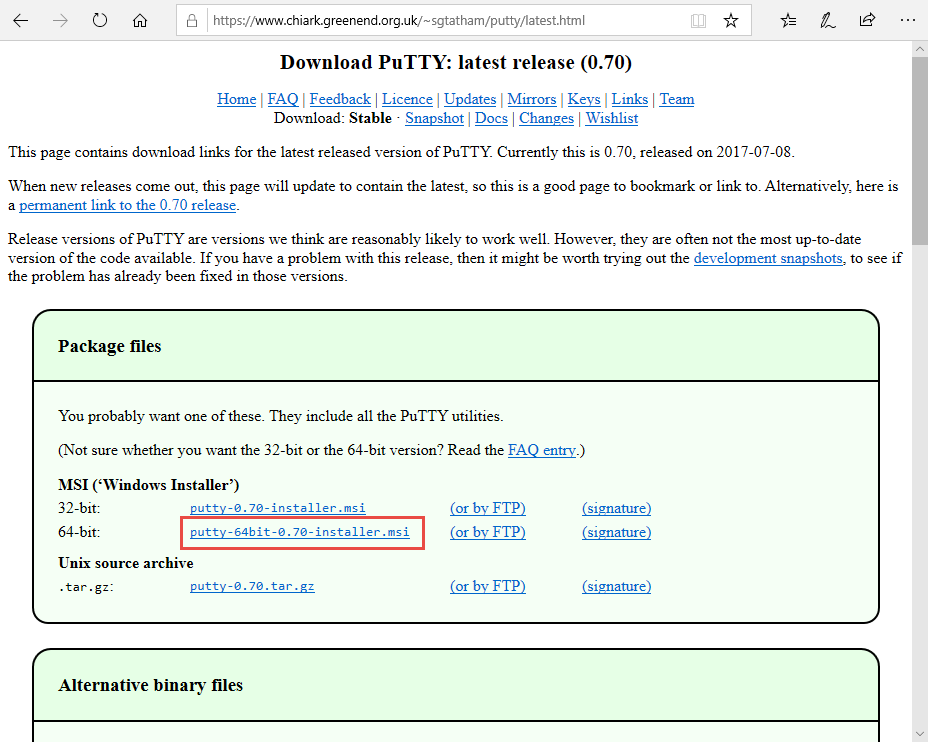
First of all, install PuTTY. The downloadable binary is great but in this instance, you will need to use the proper installer as you will need one of the utilities. You can get the latest version of the PuTTY installer here.
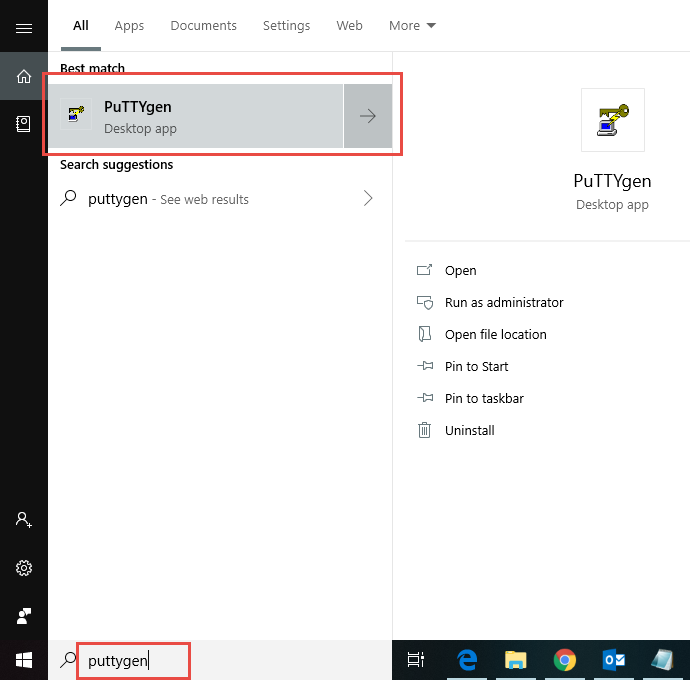
After install, look for PuTTYgen.
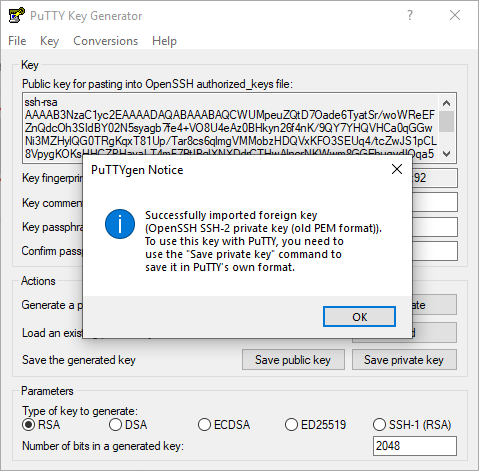
The load the PEM file that you previously downloaded (you will have to remove the PPK filter and select All Files to be able to select it.
Once loaded you’ll get an import message, just click OK.
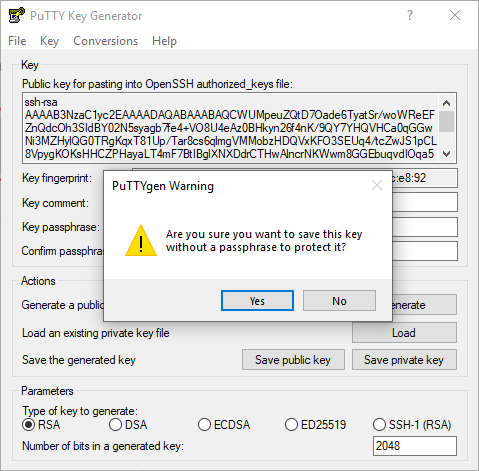
You have a choice of adding a key phrase here and if you chose not to as I have done, when you export the PPK file (Save private key) you’ll get a warning. In my case, it’s for a demo and I won’t be storing my PPK anywhere that is shared so I won’t bother. You might want to if there is a way for someone unauthorised to get access to your PPK files.
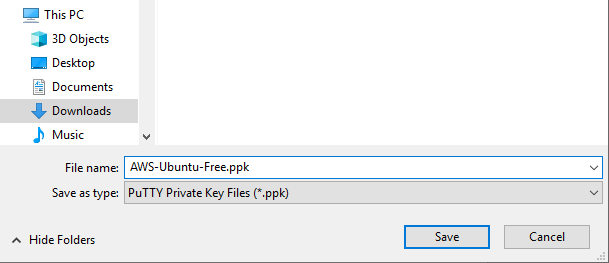
Select a file name and Save.
You can then quit the PuTTY Key Generator. Before you can connect, you’ll have to get the instance name.
Checking your server availability
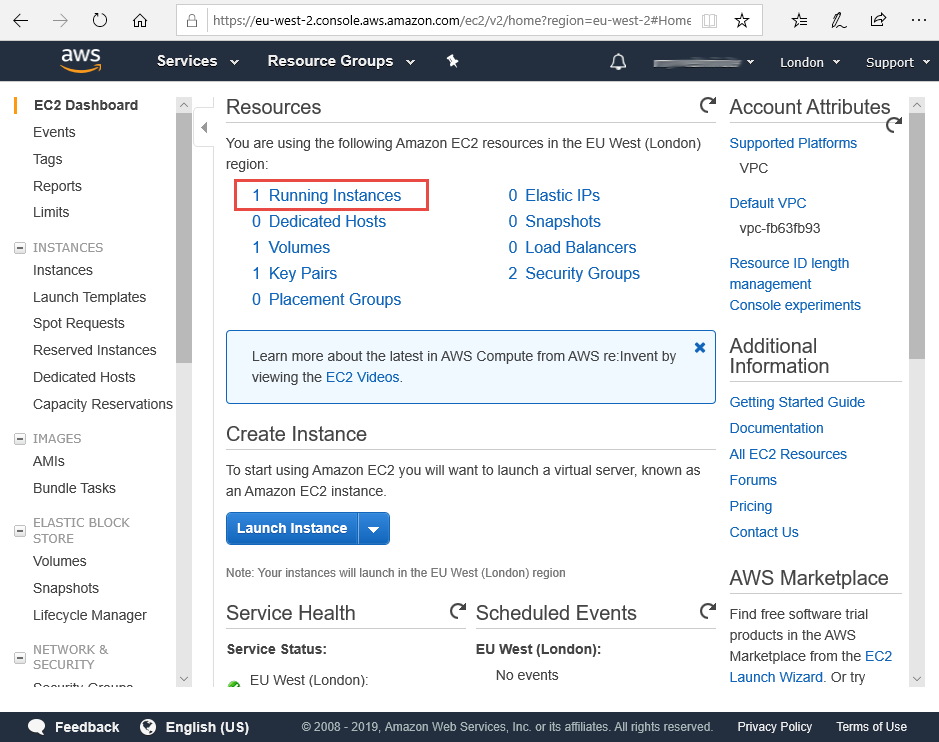
From “Services – EC2” you can see if your server is ready yet. Even at the busiest time, it will not take more than 30 minutes and usually it’s about 3 minutes. Click on Running Instances to see more.
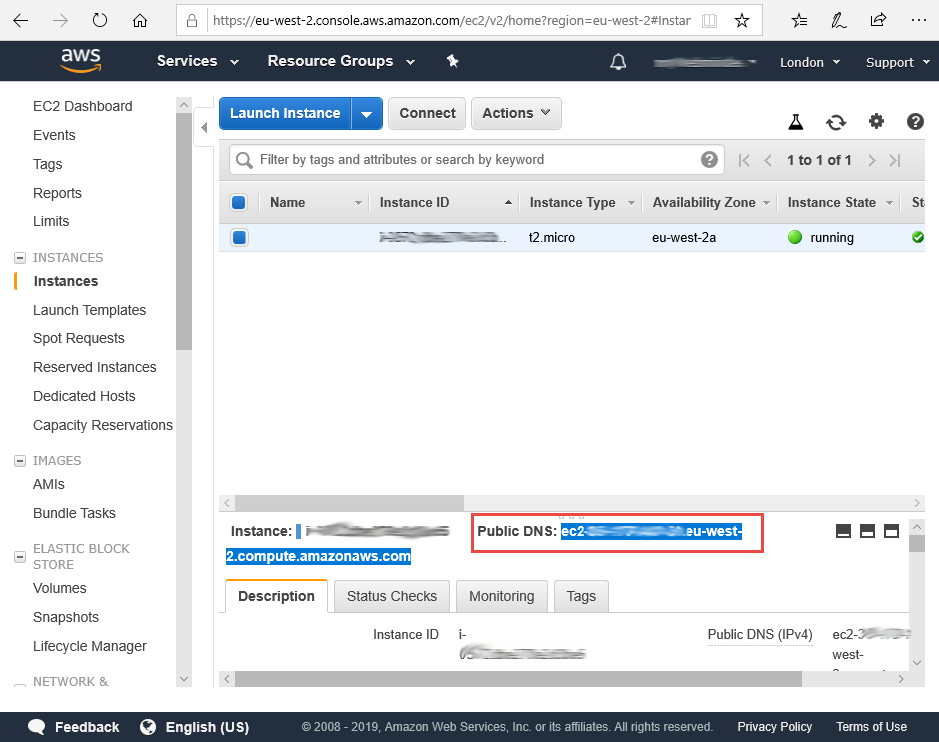
From this page you will note that the server is “running”. If you scroll right to look for the Public DNS (IPv4) name and Public IP Address (IPv4). Or you can find the information displayed in the bottom section of the page if you have the server selected. Make a note of this and if possible copy it to your clipboard for the next section when you will use PuTTY to connect via SSH.
IP Address Options
You should be aware that every time you stop the server it will lose its IP address and name. You will be given a new IP address and name if you start the instance again. A restart of the server does not lose the IP address but a “stop” and “start” does.
Using the auto-assigned IP address from AWS is fine in my circumstances as I wonât need it for long. However, if you are going to keep this server then you probably should give it a more permanent IP address. You do this by creating and assigning an Elastic IP address.
From the left-hand pane, you can select “Networking & Security – Elastic IPs” and create one with “vpc” scope. Once it exists, right click on it and click “Associate Address”.
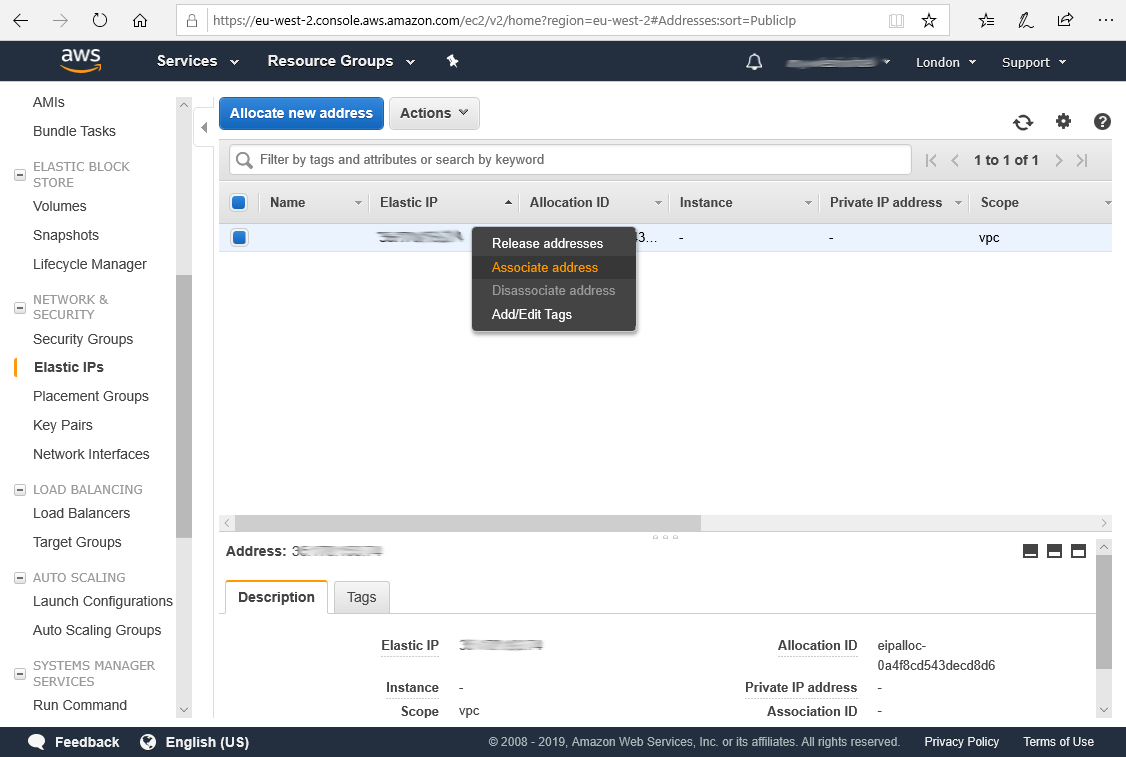
From the drop-downs select the instance and private IP address of the server and click on “Associate”.

Click “Close” when prompted. You should make a note of the new IP address and Public DNS (IPv4). Obviously, if you have a domain name associated with this server instance, you will need to update your DNS settings at your registrar.
Open Ports
If you let the wizard build your security group when it was creating the server instance (the default) then it will have already enabled inbound SSH traffic. If you didn’t use the wizard, you will have to do this manually. By default, all incoming ports to the server are closed so unless you add port 22 you will not be able to connect via SSH to manage your server.
I did use the wizard, so I already have port 22 open for inbound SSH connections. If you will be using this as a web server then you will need to add ports 80 and 443 to the security group.
You don’t need to do this if you are not using this server for any incoming traffic. However, I will be using this one as a web server for my 3 demo apps so will open port 80 and 443 now. First scroll right to find the security policy and click on the link.

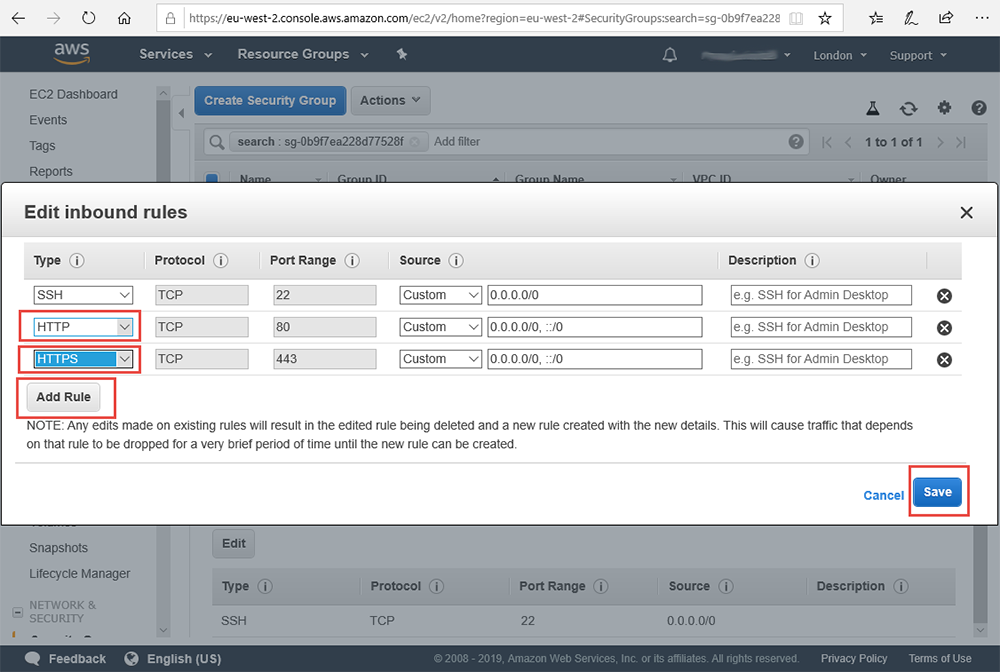
Then select “Inbound” in the lower half of the screen and click on “Edit”.
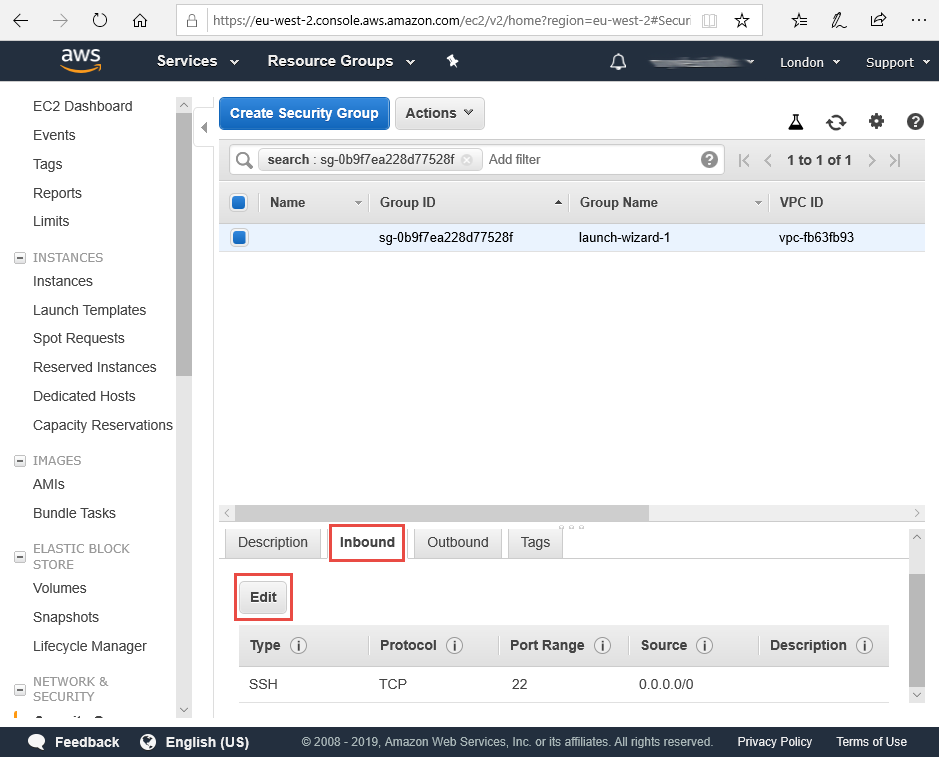
Finally, add a rule for HTTP and HTTPS then click on “Save”. The default values are fine.
Now you are ready to move on.
Connecting using SSH or FTP
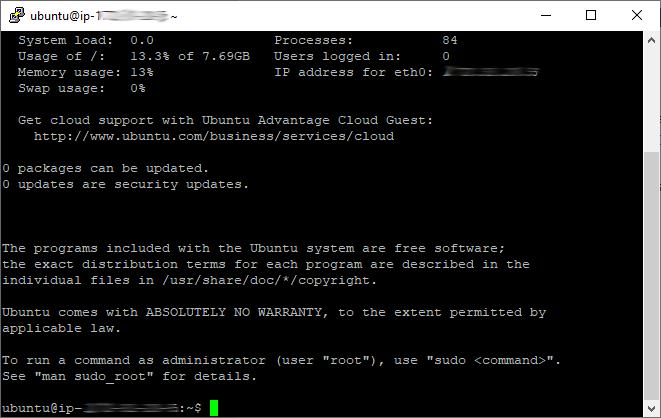
Now that you have your PPK file and know the Public DNS (IPv4) , you can follow my article connecting to a Ubuntu AWS Server via a command line interface using SSH and via FTP using FileZilla.
Import the PPK file in the Auth SSH section of PuTTY, use the Public DNS as the server name and click Yes if warned with a Security Alert. The user name for Ubuntu is always “ubuntu”.
If you chose a different image then your user name will need to be altered.
| Amazon Machine Image | Username |
| Amazon Linux 2 or Amazon Linux AMI | ec2-user |
| Centos AMI | centos |
| Debian AMI | admin or root |
| Fedora AMI | ec2-user or fedora |
| RHEL AMI | ec2-user or root |
| SUSE AMI | ec2-user or root |
| Ubuntu AMI | ubuntu |
| Others | Check with AMI provider |
If you let the wizard build your security group when it was creating the server instance (the default) then it will have already enabled inbound SSH traffic. If you didn’t use the wizard, you might have to do this manually.
Otherwise, you are good to go.
Where Next
Have a look at my other Ubuntu articles for more set-up information. With the exception of this article, if you start with the oldest first they tend to build on each other.