

After writing about the free (for one year) server available from AWS (see here), I thought I would write about a similar free server from Google Cloud Platform (GCP). There is one main difference between the two; Amazon provide a micro-server for 12 months for free as long as you stay within the allowable package where as Google provide you with a $300 credit that can last up to a maximum of 12 months.
Amazon limits the free server instance for your account; 750 hours up-time per month (i.e. one continuously on instance), 1 CPU, 1Gb RAM and a maximum of 30Gb HDD) but GCP gives a much wider range, although it only lasts until your credit runs out. However, it does mean you can try out higher specification builds and get them free although not for 12 months.
Just in case you are wondering, Microsoft Azure offers similar to AWS in their “free for 12 months” solutions but they also offer a $150 credit to explore other services in the first 30 days.
If you want to continue after the 12 months are up on AWS or Azure or after your credit is used or the 12 months are up on Google Cloud Services (which ever comes first) then you will have to pay. You will be billed monthly for what you use but you can turn off instances that you don’t need and turn them back on when you do.
Anyway, as I created a free Linux Ubuntu 18.04 LTS server using Amazon Web Services, I thought I would do the same on the Google Cloud Platform. I’ll set it up for web traffic. I will include a static IP address so I can point a domain name at it and I will set up SSH access from PuTTY. I won’t set up Apache, PHP or MySQL as I’ve covered those previously and the method is the same regardless of Ubuntu provider.
Getting started
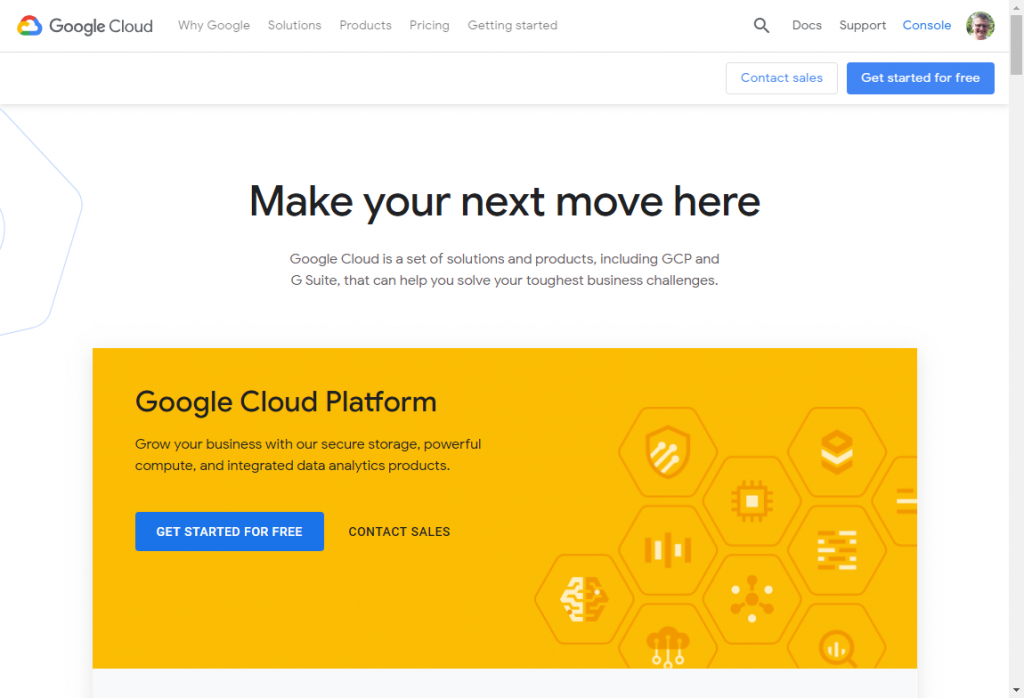
First of all, you can get started at https://cloud.google.com. Click on the “Get Started For Free” button.
I was using Google Chrome and was already logged into my Google account so skipped the account creation steps. However, if I wasn’t logged in, I would have had this screen to either log-in or create an account.

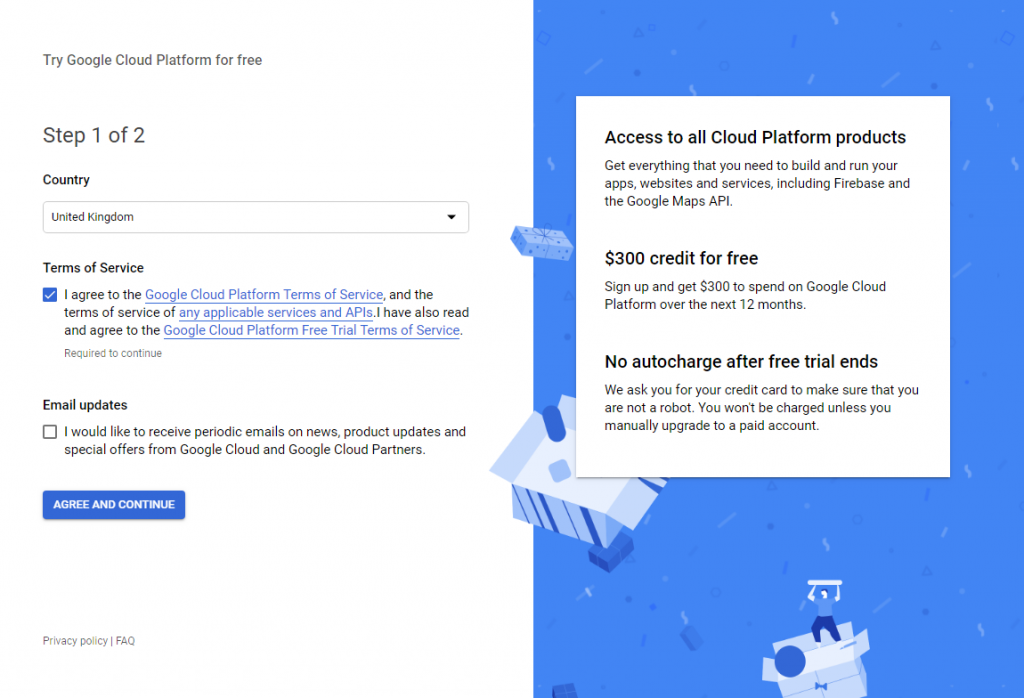
Once you are in, you will have a two step Google Cloud Platform sign-up. The first requires that you select your country and accept the different terms and conditions appropriate to your country.
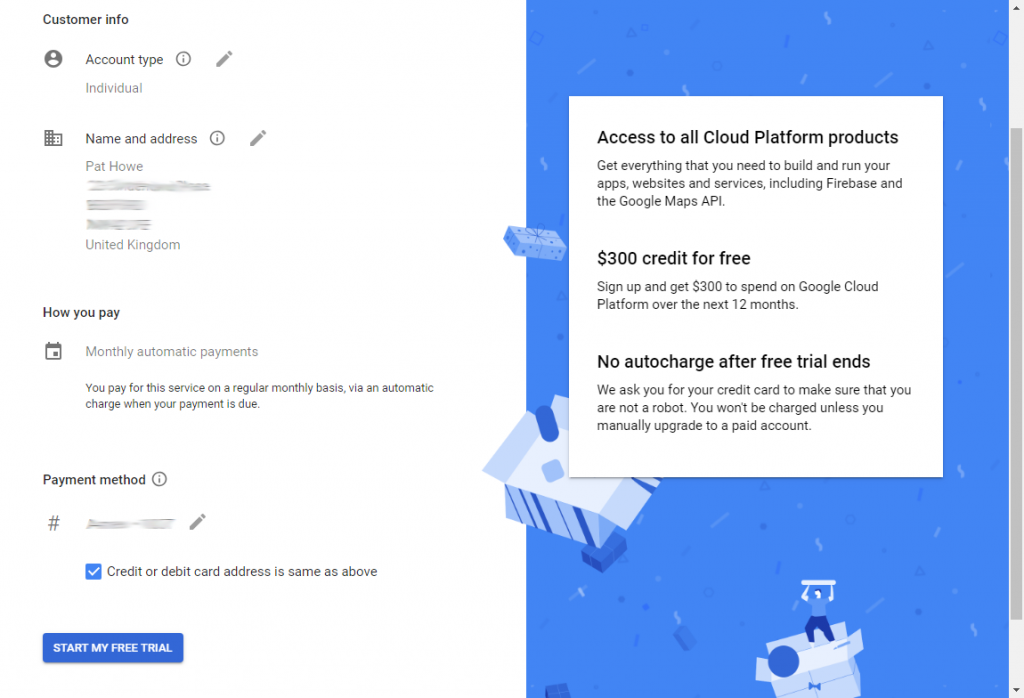
The next requires you to identify if this is a business or individual account and then requires your name, address and payment card details. You will not be charged and they claim it is to stop robots signing up. If they do charge anything then it will be a nominal amount to verify your card as the banks haven’t invested a way for online applications to do that without putting a payment through or at least a payment authorisation.
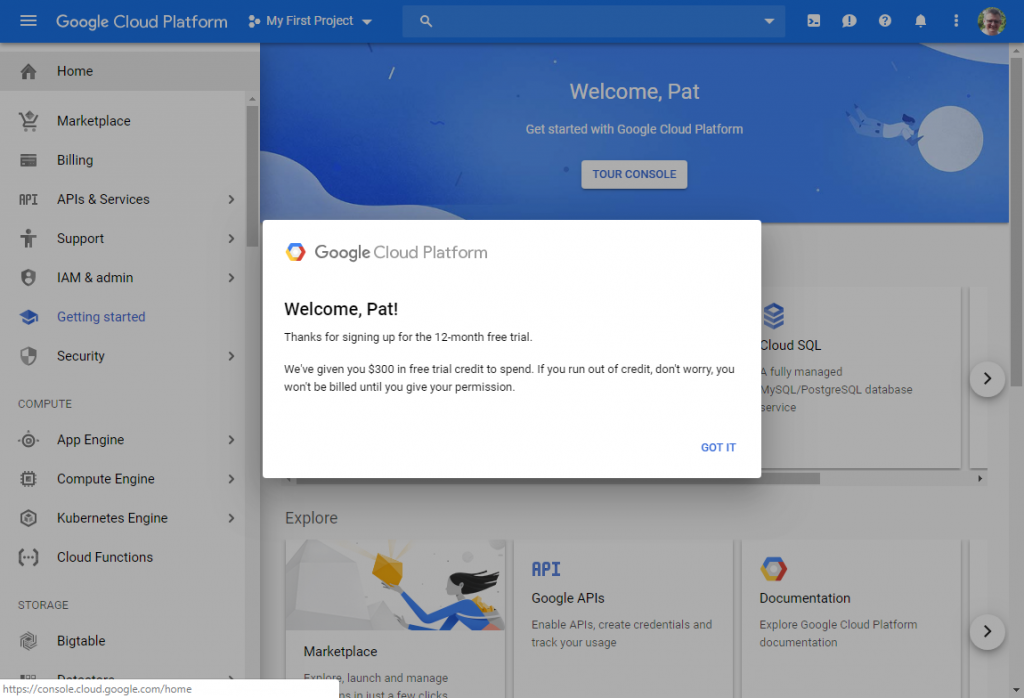
Click “Got It” on the welcome message and then click on “Compute Engine”.

You will then need to “Enable Billing”. Don’t worry about this, it will use your credits and you will be asked before your credit runs out if you want to continue with it and be charged.

Creating an instance
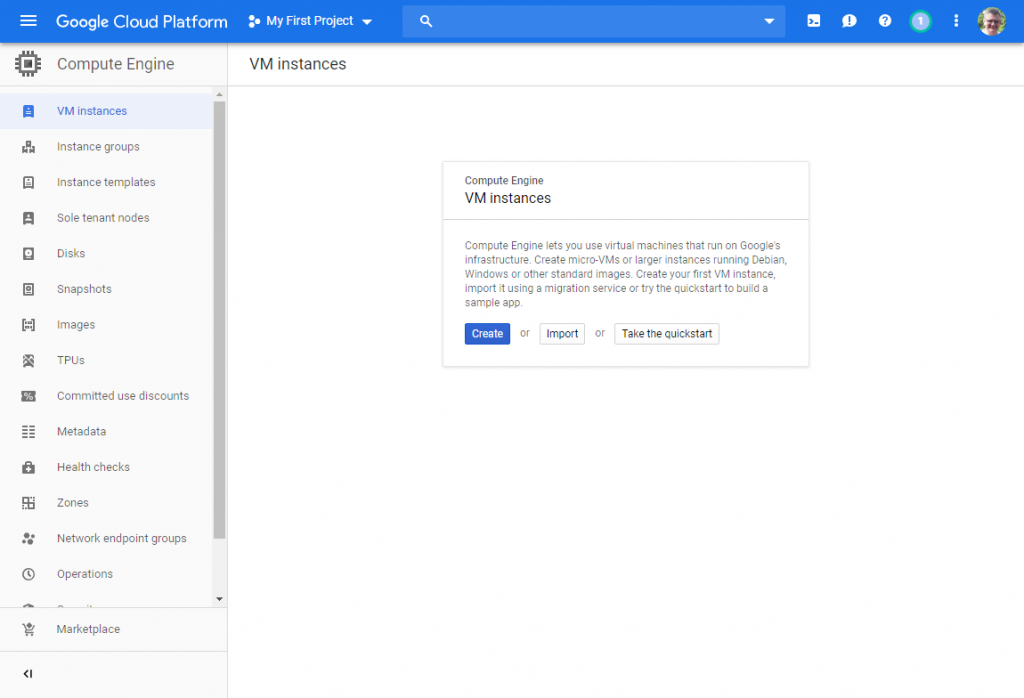
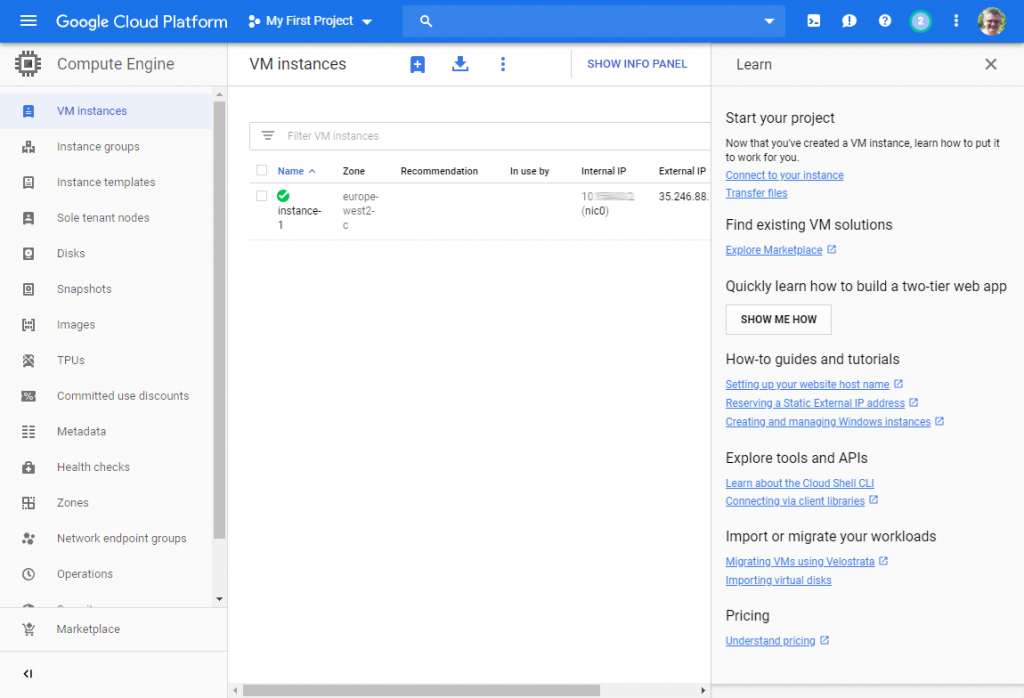
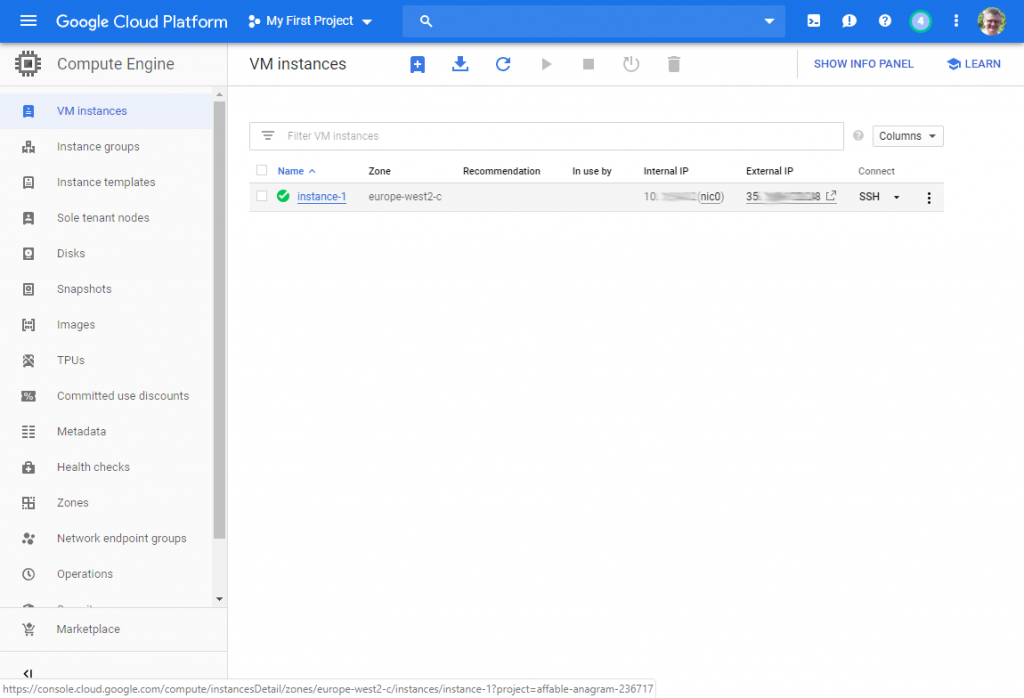
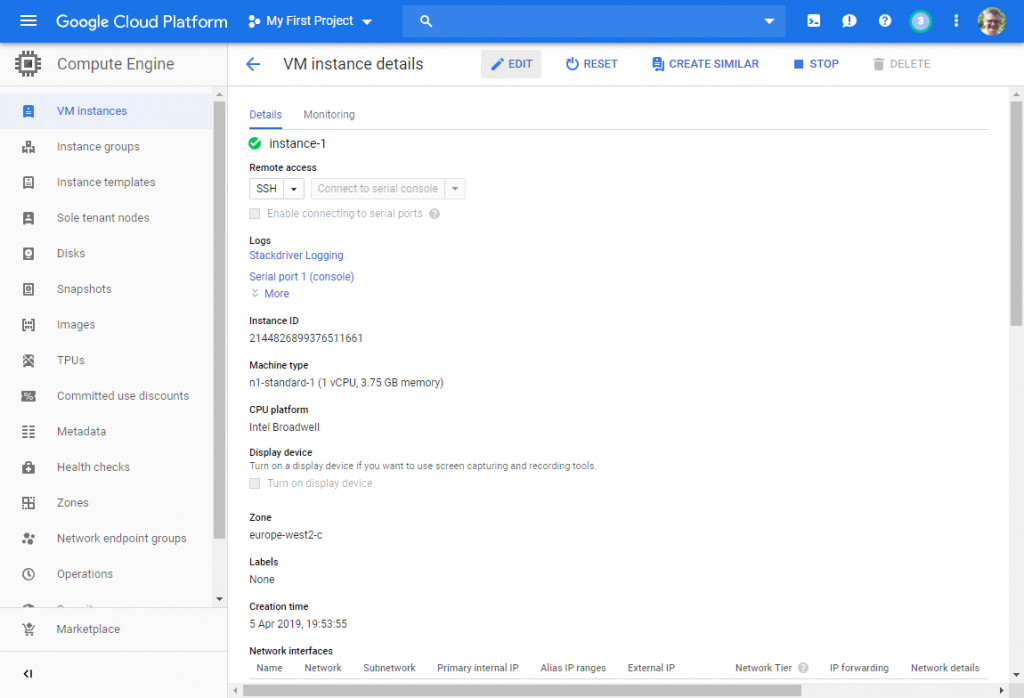
You’ll have to wait a few minutes but by default you should land on the VM Instances page. You click “Create” from here.
Edit the instance details. I chose London as I wanted to keep it in the UK the same as the AWS instance that I created previously. If you go with the default region, you you have a choice of standard or premium networking later on when setting up a static IP address.
I left it as 1 CPU and 3.75GB of RAM. However, I switched the boot disk to Ubuntu 18.04 LTS minimal on 10GB standard persistent disk.
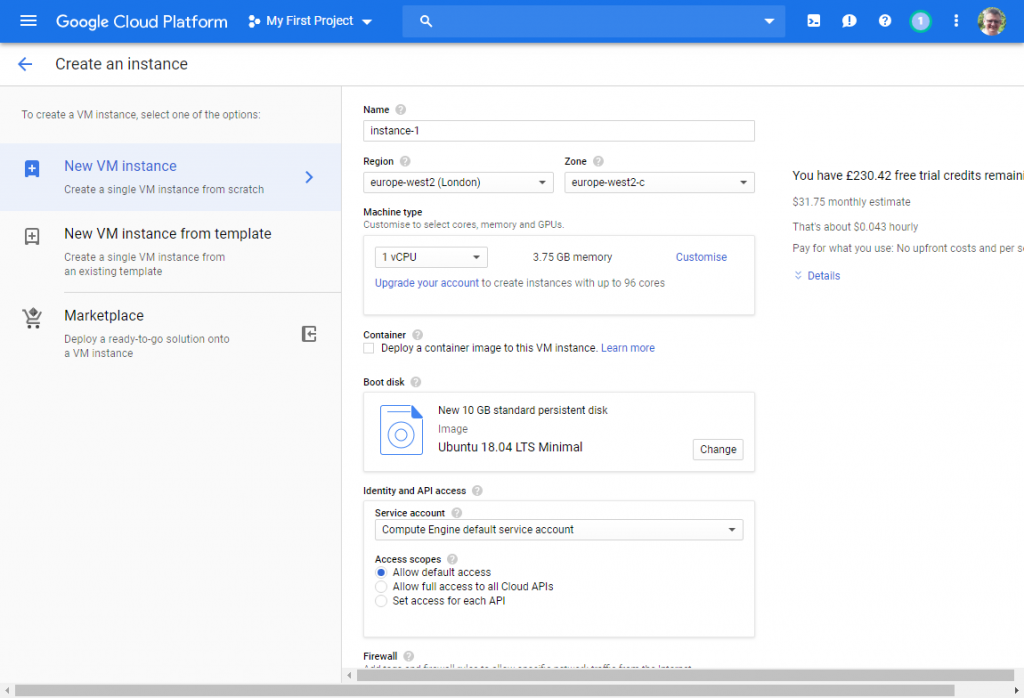
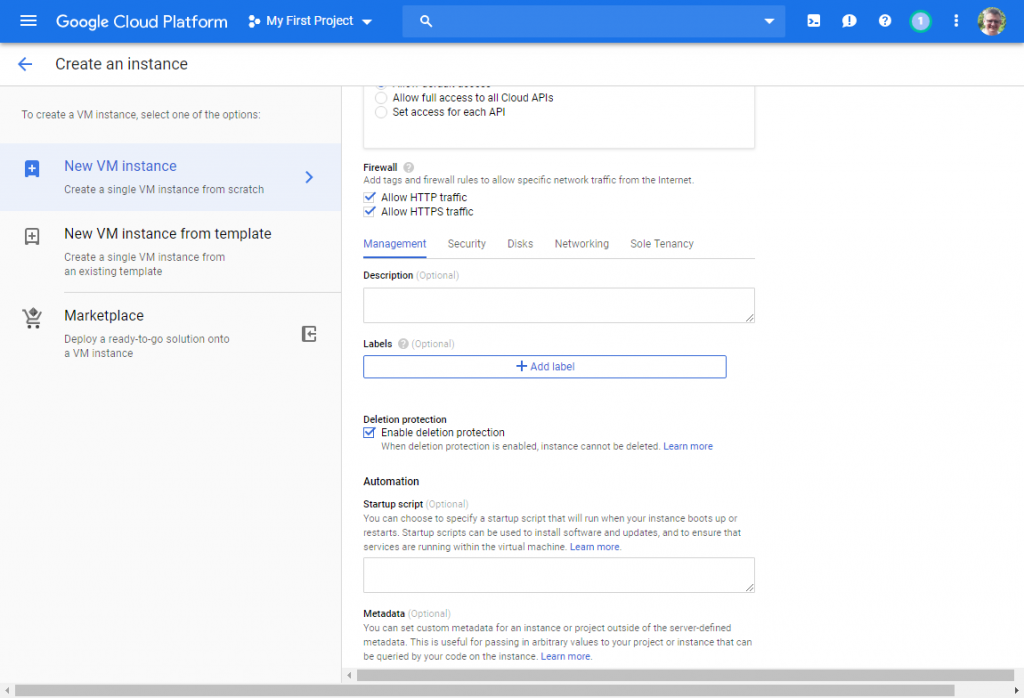
The other options that I chose was to allow HTTP and HTTPS traffic through the firewall (more on this later) and I enabled deletion protection so I don’t accidentally delete it. I could have set the SSH key here (in security) but I wasn’t ready for that yet so I just left everything as the default settings and clicked “Create” at the bottom of the page. You can revisit and make changes later.
Static IP address
Next up is to switch the temporary IP address to a static one. Without doing this, every time you stop the server (not restart) the IP address gets released and the server will be giving a different IP address when it starts.
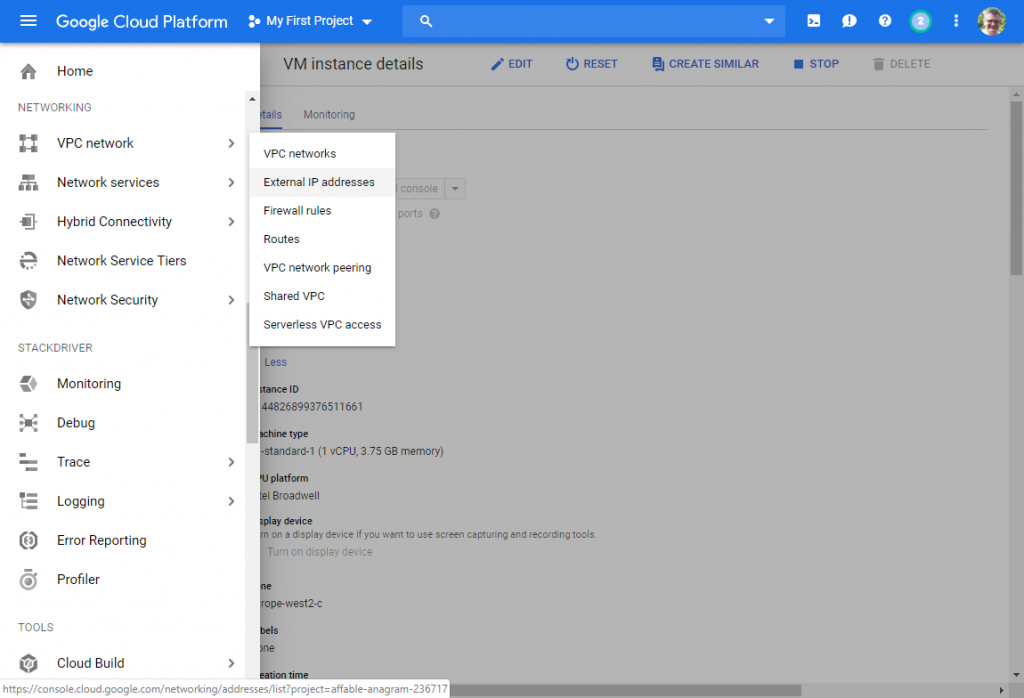
You get there from the side menu in the networking section. Select “External IP Address” from “VPC Networking”. Then click on “Reserve Static Address” at the top of the page.
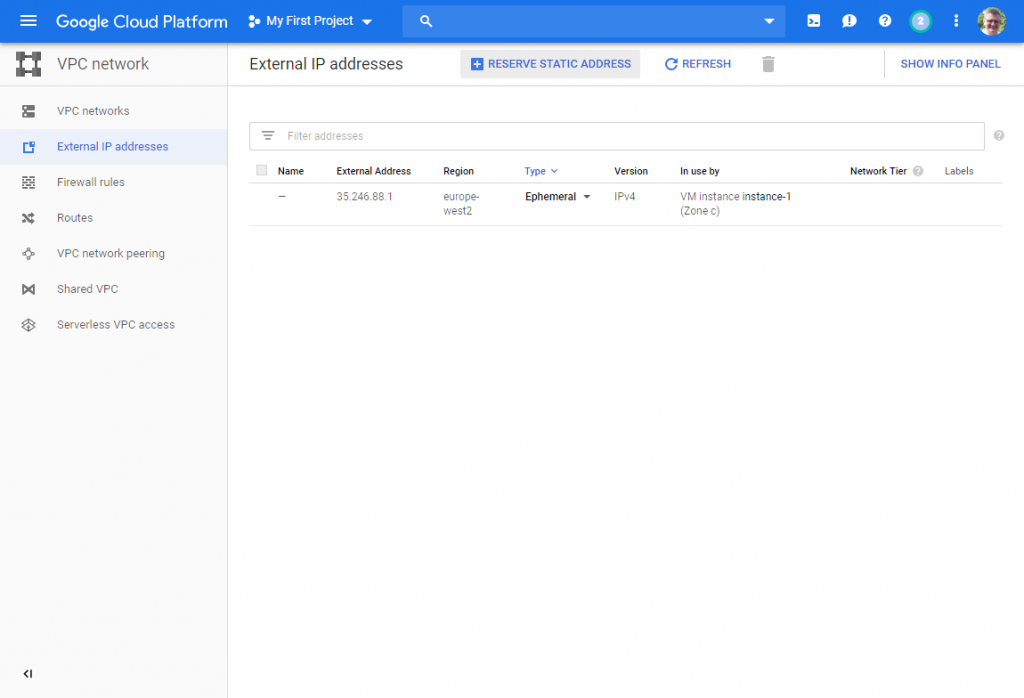
Give it a name. You must assign it to an instance or you will be charged (or your credit account will be). It’s the same policy at AWS too.
I changed the region to Europe West 2 (UK) so the option to choose standard networking was removed and I only have premium as an option. Oh well, if anyone connects to it, those credits will run down a bit faster.
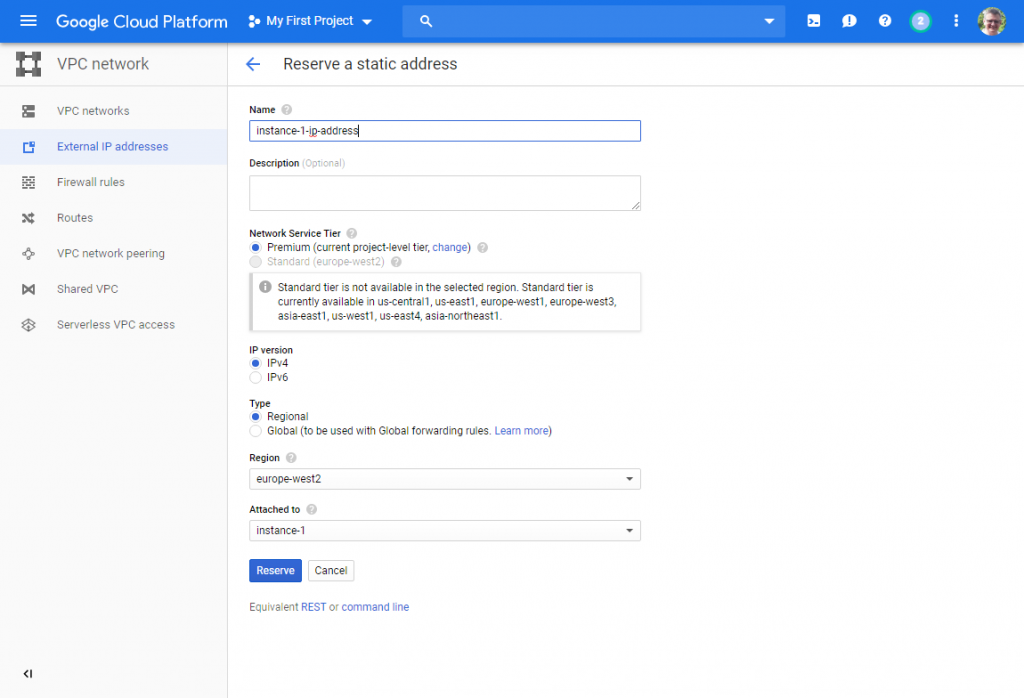
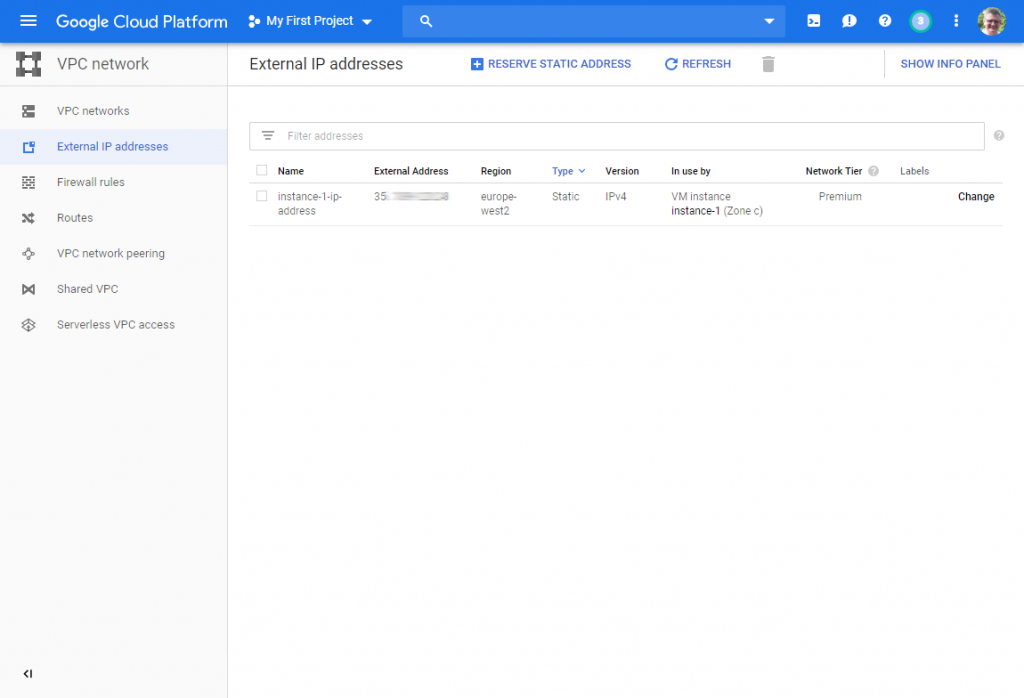
When you are ready and have selected the instance, click “Reserve” and wait a minute or two.
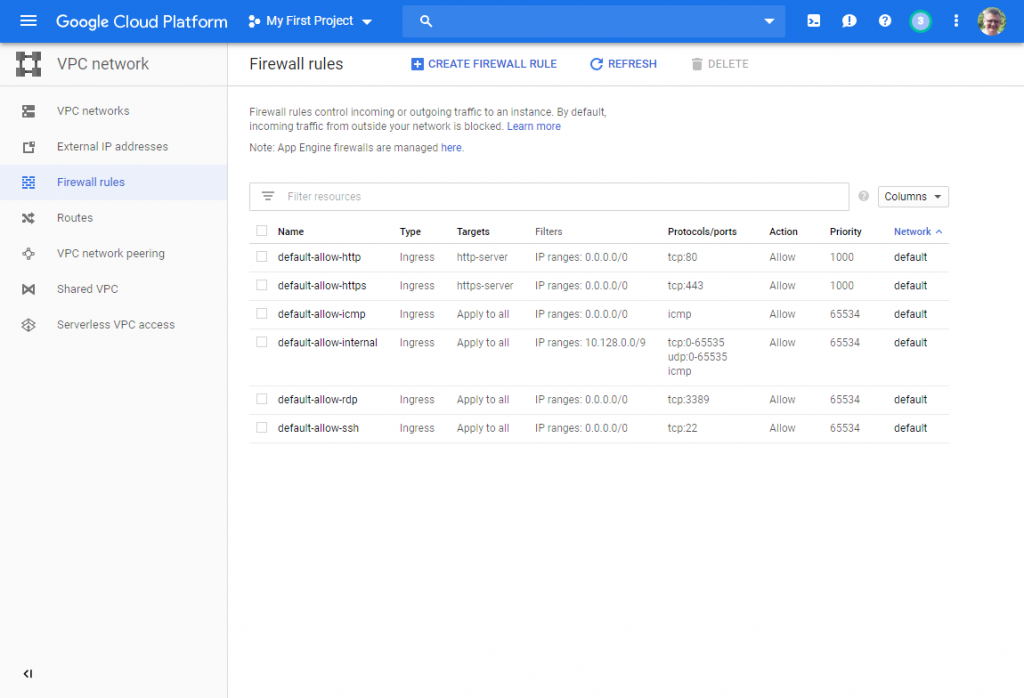
Opening firewall ports
Next up, if you want to open any additional ports then you should visit the Firewall Rules. I already checked HTTP and HTTPS earlier so they are already here but if I wanted to open any other ports I would do it here by clicking on the “Create Firewall Rule” at the top of the page. Alternatively, if you want to remove any all you have to do is check them and click on the Delete button. I will leave those alone for now.
SSH key generation via PuTTY
Now I need to generate my SSH keys so I can connect using PuTTY or the FileZilla FTP client. I already have PuTTY installed so I have PuTTYgen. Open that. Generate a new key pair by clicking on the “Generate” button and waiting. Then change the username to “ubuntu”. You might be able to use another name but I will stick with what I know. Optionally enter a password. You’ll be prompted for this when you login.
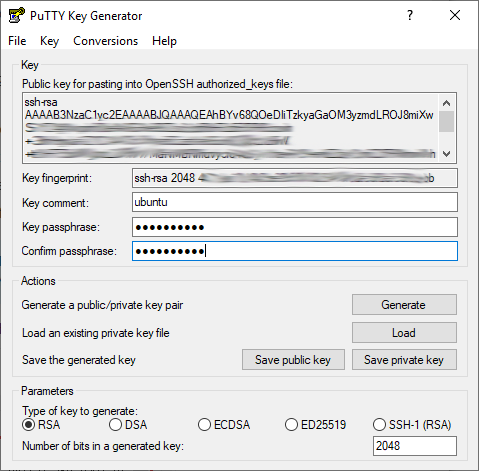
Save your private and public keys. You’ll need the private one for PuTTY and the public one for your server instance. Copy the text from the top section into your clipboard (Ctrl+A to select all and Ctrl+C to copy). Google Cloud Services will accept this format rather than the one saved in the public key output file (which has comments rather than a username).
Adding the SSH key to the instance
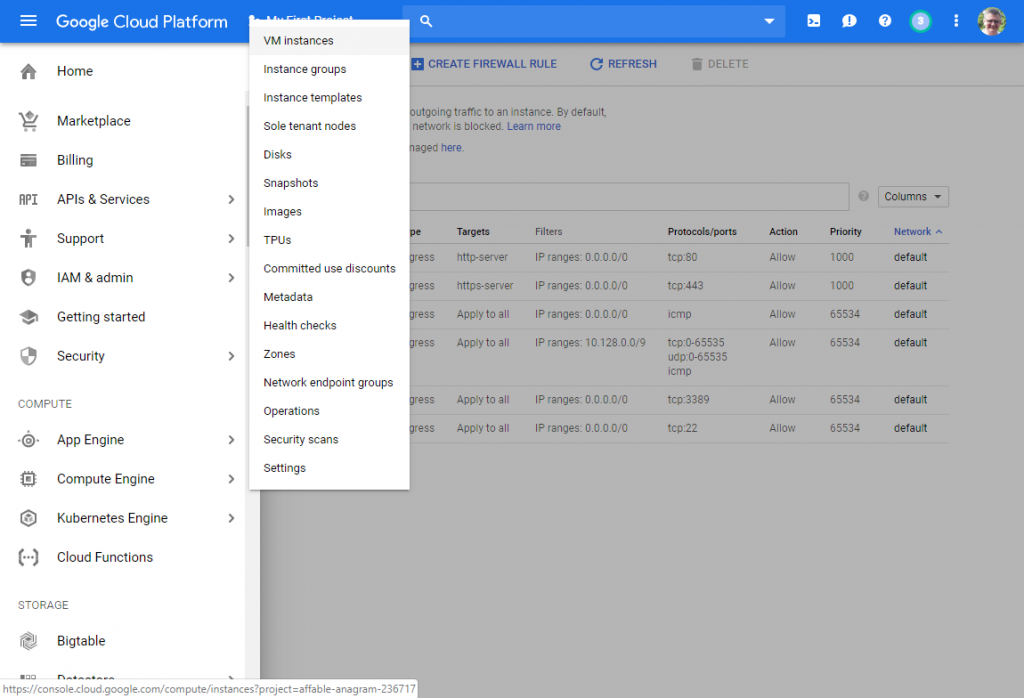
Back in GCP, return to your instance settings by selecting “VM Instances” from “Compute Engine” in the “Compute” section of the side menu.
Click in the instance name and then click “Edit” at the top of the page.
Scroll down until you find the “SSH Keys” section and expand it. Paste in the key from the clipboard (Ctrl+V).
Scroll down and click Save.
Connecting via PuTTY
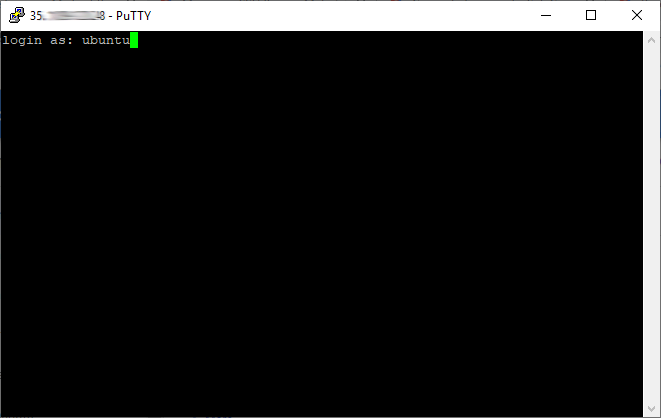
Open PuTTY and enter your public static IP address.
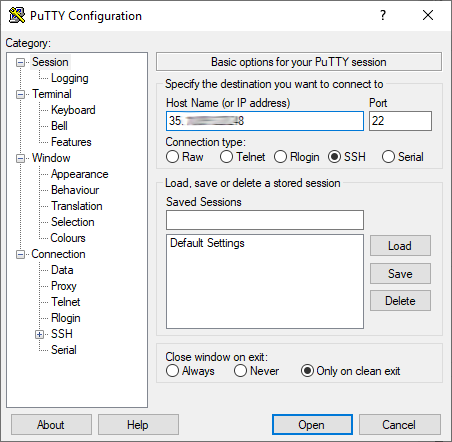
Then from the SSH section on the left-hand panel, expand it and select “Auth”. Browse to the private key that you saved earlier and also check “Allow agent forwarding”.
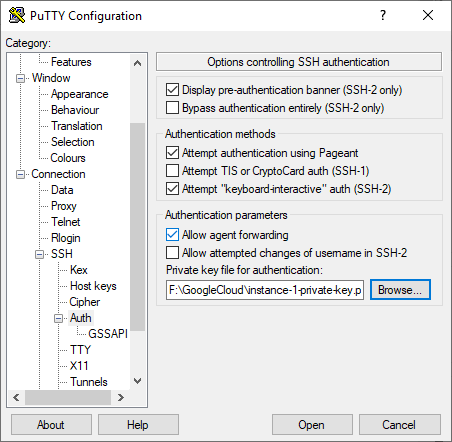
Then click “Open” and “Yes” to the warning.

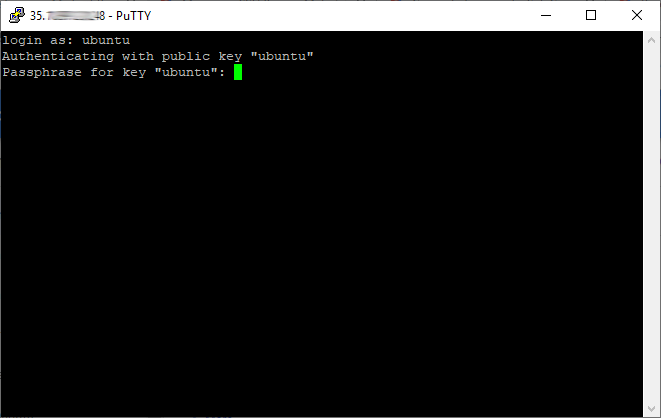
To log in enter username “ubuntu” or whatever you set earlier. Then enter a password if also set that earlier when creating your key.
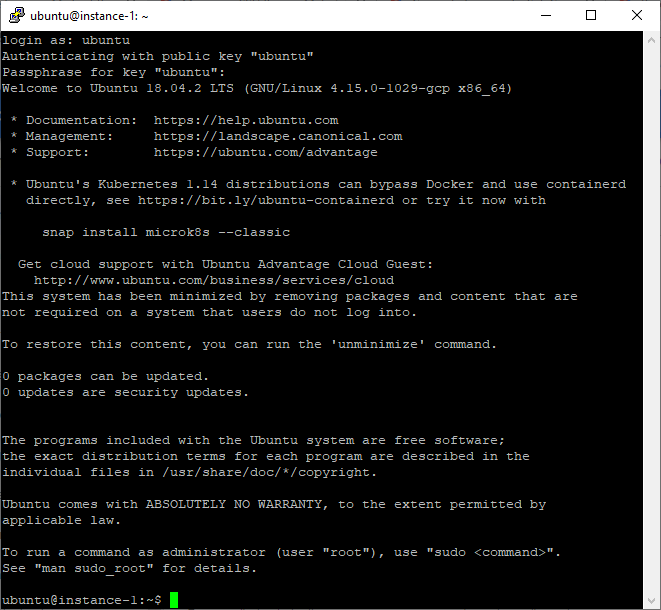
Now you are good to go and start updating and installing your packages. Have a look at my other Ubuntu articles for more set-up information.
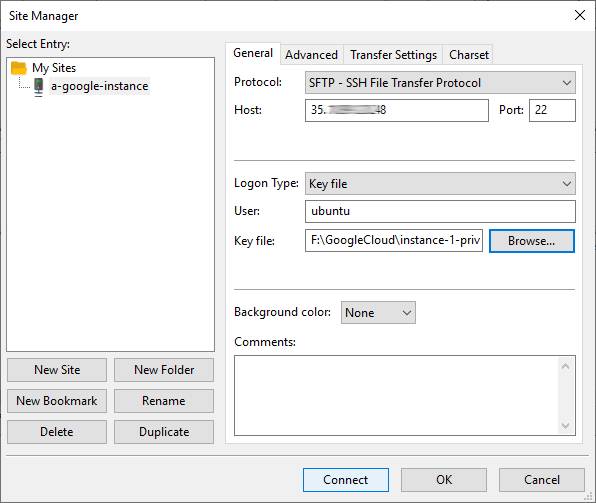
Connecting via FileZilla
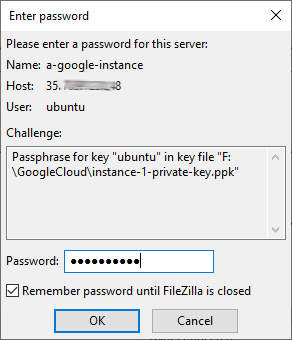
Finally, I want to connect via an FTP client using SSH and the key previously generated. In FileZilla go to the site manager and set up a new one. Switch to the SFTP transfer protocol, enter the public static IP address from earlier with port 22 (although it will default to 22 for STFP anyway). Select Key File as the authentication method, browse to the private key file and enter the username as “ubuntu” or whatever you set earlier. Then click “Connect”.
If you set a password you will be prompted to enter that.
Then you’ll be in and can start transferring files via FTP.
Where next
That’s it for today. In conclusion, Google Cloud Platform can give you the same free server service as AWS or Azure but you also have the option with GCP to have more power/bigger server for a shorter time period
So, I now have an empty Linux Ubuntu server on the Google Cloud Platform ready for action. I don’t want to waste it, so I will use this one for another article or two in the near future.