

I have been using Visio for many years, going right back to the time before it was part of the Microsoft Office suite. Each year, I upgraded and features have come and gone. Sometimes I can see an improvement but usually I long for the features that have been dropped.
My favourite version I think was the one that came with top level of Visual Studio 2003, I think it was called Visio 2003 for enterprise architects. That had a neat database feature where you could generate your database SQL script directly from Visio.
Anyway, in those cases where I am missing a template (stencil), that I previously liked, I usually have to open a diagram that was created in an earlier version and base my new diagram on that.
The organisational charts are an example of the case in question. Personally, I liked the simple org charts but they got removed in the 2013 edition. I do not want some fancy theme with banners, ribbons, pictures or other fancy stuff. A plain rectangle with a name and title in it would be great.
Old diagram with stencil included
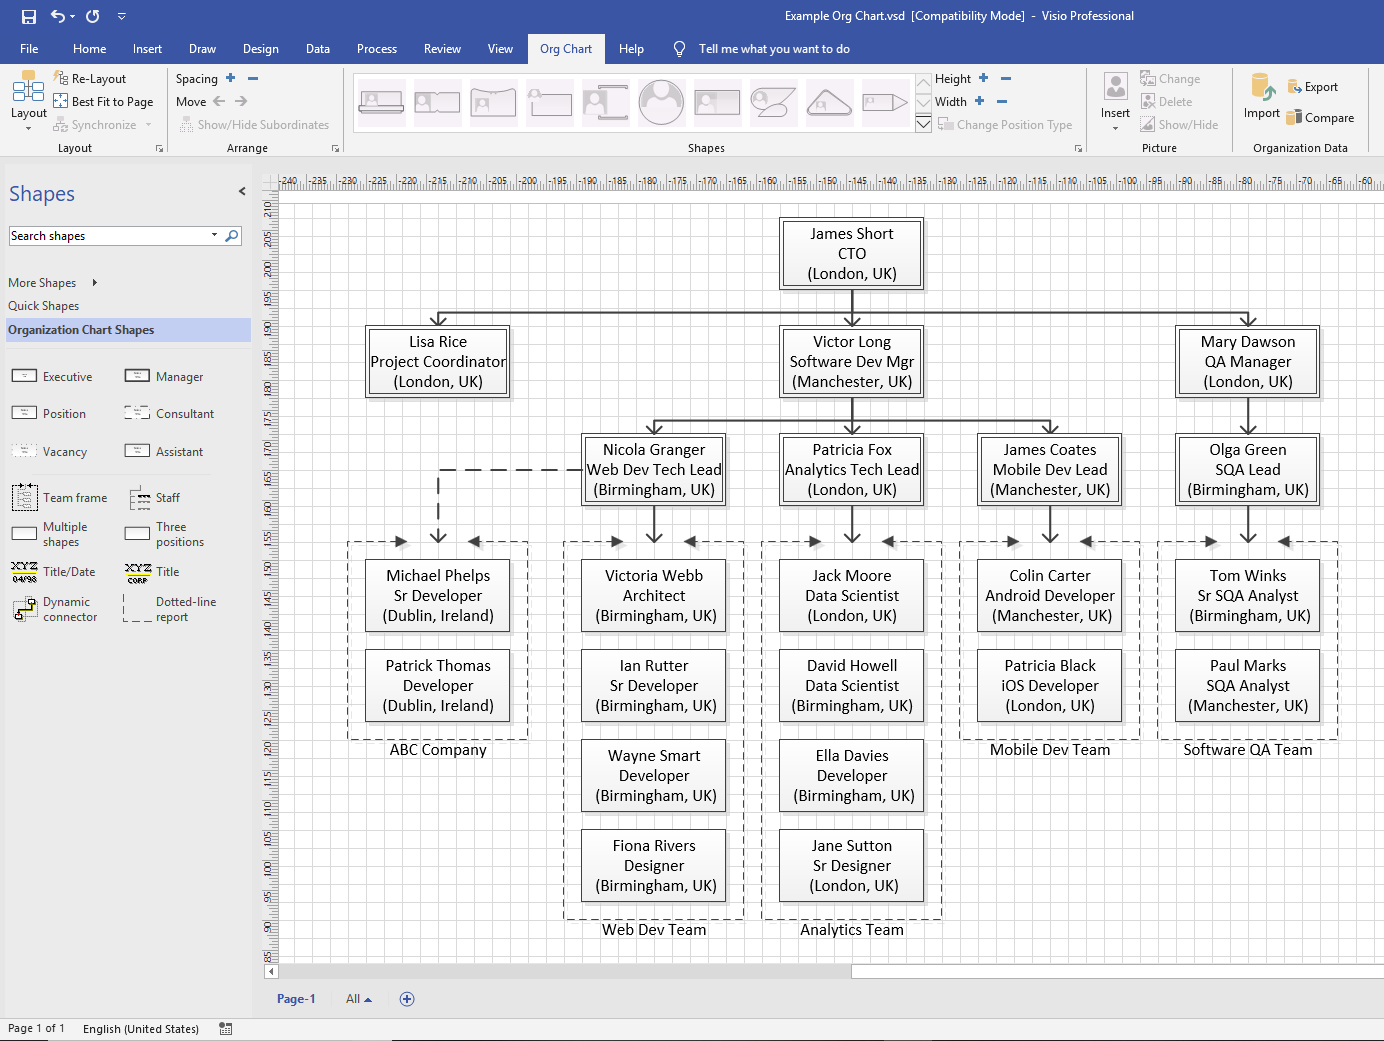
Here I have a diagram created in a version of Visio before 2013.
My process has been, open old VSD file, save as something new and then edit my org chart. As the old stencil (shapes and functionality) is saved with the diagram, I can add new items or pages just like any other.
This might seem like a pain to hunt down a previous drawing and yes, it is. It works OK if I am manually creating my org chart, but if I want to automatically do it from a data source, I have to accept the styled layout.
However, I can achieve this same “old style” simplified effect in the newer versions of Visio by removing pictures and themes after automatically generating it.
Example creating an org chart from a data source
For this example, I’ve generated a bunch of random names to fit into an org chart.
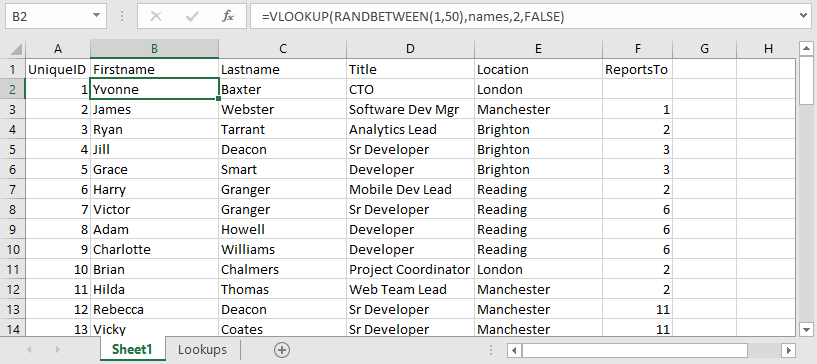
There are two files below. One is the random name generator and the other is a subset that I have pasted to another workbook as text and saved.
In Visio, create a new drawing based on the Organizantion Chart template (File – New – Organization Chart).
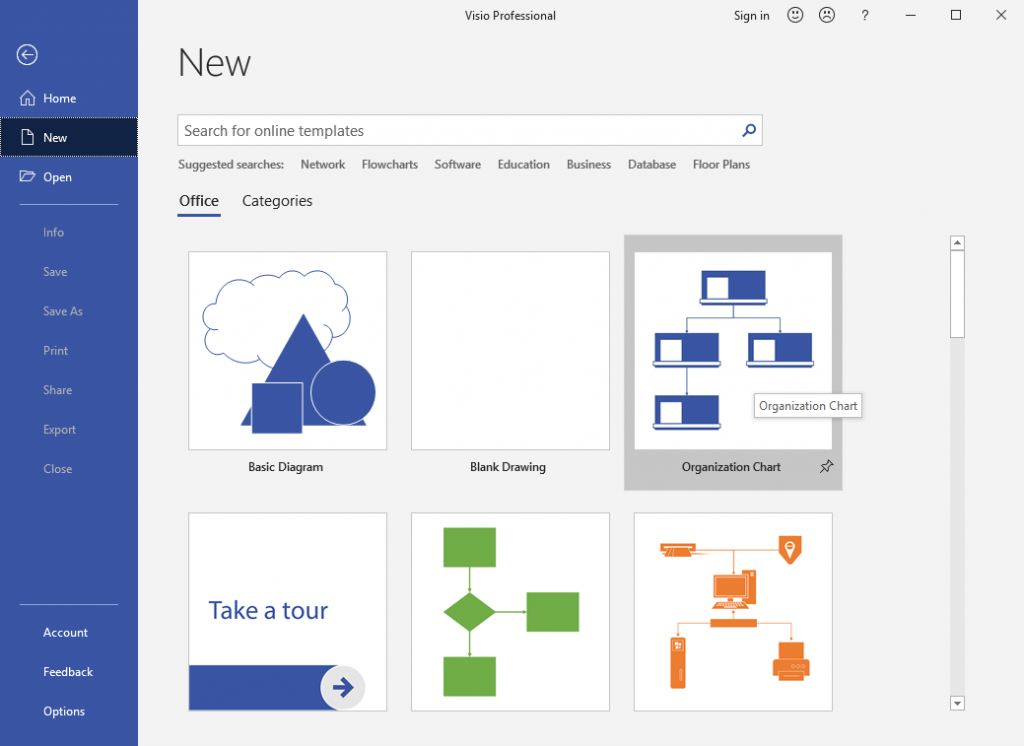
Select US units or Metric and then Create. This will start the Import Wizard.
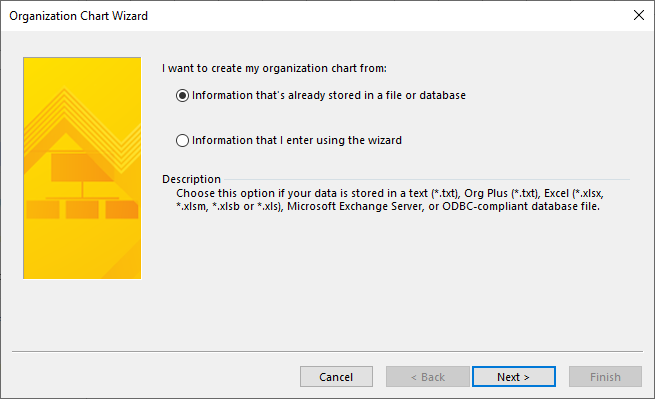
Import Wizard steps
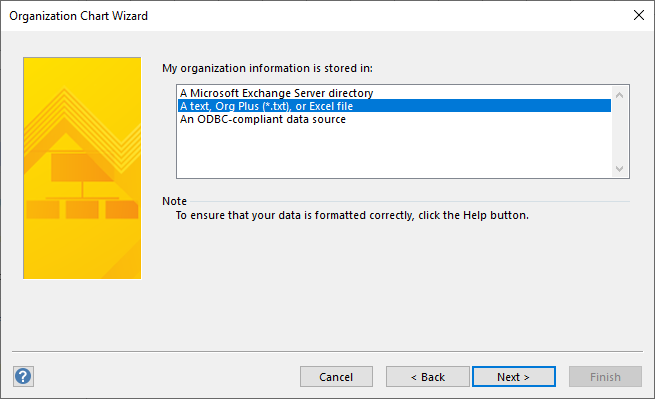
You could enter the information manually be we want to import the data from a file so “Information that’s already stored in a file or database” needs to be selected.
Choose “A text, Org Plus (*.txt), or Excel file”.
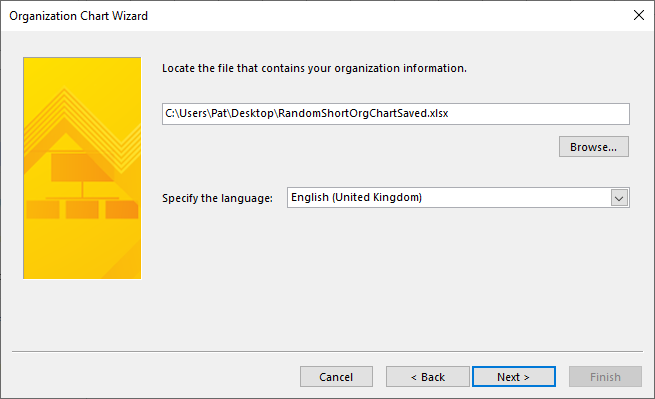
Browse to the file that contains your organisational data.
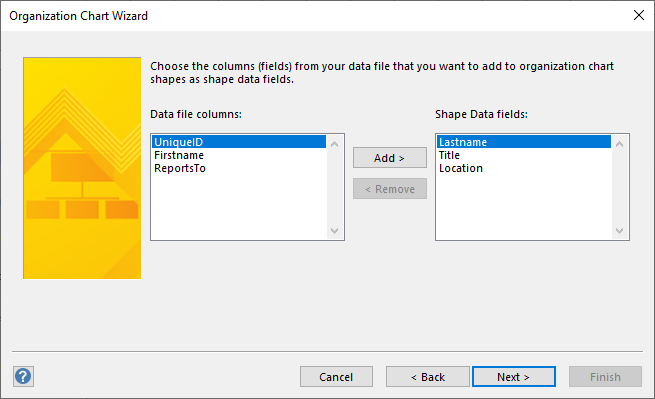
The Wizard is quite clever and will look for possible matches. Select them from the drop down if any are incorrect or missing. However, if you have a single name field then leave first name empty. I’ve split them out but selecting the first name here will make the Wizard combine them automatically on the diagram.
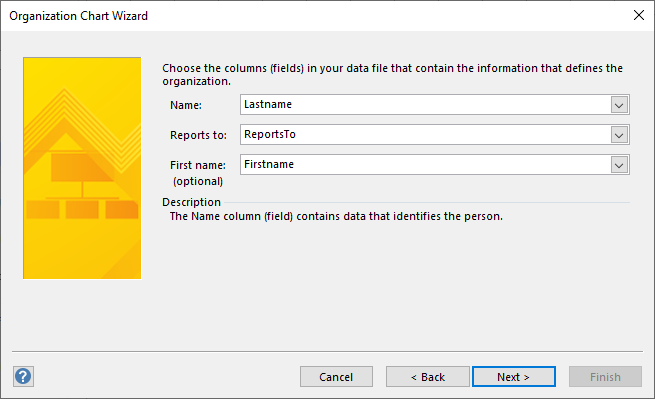
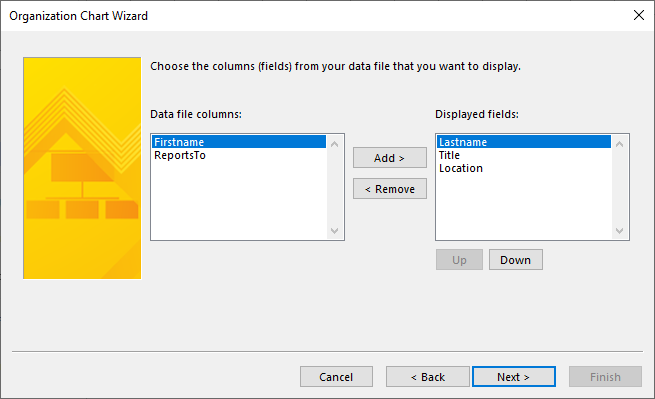
Leave name and title alone and add location if it hasn’t done so already.
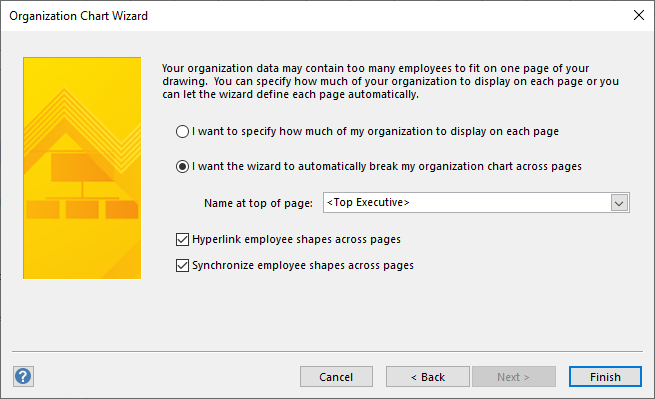
Keep everything the same on the next page. You can always change these later from “Display Options” under “Shapes”.
Choose “Don’t include pictures in my organization chart”.
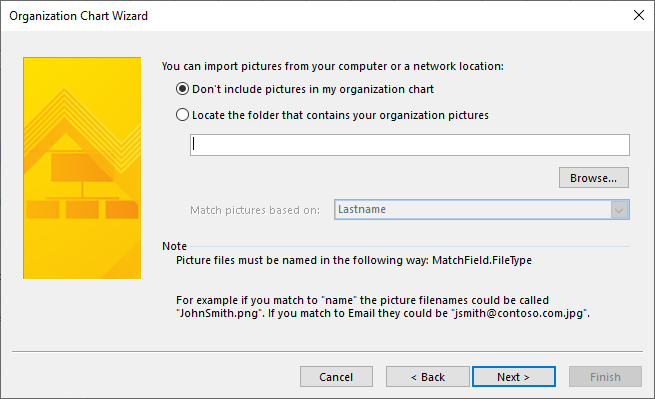
You can elect to start your org chart from a different level in the drop down if you want. The Top Executive is the person who doesn’t have anyone to report to.
You will now have something like the following displayed.

Switching to simple styling
Simple styling is a theme that gives the closest result to the old style box that I am looking for. I just want to show name, title and location, one above the other, in a plain container. There are a few steps to go through to get that effect.
- Change the shape style
- Remove pictures
- Switch the style
- Modify the layout
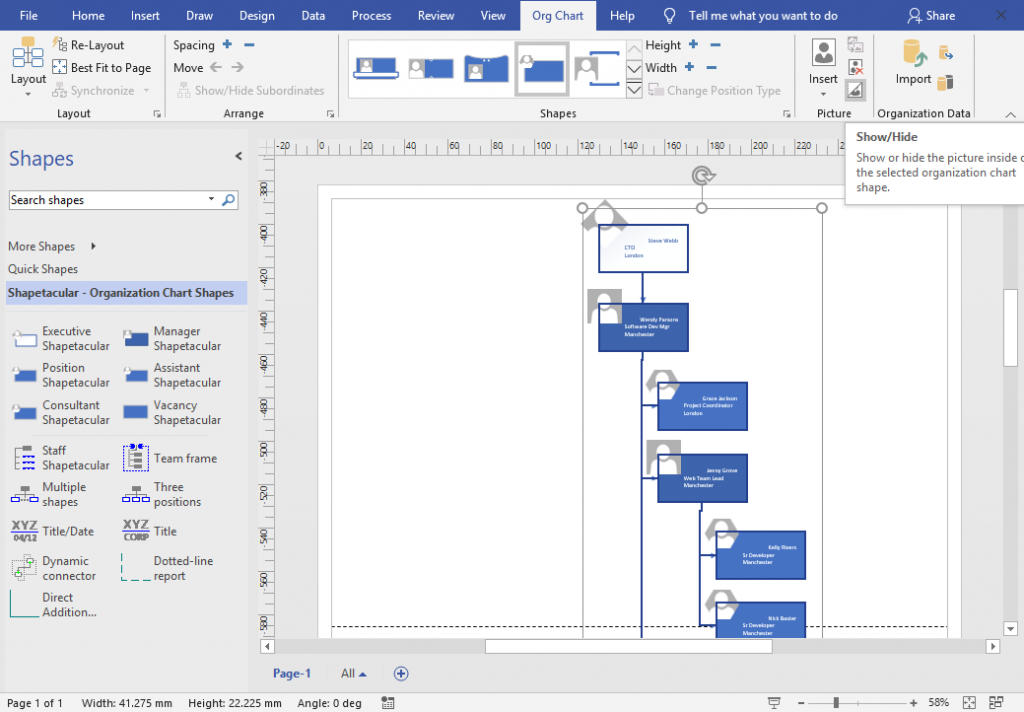
Follow the actions in the screenshots below in order. The first thing to do is select the “Shapetacular” style from “Shapes” on the “Org Chart” ribbon. This has the field order of name, title and location that we will need .
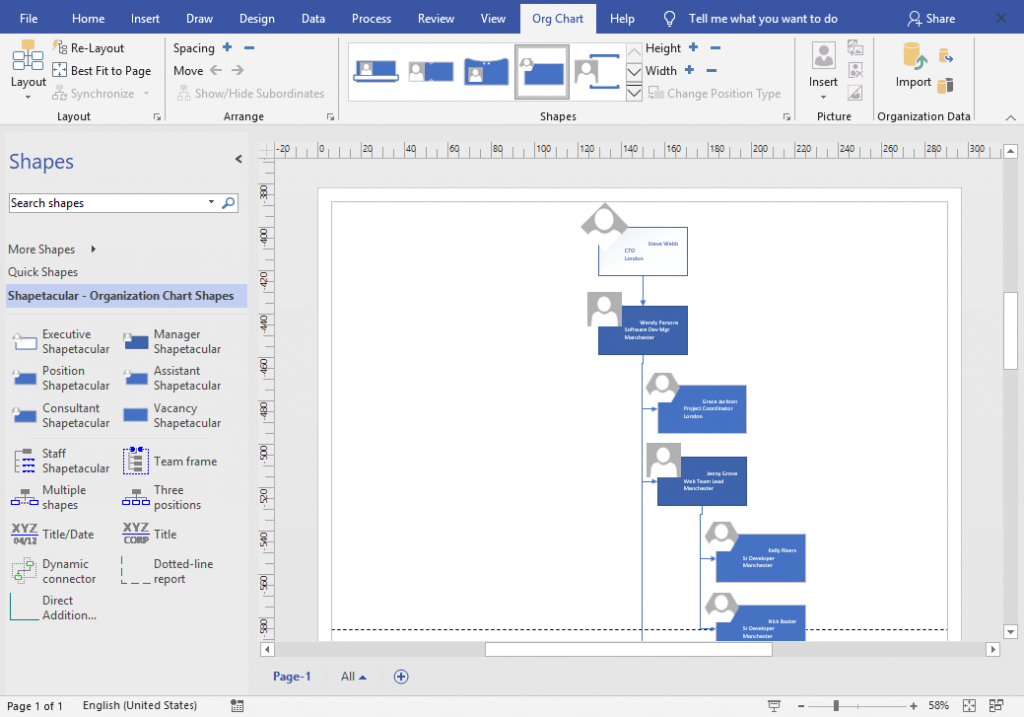
Select Ctrl+A to select all the shapes. Then “Hide” the picture from the “Picture” section on the “Org Chart” ribbon.
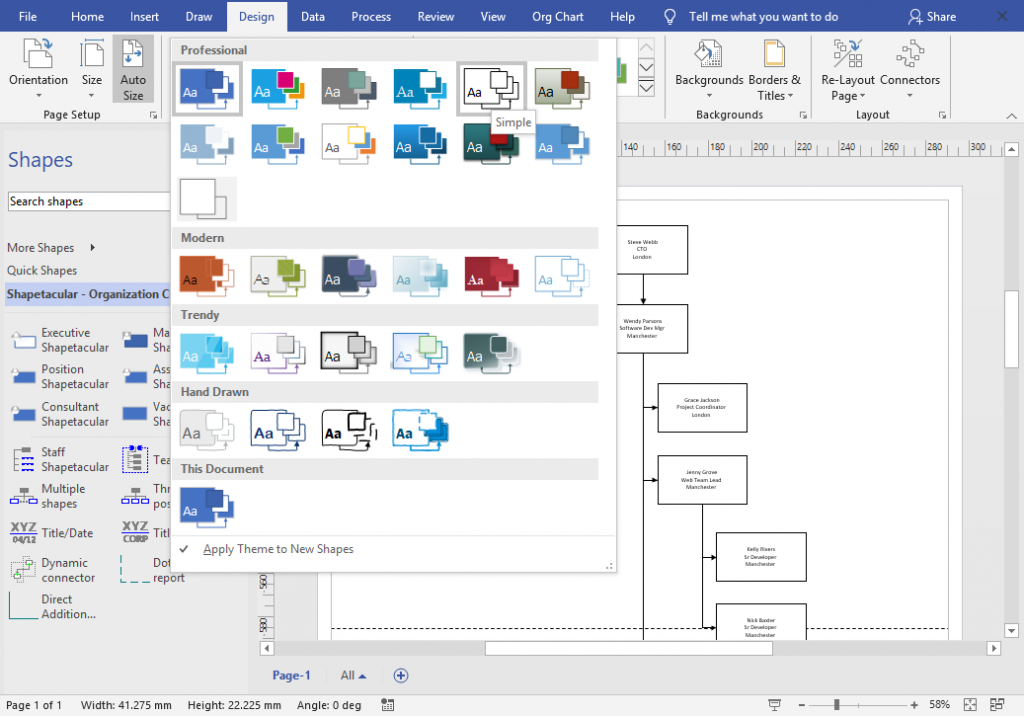
Now from the “Design” ribbon, select “Simple” from the “Professional” theme section.
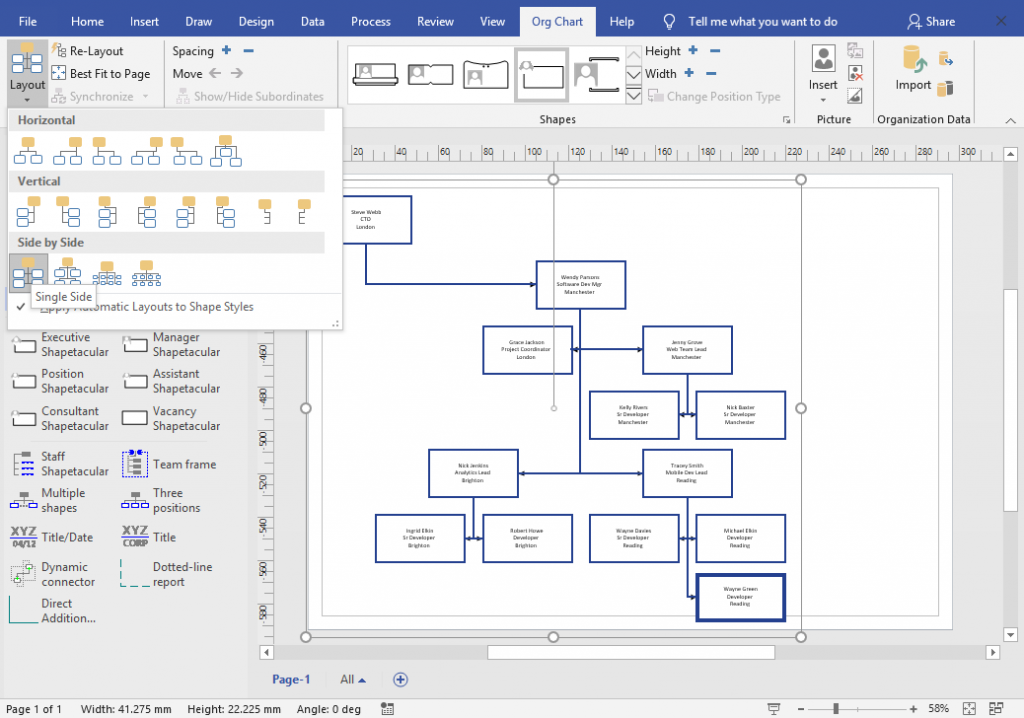
Return to the “Org Chart” ribbon and play around with the layout options. Try to get it to best fit for your organisation automatically and hopefully on one page it that is possible. You can try “Best Fit to Page” but will probably have to try the options in the “Layout” drop down.
Finally, make any manual tweaks of the layout to fit the screen more appropriately.
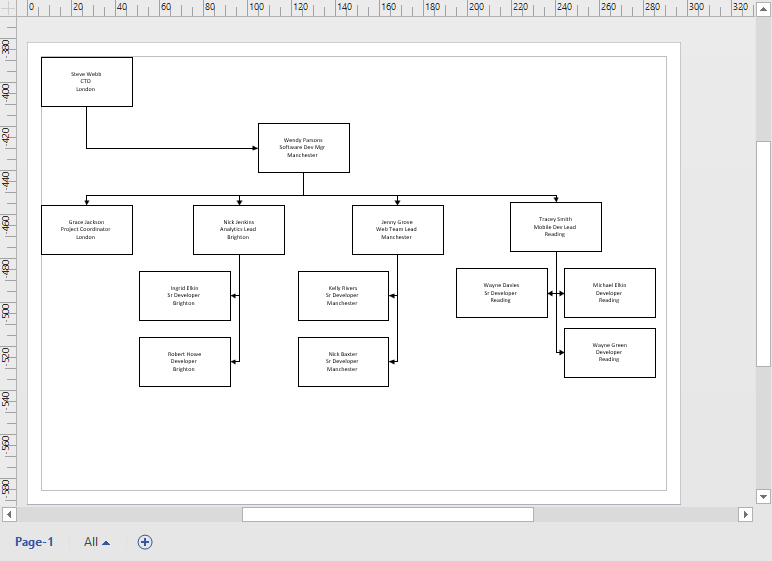
That’s it. You can download the finished example here if you want to.
All of the examples and screenshots in this article come from Microsoft Visio Professional 2019 and Microsoft Excel 2019.