I have been running a server with a host domain name that had a top level domain of .TV. I didn’t realise but when sending emails from that domain name, even though it was legitimate the word TV is one of those SPAM key words that mail servers look out for. It’s OK if your email content scores lowly on the spammy word count but having one of those bad keywords in the domain name wasn’t helping.
So, we dropped the name but I was using it as the host name on a server and needed to replace that. So this article, goes through the simple steps to switch the host name and also set the default domain to the same host name in Apache. This is so you can display a default message to any web traffic that hits the server directly rather than on one of the hosted domains.
In the examples here I’m using a fictitious domain name “duckhost.co.uk”.
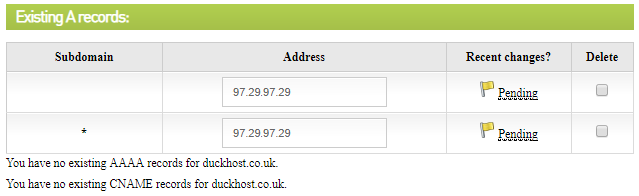
First you need to point the DNS records to the IP address of the server at your domain name registrar. You’ll then have to wait a few hours.
Hostname change
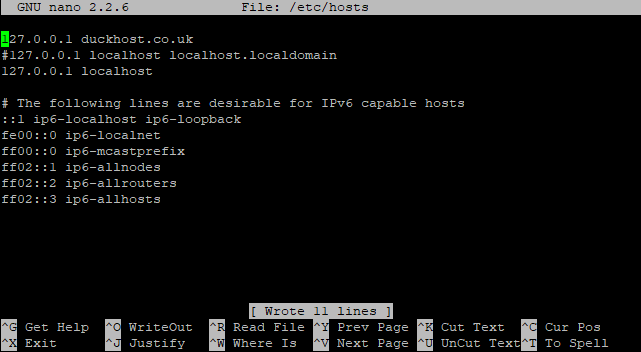
To change the hostname on the server, you edit the /etc/hosts file. You’ll also need to switch directory to the sites-available in Apache for later steps. These two commands change directories and open the hosts file in nano for editing.
cd /etc/apache2/sites-available
sudo nano /etc/hosts

If a previous hostname has been established for 127.0.0.1 that is not localhost then just replace that name with your new one. Otherwise add a line for 127.0.0.1 duckhost.co.uk.
Hostname website setup
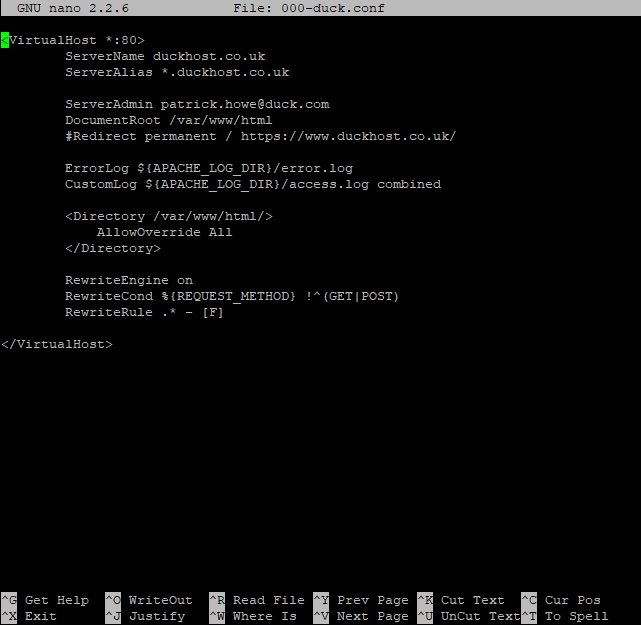
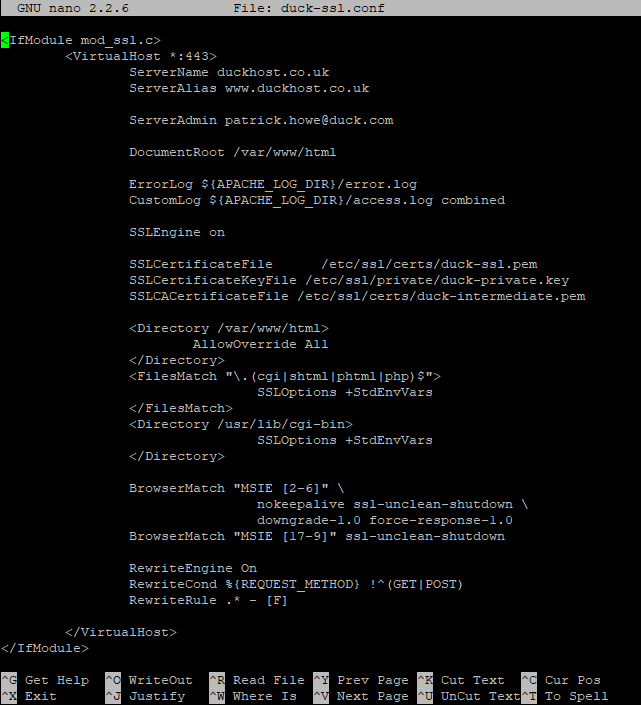
In sites available, you might have the standard default configuration as 000-default.conf and default-ssl.conf. I have those disabled but do have copies enabled under a different name that are enabled. The default was changed to duck for both since I’m moving from the TV version of the name to the .co.uk. So first edit the port 80 version and then the port 443 version replacing all references to the old name with the new. If you don’t have a hostname website set up, edit 000-default.conf and default-ssl.conf and enable them later.
sudo nano 000-duck.conf
sudo nano duck-ssl.conf


You then need to reload the configurations into Apache. If you don’t already have your configurations enabled you will need to use the a2ensite command.
sudo service apache2 reload

As the hostname has changed, you’ll also want new secure certificates. I’ve used Let’s Encrypt’s Certbot to add new certificates and renew them automatically. My previous article on free secure certificates has more information https://pathowe.co.uk/setting-up-and-testing-free-secure-certificates/
sudo certbot ‐‐apache
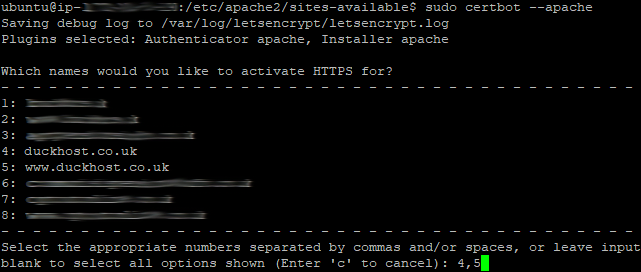
You then select the hostname(s). I have a “www” alias set too so chose both 4 and 5 separated by a comma in this example.
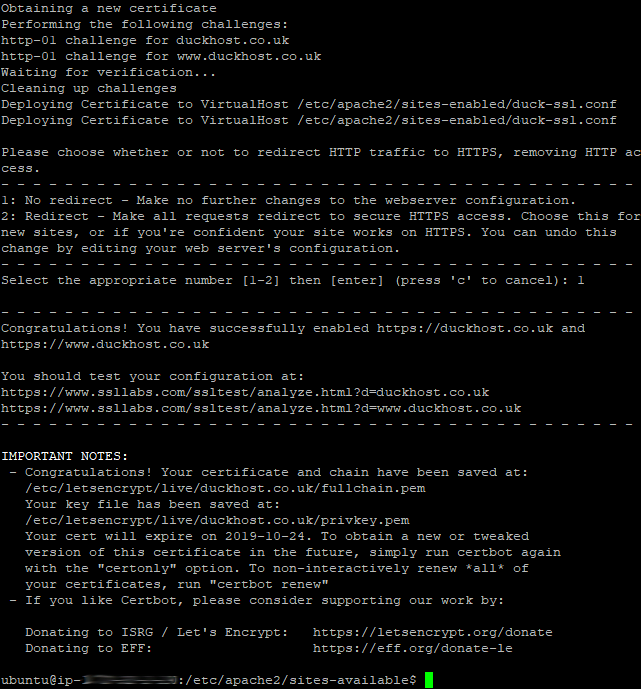
Then select 1 when prompted so that traffic is not automatically redirected to HTTPS.
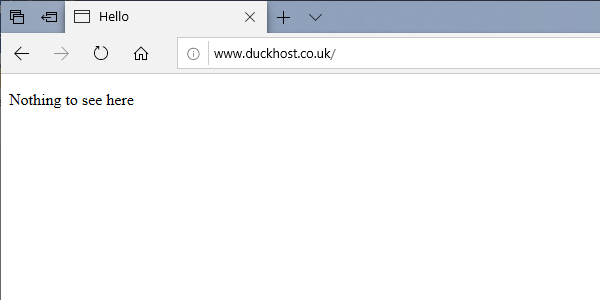
Test the new hostname site
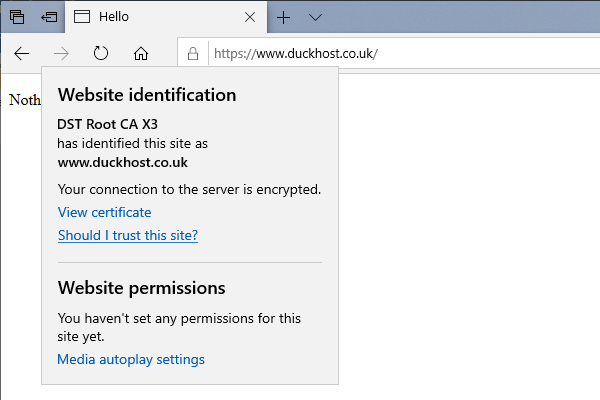
Finally, test both the standard (HTTP) and secure (HTTPS) versions of the website. On the secure version you can view the certificate too.