

This article is really a continuation of my previous article about installing Jira Software on an Ubuntu server yourself, Installing Jira on Ubuntu Linux with MySQL. Unlike, Jira Software where every user counts towards the license limitation, Jira Service Desk differentiates between Agent Users and Customer Users. You only license Agent Users in the Service Desk.
On the server that I am using in this example, I installed Jira Software and thought I would add Jira Service Desk too. If you don’t already have a version of Jira installed on your server then this article doesn’t cover the steps that you will need. If that is the case look at my previous article on installing Jira Software but substitute Jira Service Desk as it is the same installation process.
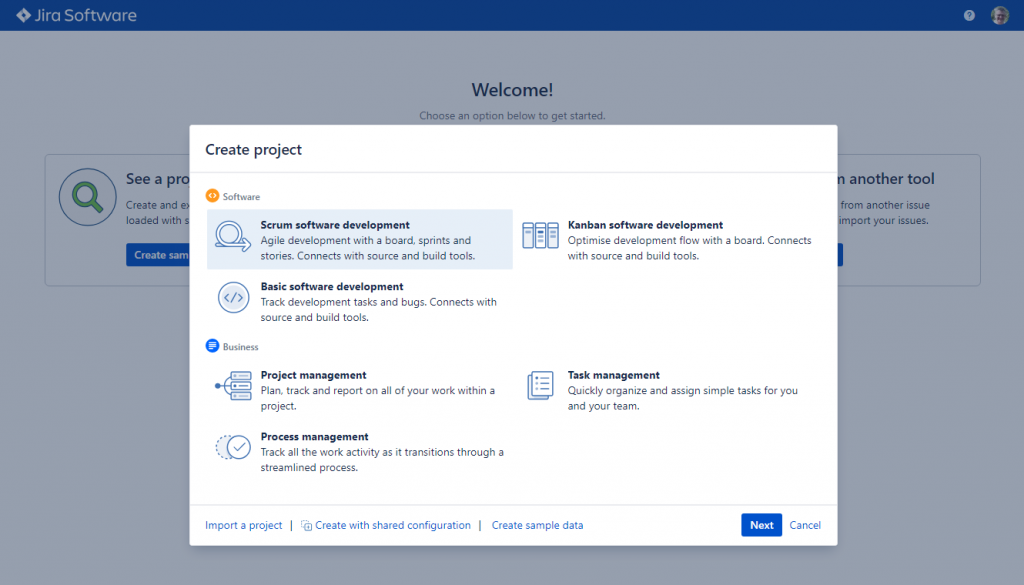
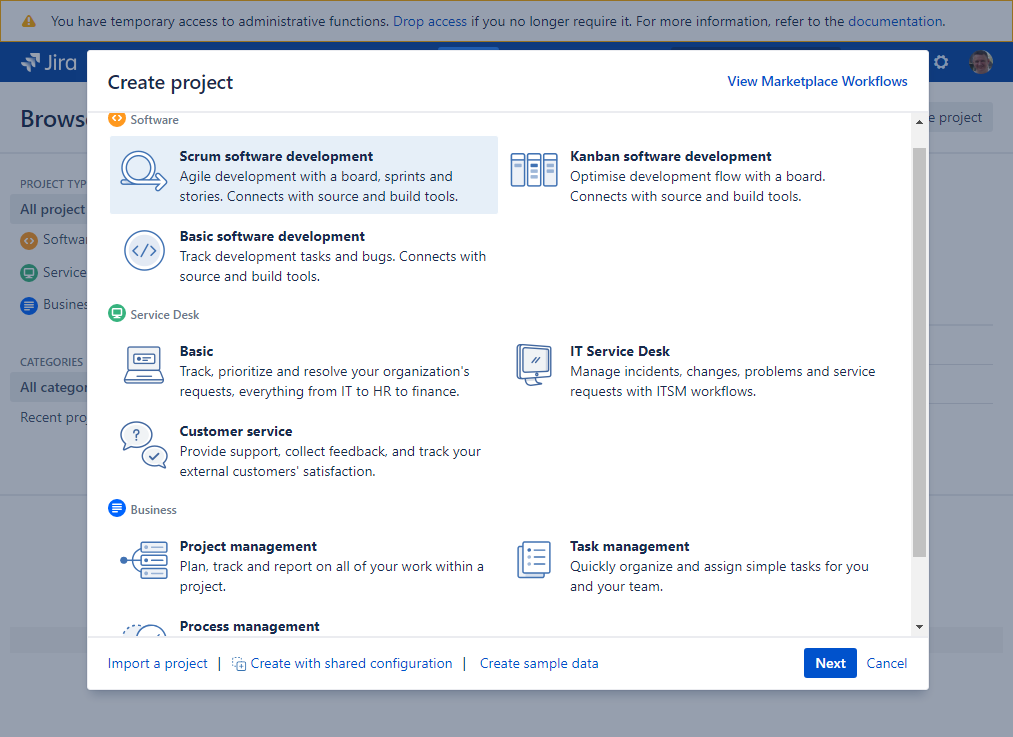
Before we start, here’s a screenshot of the project types available to me with Jira Core and Jira Software installed.
I actually performed these actions a few months back so the screenshots may not show the latest version information if you are trying this yourself now. I’m also not obscuring the IP address or other sensitive information in the screenshots as they have all now been deleted.
Before you upgrade please read the following document Preparing for the upgrade and go through the preparation checks. Even if you know everything will be fine, it is worthwhile taking a back of your Jira database.
To continue, the first step is to download the Linux 64-bit Jira Service Desk Server free trial from the Atlassian website, Jira Service Desk Download. The default is Linux 32-bit so you will probably need to change that.

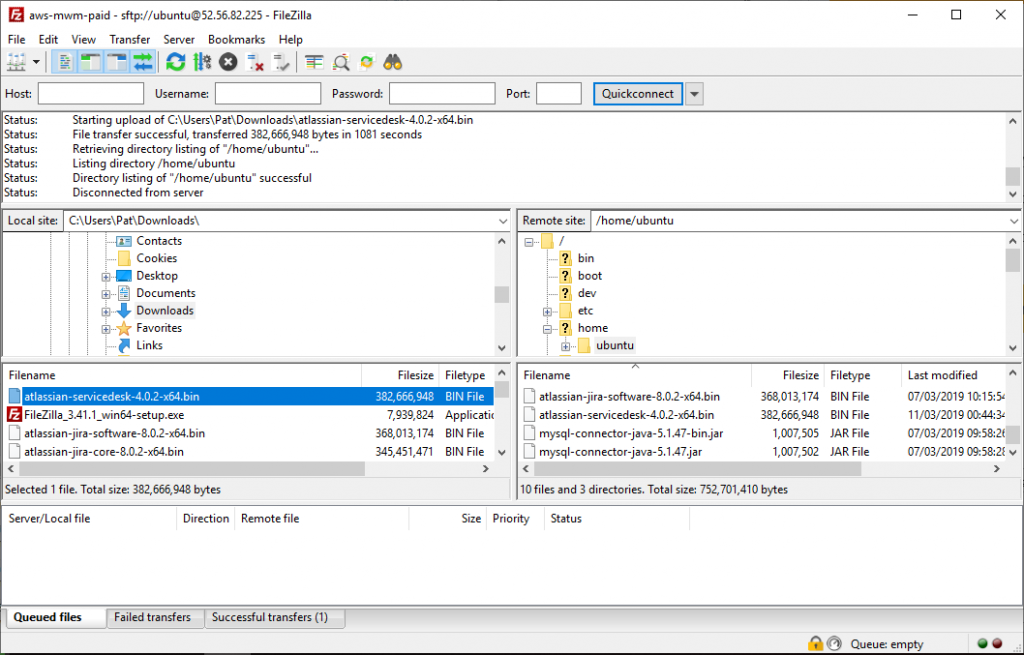
Using FileZilla or any other FTP client, copy the downloaded “bin” distribution file to the server.
Using PuTTY, stop the Jira service – on your installation the service name might be different to mine.
sudo systemctl stop jira1.service

Make the Jira Service Desk “bin” file executable and then run it.
sudo chmod u+x atlassian-servicedesk-4.0.2-x64.bin
sudo ./atlassian-servicedesk-4.0.2-x64.bin

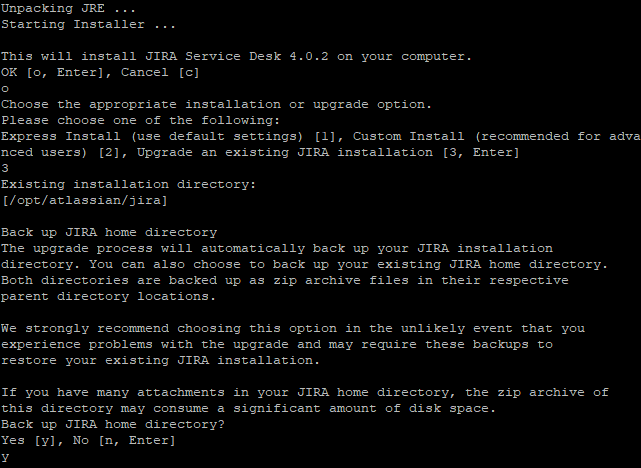
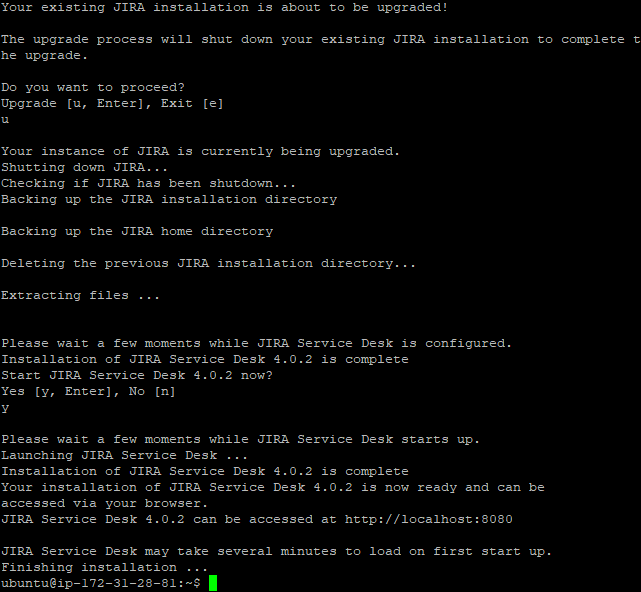
When prompted chose the following options:
“o” for OK to continue,
“3” to upgrade the existing Jira installation,
“y” to take a backup of the Jira home directory,
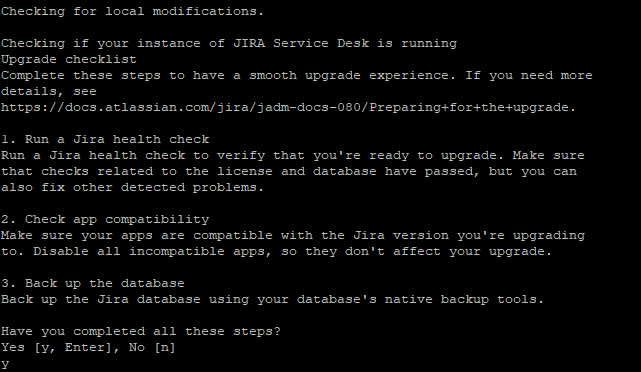
“y” to confirm that you’ve done all the checks,
“u” to continue with the upgrade and
“y” to start Jira now.
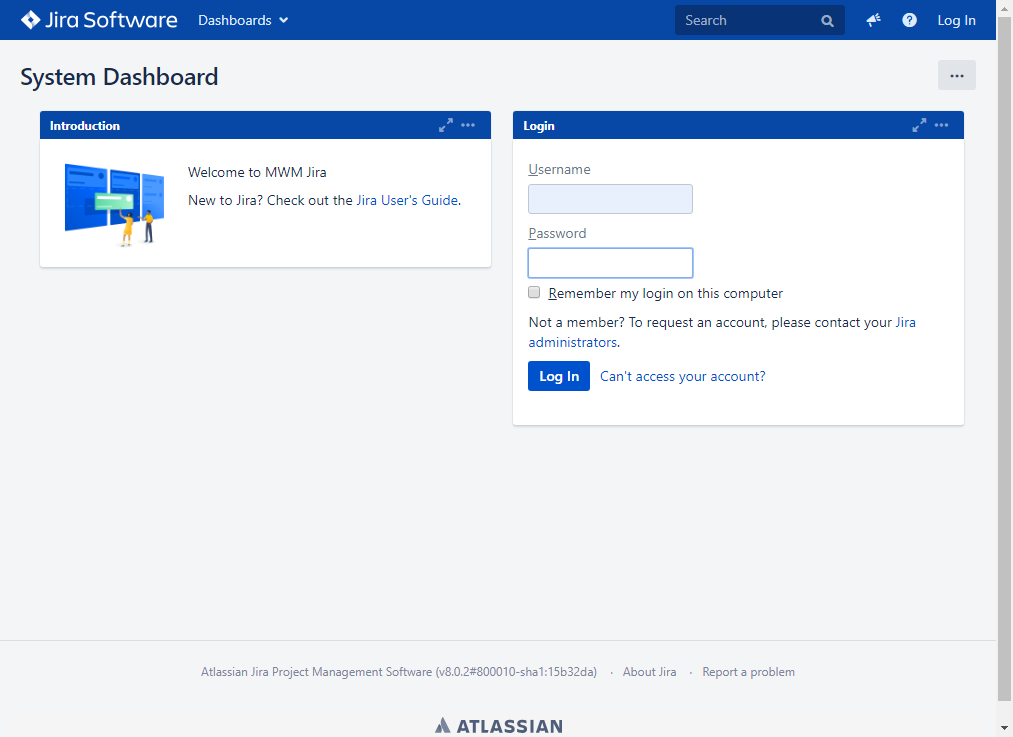
Browse to your Jira site and wait if itâs still installing. I had this installed at mywebminder.uk:8080/secure/Dashboard.jspa but that was just for the purposes of these articles and is no longer available. You will need to enter your login details when prompted.
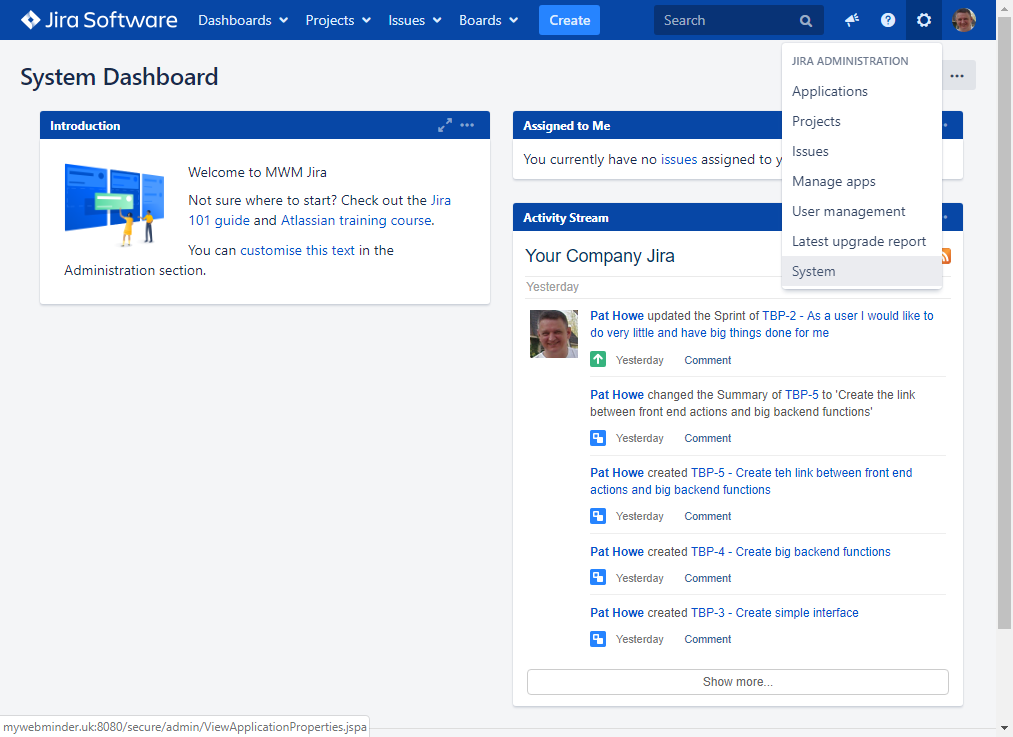
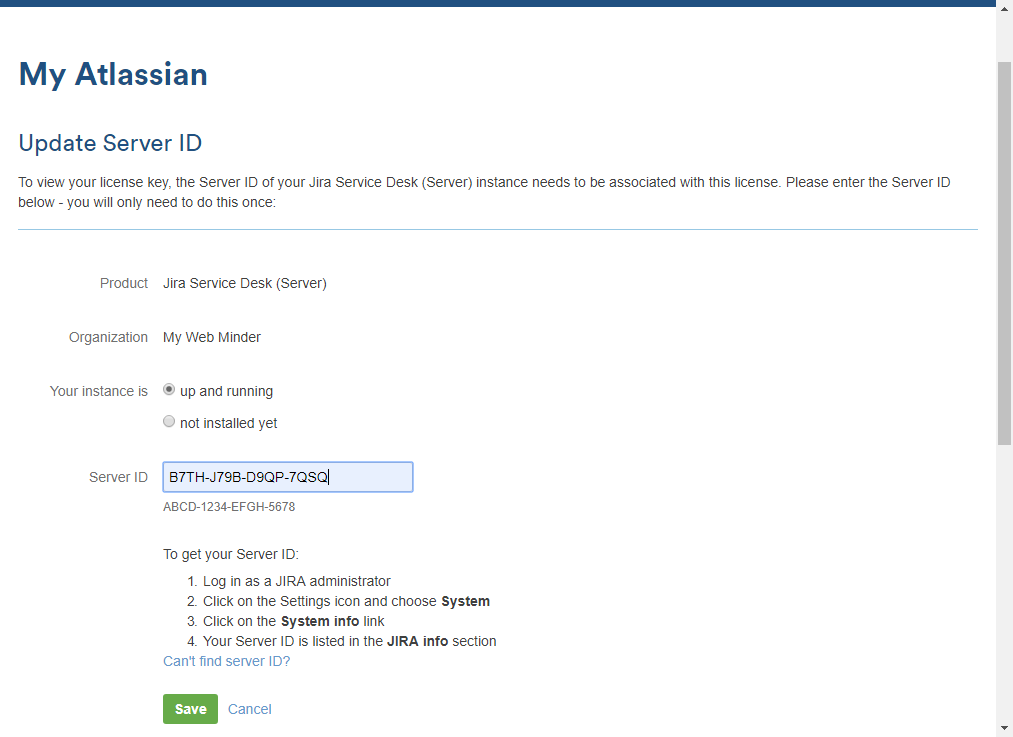
After login you should be on the Dashboard page. From the Admin menu select System and the System Info. Then from System Info, scroll down and copy the existing Server ID into the clipboard.

On the Atlassian website, login and go to my account. Then scroll down to Jira Service Desk and open it up then click on View License.
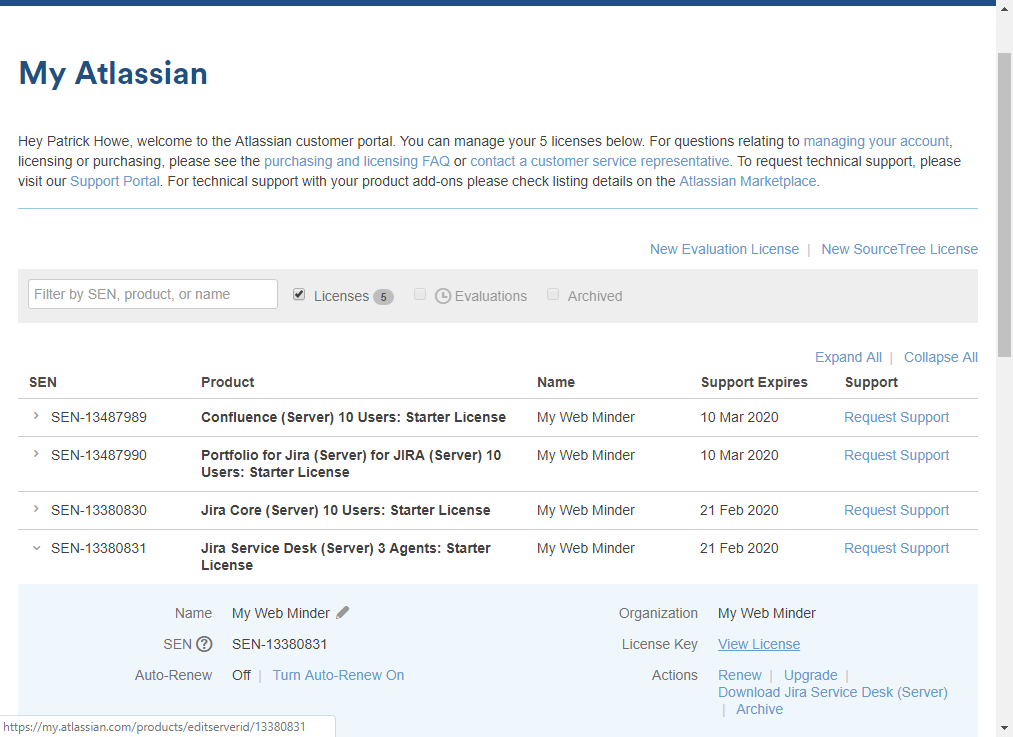
Paste in the Server ID and click Save.
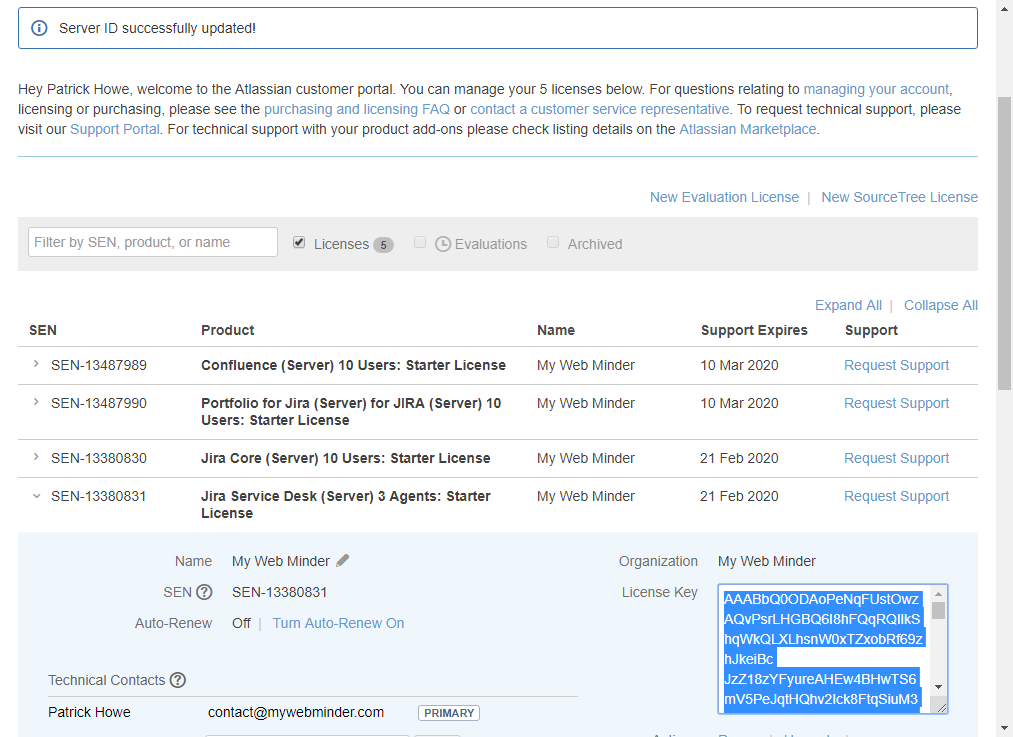
You will then return to the account settings page. From here, copy the License Key to the clipboard.
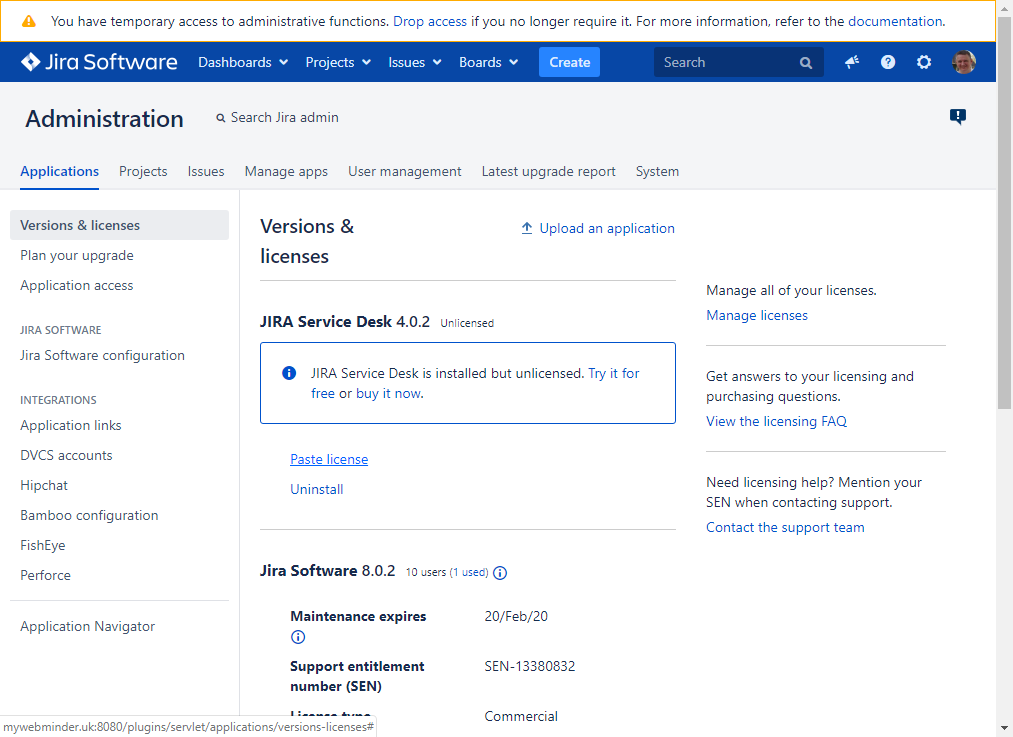
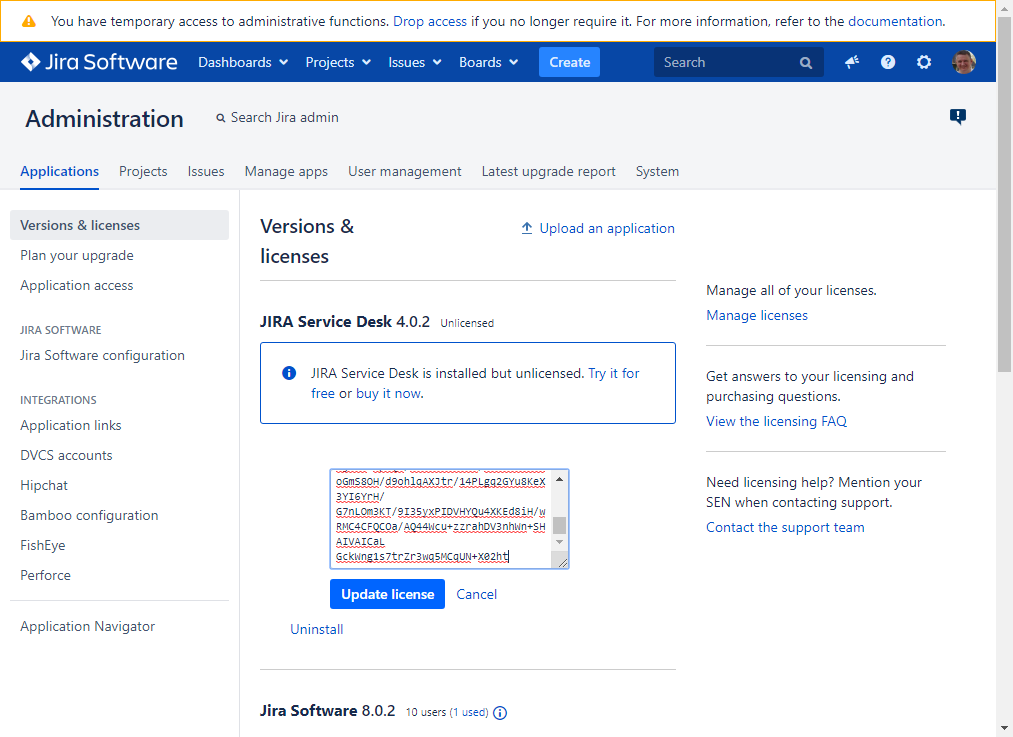
Go back to the Jira site and click on Applications. Jira Service Desk will show and click on Paste License. Then paste from the clipboard into the box provided and click Update license.
Test by creating a project and noting that you have the Service Desk types too.
That’s it. You will now need to set up your Service Desk project and Agent Users. I have also added Confluence to the same server so I’ll write that up in a separate article.