

This article is really a continuation of my previous article about installing Jira Software on an Ubuntu server yourself, Installing Jira on Ubuntu Linux with MySQL. However, this focuses on Jira’s sister product, Confluence.
The Confluence product is great for team collaboration and can be used for many different purposes. You can set up a Wiki for your company or applications. For me, however, I mostly use it for requirements documentation and Jira reporting. To be able to do the latter, you need to link to a Jira instance and that is easy to do on the same server.
So, if you don’t already have Jira installed, then I’d suggest you do that first before installing Confluence. The following steps walk you thourgh the installation of Confluence on the same Linux server as Jira Software.
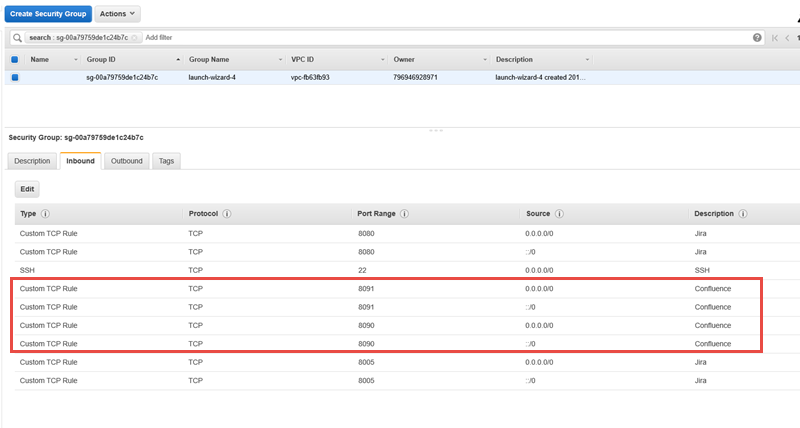
The first thing you will need is to make sure the ports are open. If you are using a cloud based Linux server then you will be able to set that from within the server control panel online. Confluence requires ports 8090 and 8091 to be open.
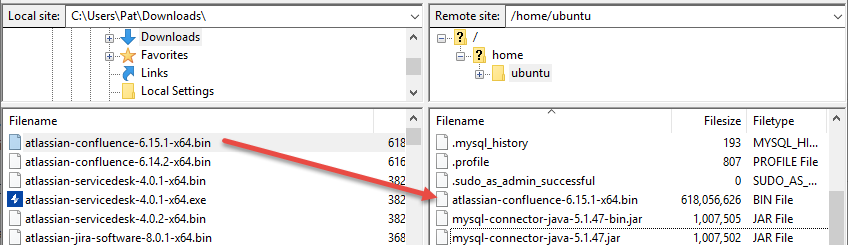
Make sure you have downloaded the correct Confluence “bin” file from the Atlassian website. In my example, that is Linux 64-bit. Then upload it via an FTP client to your server.
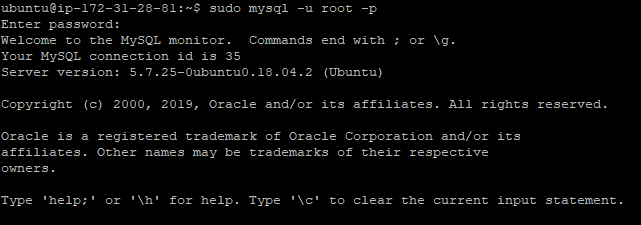
Use PuTTY or another command line interface to connect to your server and make sure you have any updates/upgrades complete before continuing. Next up log into MySQL.
sudo mysql -u root -p
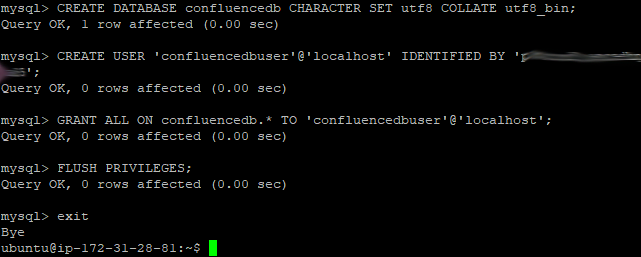
From MySQL you will need to create a database and a database user with all permissions.
CREATE DATABASE confluencedb CHARACTER SET utf8 COLLATE utf8_bin;
CREATE USER ‘confluencedbuser’@’localhost’ IDENTIFIED BY ‘[password]’;
GRANT ALL ON confluencedb.* TO ‘confluencedbuser’@’localhost’;
FLUSH PRIVILEGES;
EXIT
Next up we will need to edit the MySQL configuration file. If it doesn’t exist it will be created.
sudo nano /etc/mysql/conf.d/mysql.cnf

The following shows the content of the mysql.cnf file. This is what Confluence needs to continue with the install. Jira can work with these settings if it is already installed.
[mysqld]
default-storage-engine=INNODB
innodb_default_row_format=DYNAMIC
innodb_large_prefix=ON
innodb_file_format=Barracuda
innodb_log_file_size=2G
character_set_server=utf8
collation-server=utf8_bin
max_allowed_packet=256M
transaction-isolation=READ-COMMITED
binlog_format=row
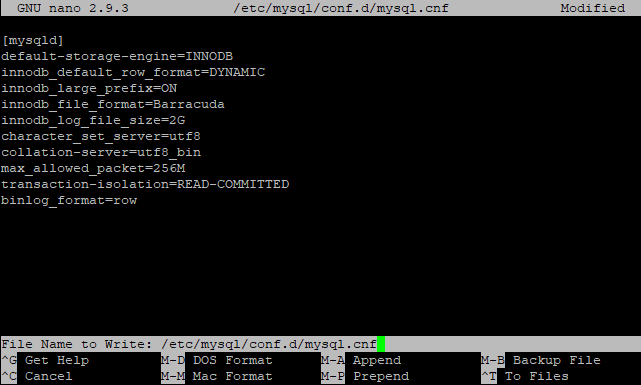
Ctrl+O to save and Ctrl+X to exit the text editor. Next up, stop and start MySQL.
sudo /etc/init.d/mysql stop
sudo /etc/init.d/mysql start

Once MySQL has restarted you’ll need to make the Confluence “bin” file executable and run it.
sudo chmod u+x atlassian-confluence-6.15.1-x64.bin
sudo ./atlassian-confluence-6.15.1-x64.bin

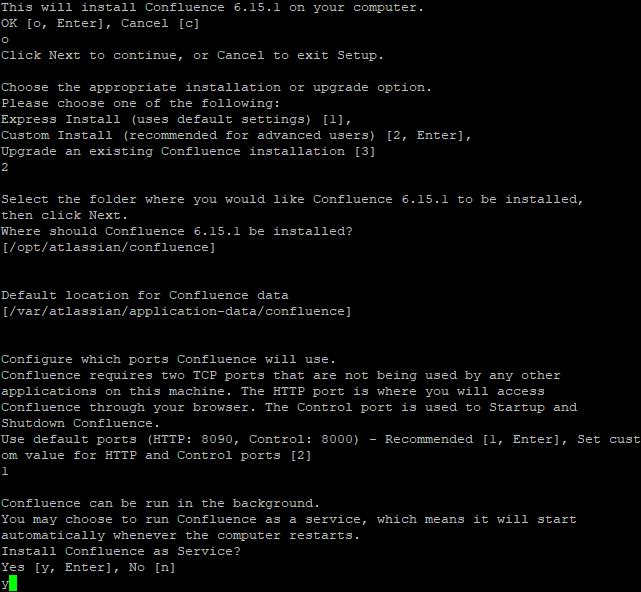
To install Confluence accept any default paths and when prompted answer as follows:
“o” for OK to continue,
“2” for a new installation,
“1” for recommended ports,
“y” for install as a service and
“y” to start.
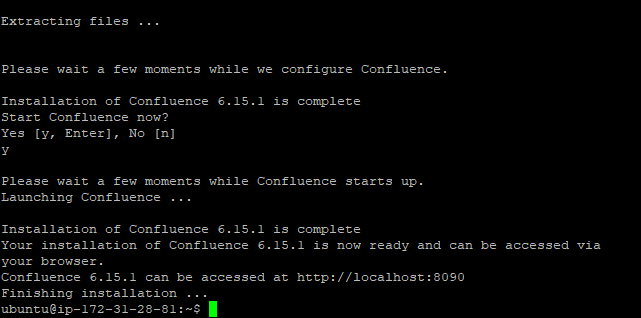
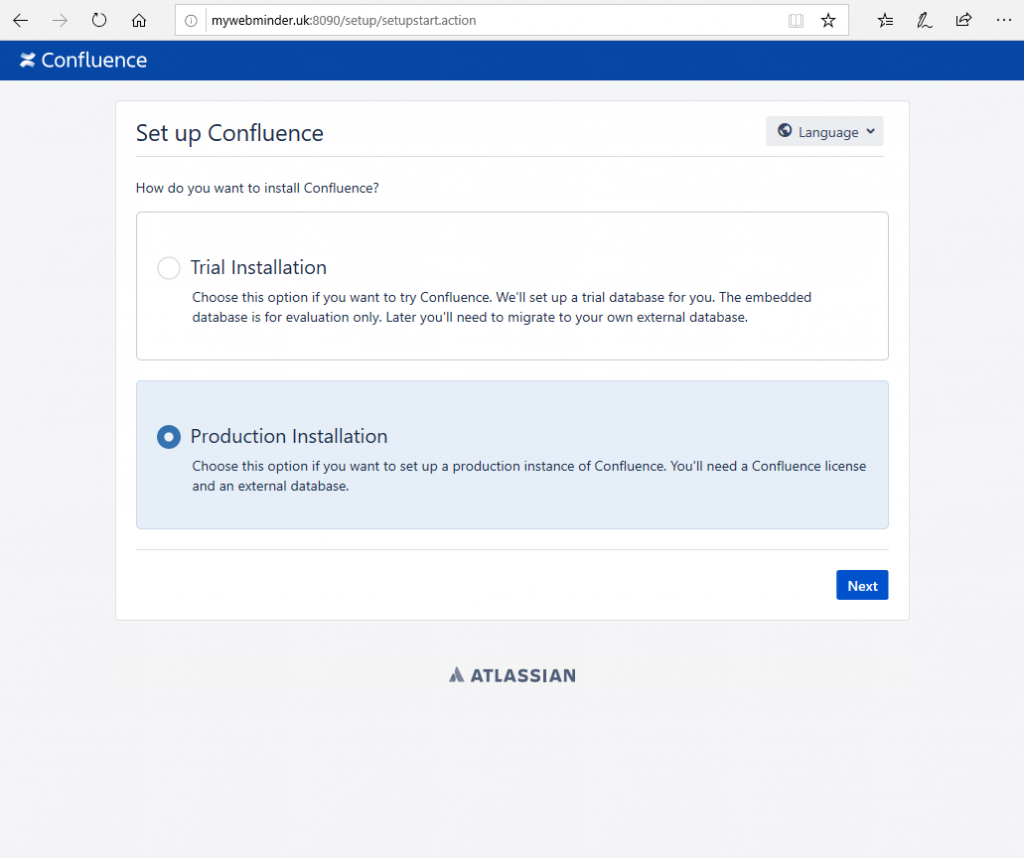
Navigate to port 8090 using an internet browser. For example mywebminder.uk:8090. Select Product Installation if you have made a purchase or Trial Installation if you haven’t purchased yet.
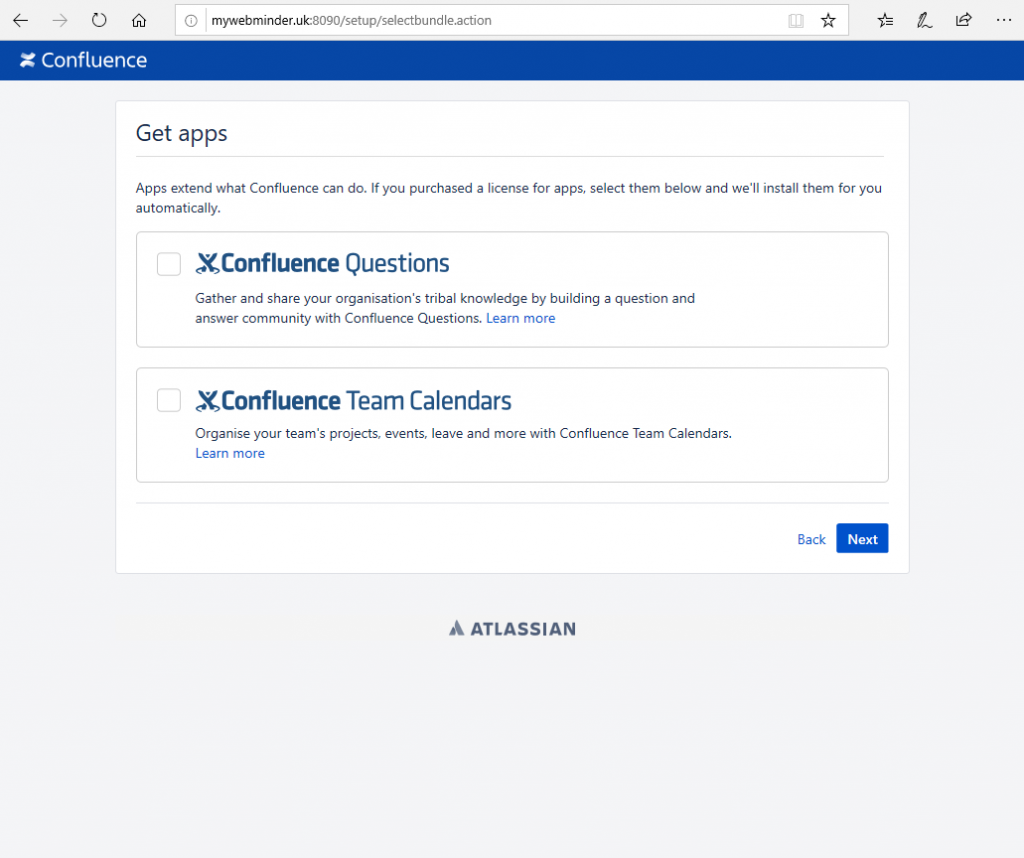
If you have purchased an Add-on, select it or them before clicking next.
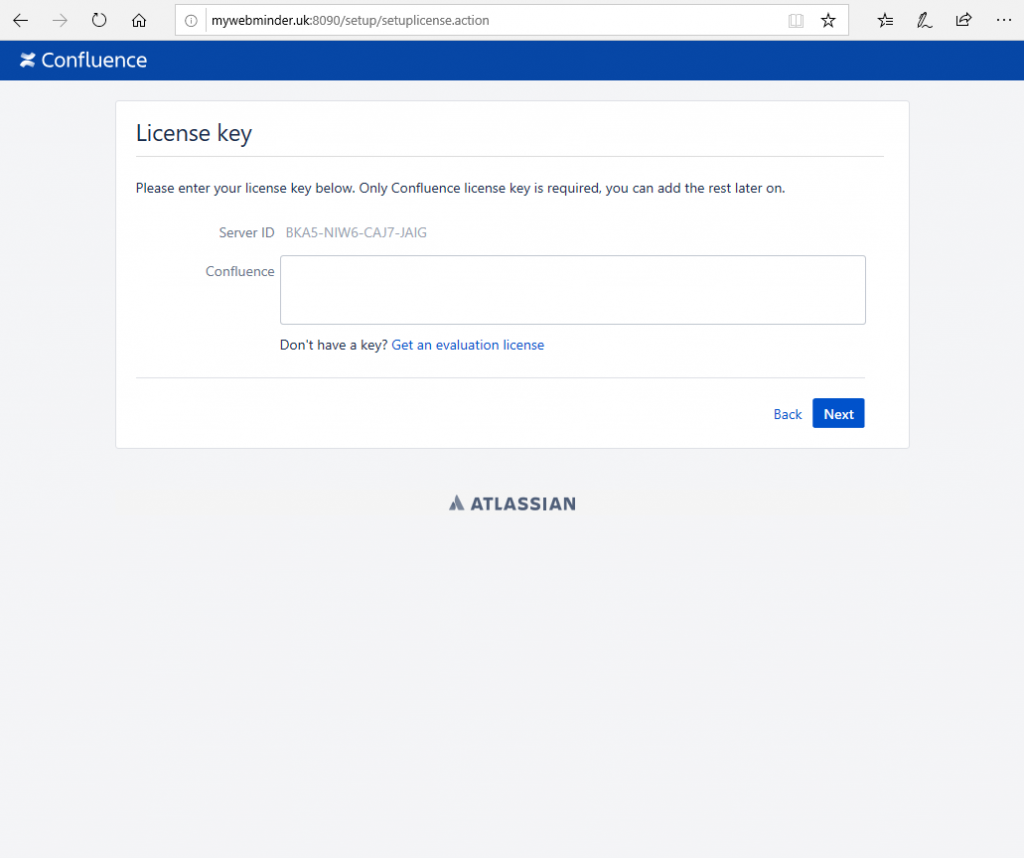
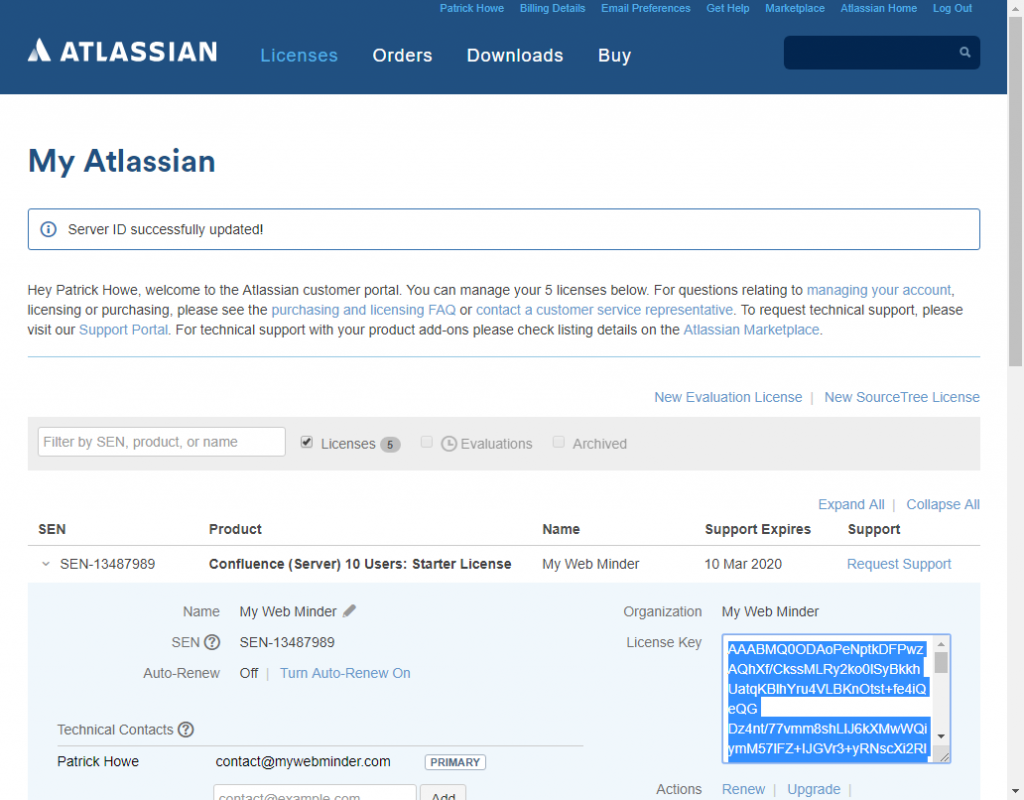
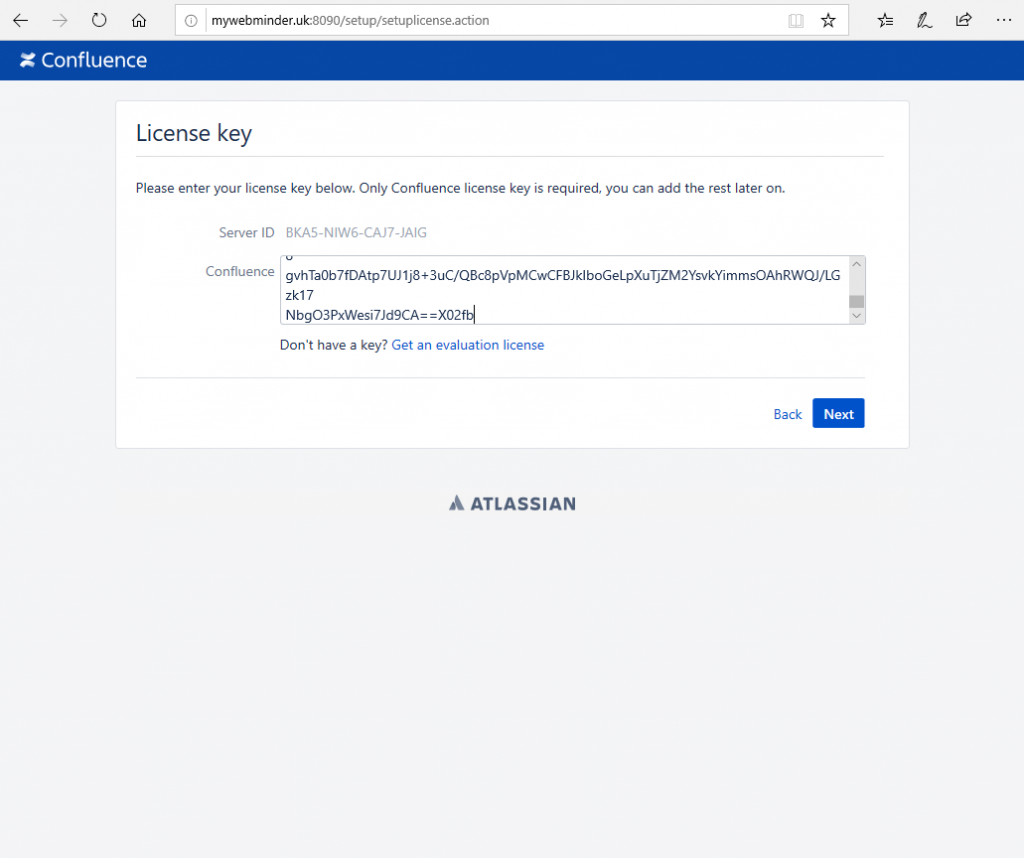
When you get to the License key screen you’ll have to switch to Atlassian. You’ll notice that the Server ID is already set. Take a copy to the clipboard of that Server ID in case Atlassian doesn’t remember it.
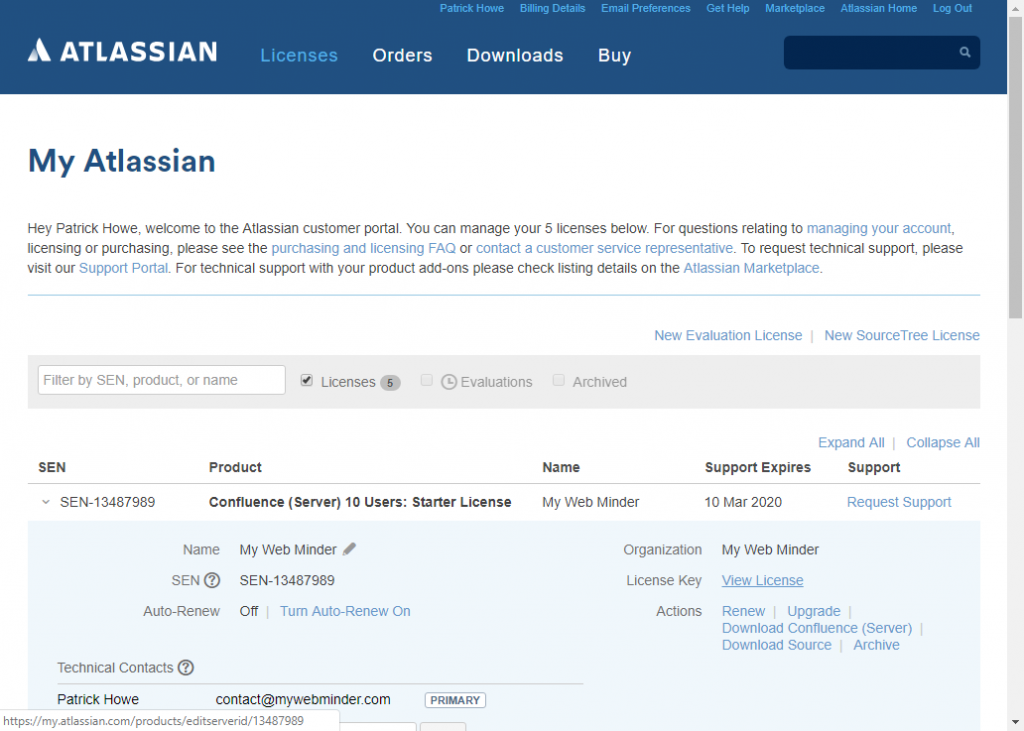
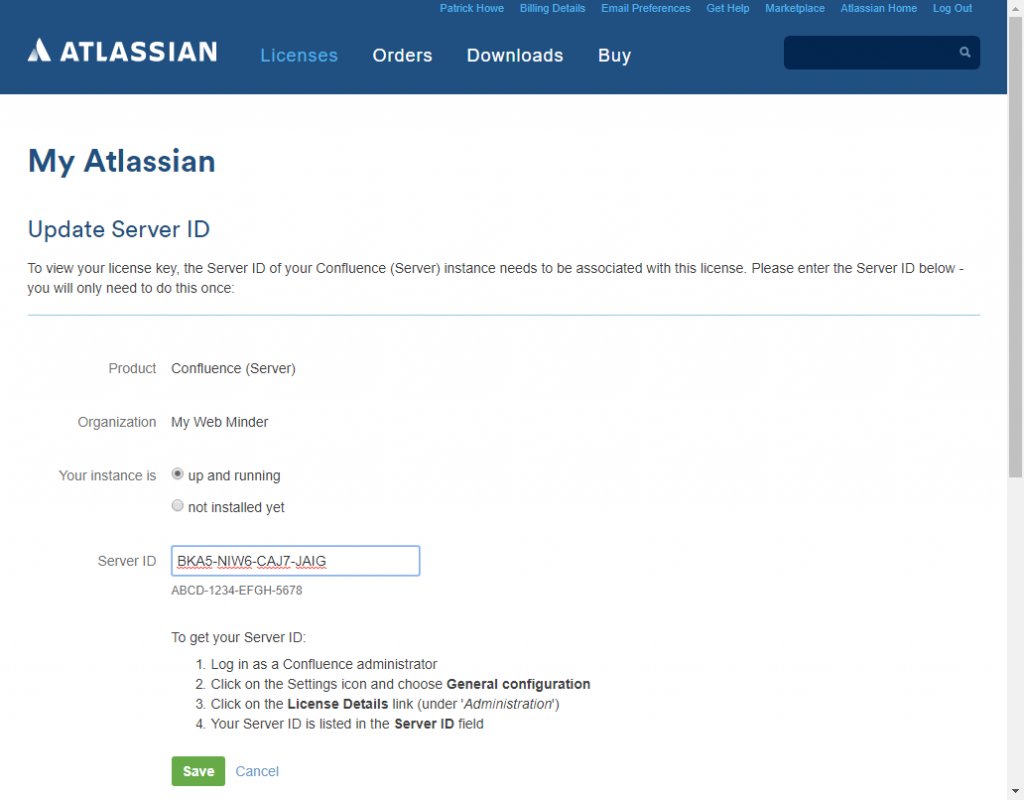
In your Licenses section, locate Confluence and click View License. It should remember the Server ID but if not you can paste it in (you would paste it in if you were using separate servers) and click Save.
From the next page, copy the License Key to the clipboard. Return to Confluence and paste it in and click Next.
Select “My own database” when prompted and click Next. Then complete the database information that you created earlier. As the database is on the same server, the hostname is “localhost”.

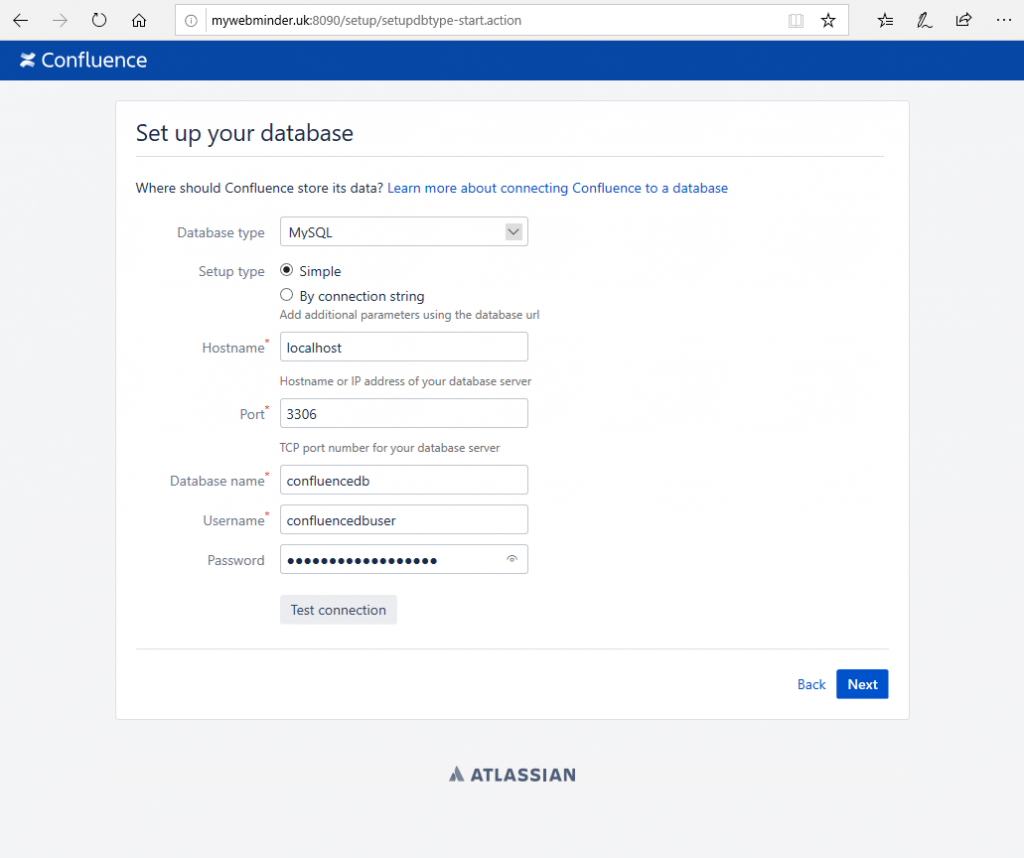
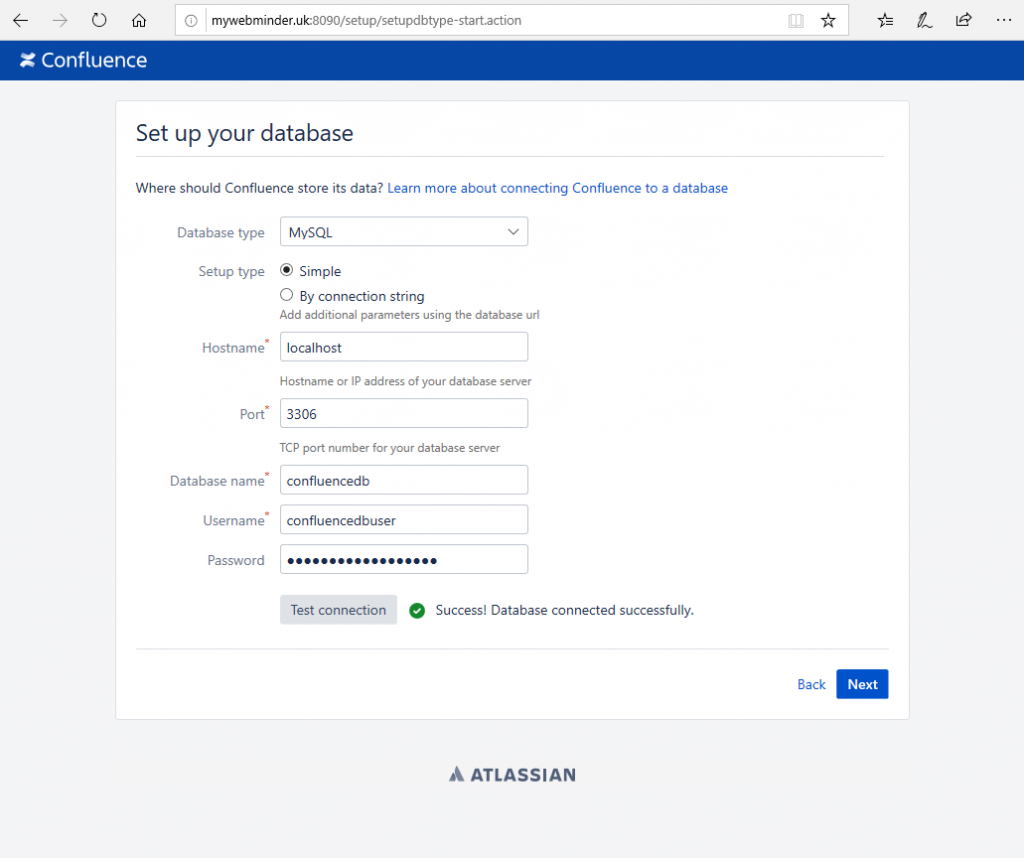
You should click on Test connection before clicking Next.
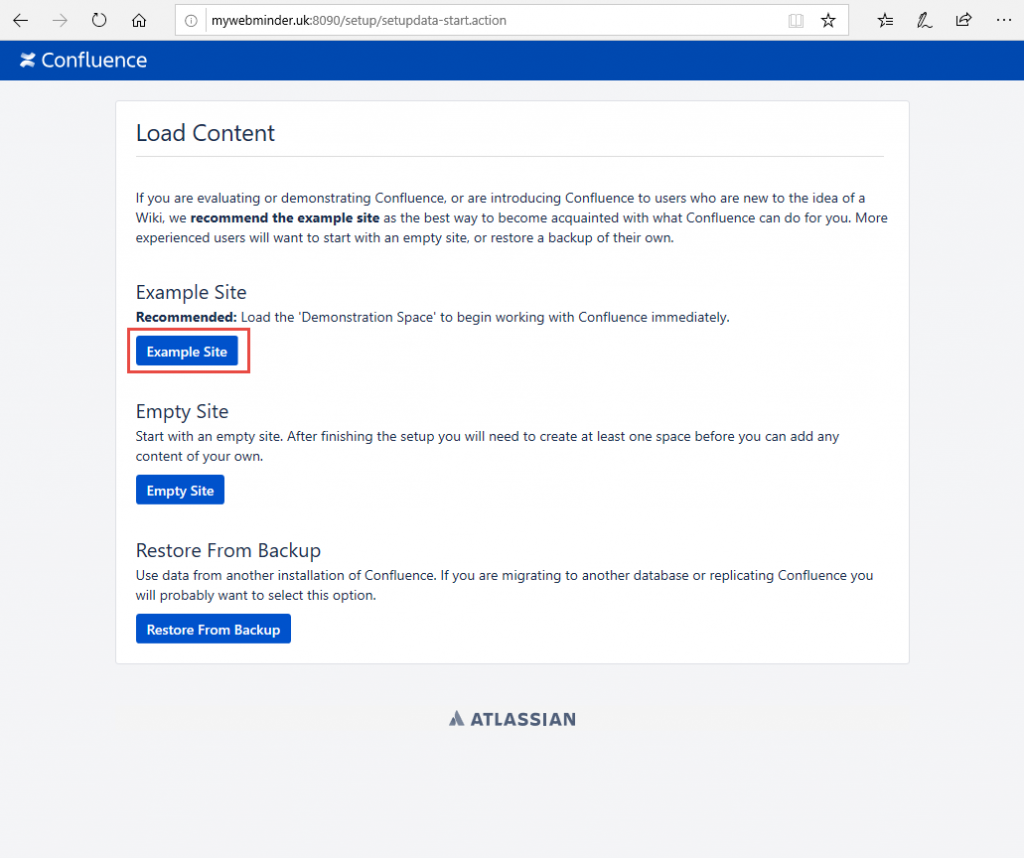
You now have a choice of an empty site or an example site (or you can restore from a backup if you have one). For this example, I’ll choose Example Site.
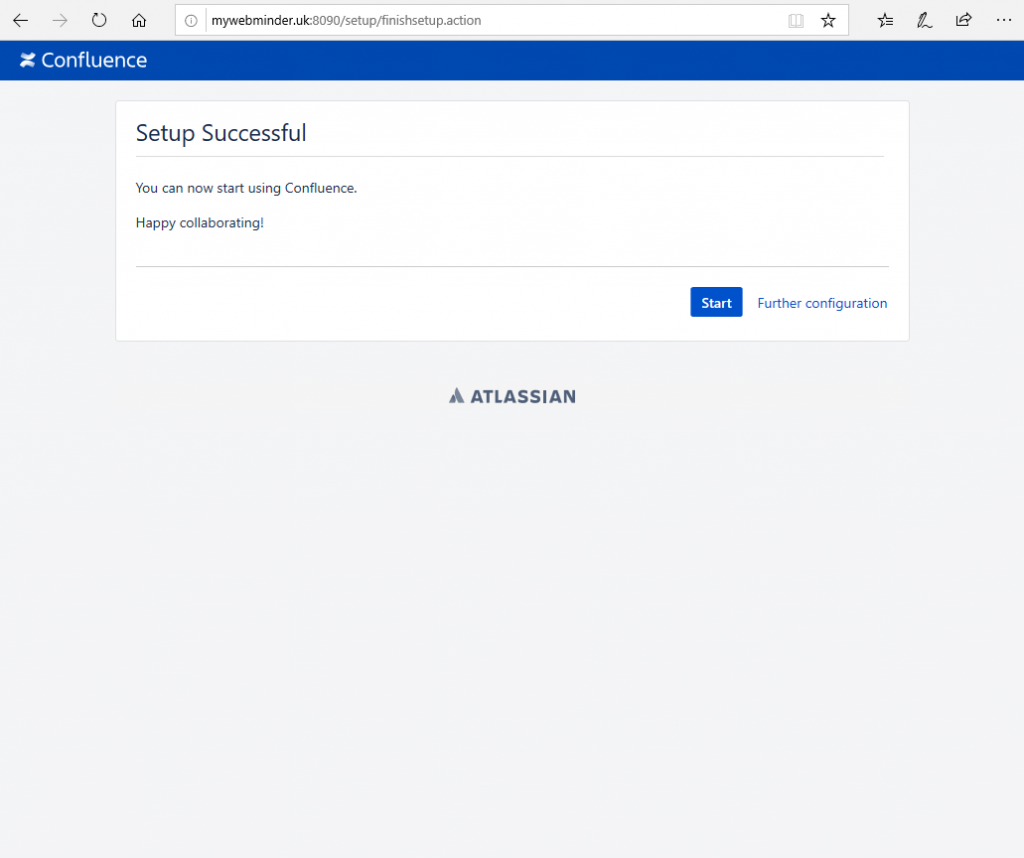
When set-up completes, click Start.
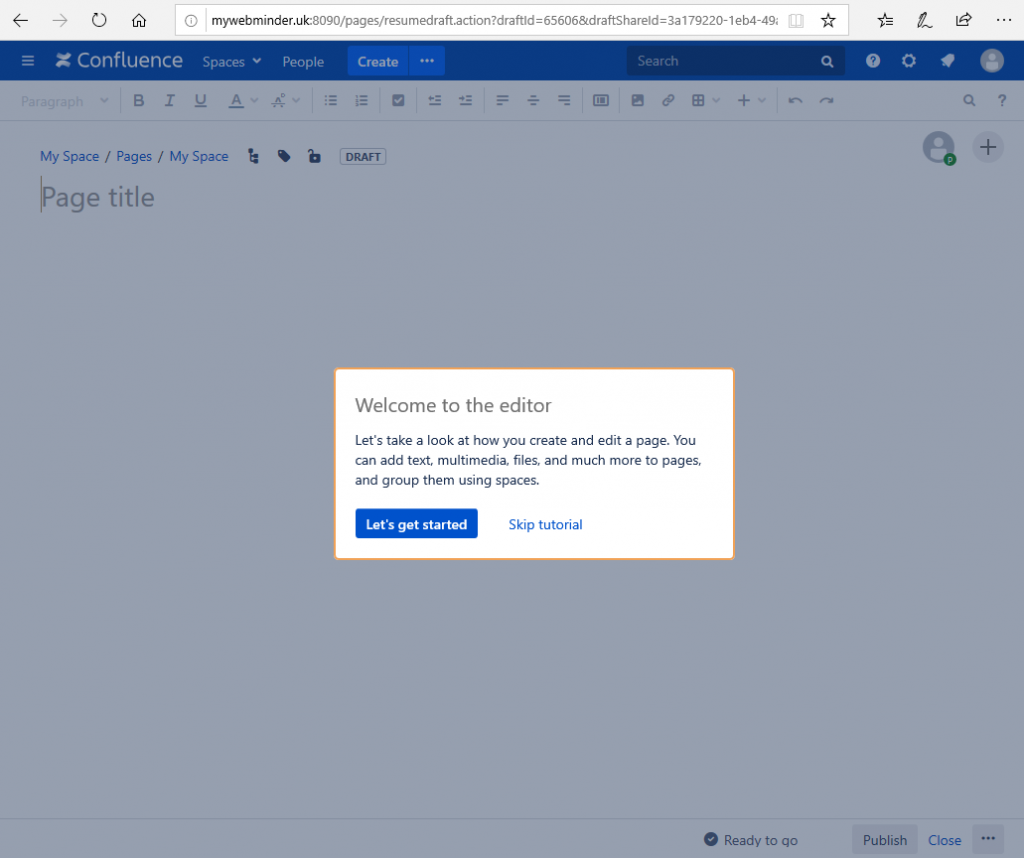
You need to have at least one Space defined so enter a name, click continue and create a page. The first time you do this, you will be prompted to walk through a tutorial. If you have not used Confluence before, then you should definitely take advantage of that.
That’s it. Atlassian has many other collaboration and team tools and installation guides are available on their website. However, they do jump around a bit as they try to cater for every type of installation. That’s the reason that I put together these quick guides as an end to end installation for just one product on one type of system. The first one installing Jira Server on Ubuntu 18.04 LTS on AWS covers all of the tricky stuff. The Jira Service Desk installation and this Confluence installation article, just build on that.