

I quite often forget how to switch between a negative and positive image or how to do an exact colour replacement when using Adobe Photoshop. Each time, I need to, which is not very often, I spend a bit of time working it out. As this has just happened to me, I thought I would make a note of the steps and make that into an article.
I needed to switch colours in a 2-colour logo to from blue on a white background to white on a blue background. This would have been fine if the coloured image parts were on separate layers or if it was a vector graphic but it was a PNG. So, I thought I would cover something similar here although not using the same image. I also thought that I cover how to switch a positive image to a negative. It is the same action for switching a photo to its negative.
Positive and Negative
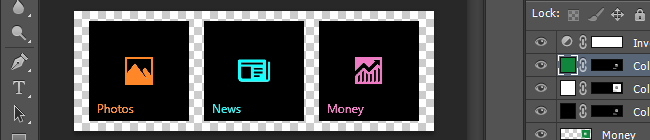
So, I will start with the negative from positive. I have three simple two-colour images in this example and I will apply one action to the whole image. This will convert each of the three images to their opposite colours in the colour wheel. For example, the opposite of black is white.
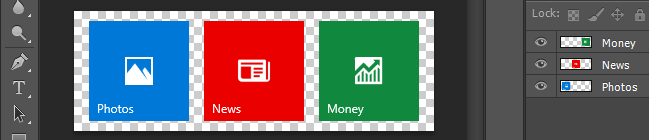
From the menu select “Layer – New Adjustment Layer – Invert…” then click OK.
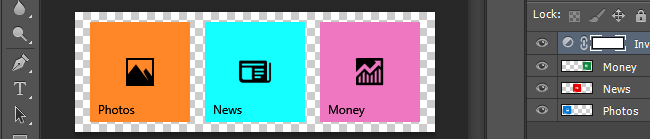
You will see that white becomes black, blue becomes orange, red becomes green and light green becomes pink. This was applied as a layer and not an adjustment to the colour of the image so that I keep the original images and can just disable the adjustment layer to carry on with the next example.
Replace Color option
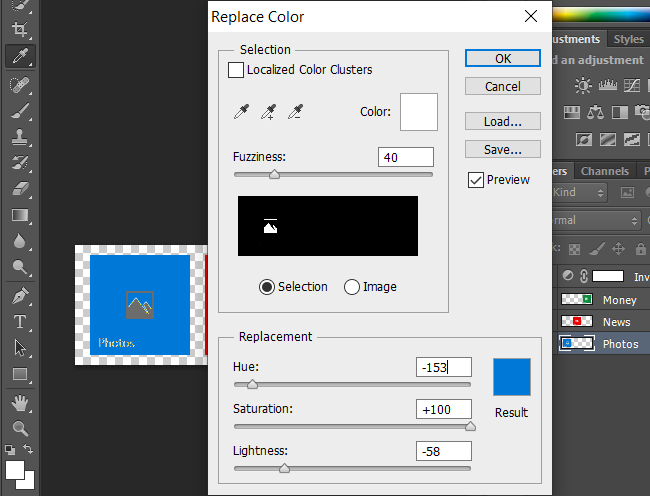
The first thing that I always try when I want to replace one colour with another is the menu option “Image – Adjustments – Replace Color…” but that never gives me the result that I want. For example, if I were to replace white with the blue colour of the Photos image then I would expect to see a blue box with maybe an outline where the previous colours met. Lets try that.
First I make a note of the hexadecimal value of the blue colour, #0078d7, as I will need it very soon. I then select white (#ffffff) in the top box and blue (#0078d7) in the bottom box but I get grey (#6c6c6c) rather than blue as the outcome.
I have been through all the options that I can think of and can only assume that this feature serves some other purpose.
Select Color Range option
There are probably far better ways of doing a colour replacement when you need to switch two colours in 2-colour image over but this way works for me. I think of it as an old fashioned method because I have to involve a third colour to make the switch. Basically, I select all of the pixels containing one colour and then take an action to replace them. I have to replace all of the white pixels with black as a first step. This is because if I replace them with blue, I will not be able to then replace blue with white.
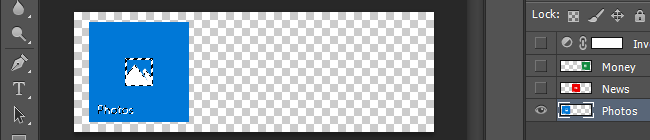
First of all I will hide the layers that I wish to exclude from this. Then select from the Menu “Select – Color Range”. The icon outside of the dialog box defaults to an eye stopper to sample a colour on the image. Note that you can use the eye stopper icon with a plus to add many colours to the colour range to include in the selection. I only have two colours so I will stick with white.
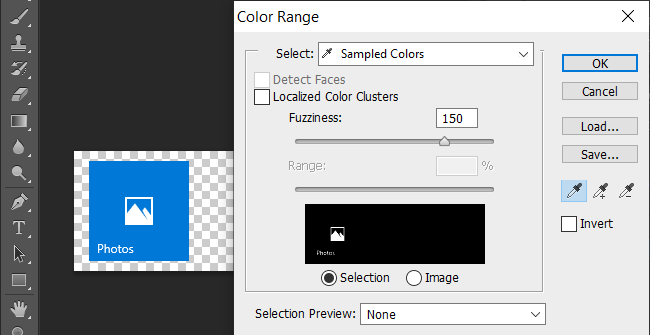
In the selection box you can see the white will be captured pixels and the black is not captured. If all the white areas that you were expecting are not showing, you can adjust the fuzziness to decide what to capture. You will then see the dotted ants around the selections.
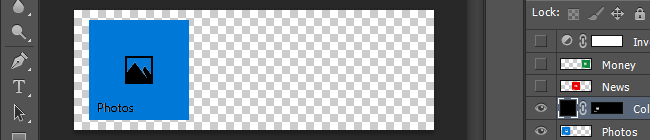
Once you have the colour selected you could use other tools to achieve the desired result but I will continue with this example. Next up is to create a new fill layer from the menu “Layer – New Fill Color – Solid Color…” then click OK and replace with black (#000000).
Finishing off the example
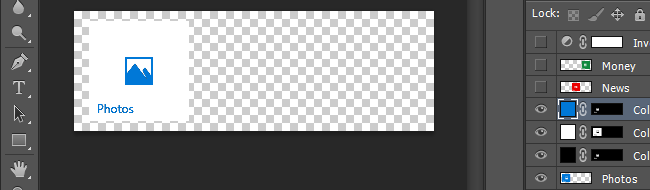
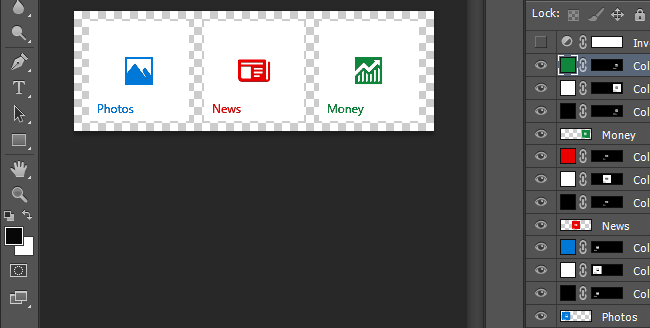
Repeat to replace blue (#0078d7) with white (#ffffff). Then replace black (#000000) with blue (#0078d7).
Then repeat for any other colours that you need to replace. In this example, swapping red (#eb0000) and light green (#10893e) with white. Remember to do each separately.
If at any stage you did not have a solid colour you can always use the eye stopper with the plus symbol to select multiple similar colours when making the selection for the colour range. If you are using the normal eye stopper you can achieve the same by holding down the shift key whilst selecting.
Finally
Just for fun, I applied the previous invert layer to see what the negative of the new images now look like.
If you would like to try the example above then you can find the Photoshop PSD files (before and after) in the zip file here image-colour-swich.