Quite often I have images that don’t quite fit what I want them for. Sometimes, it’s because they are too big and other times they require some cropping or resizing (or both) to obtain the size that I need.
In this short article, I will show a couple of methods that I use in Photoshop to get the result I want.
The main thing to remember when resizing is that you’ll probably need to resize to one dimension and crop the other.
So, in this first example, I want a 960 pixel wide banner that is 360 pixels high to go at the top of a web page. To achieve this I’m going to need an image that is at least those dimensions. That is an odd shape as photos tend to be 1.5 times wider than they are high in landscape or 1.5 times higher than they are wide in portrait. Obviously they can be any shape and size (even a square) but the 1.5×1 (or 3×2) is typical. So I need a picture that is at least 960px wide because 2/3rds of 960 is 640 and that is plenty to cover the height.
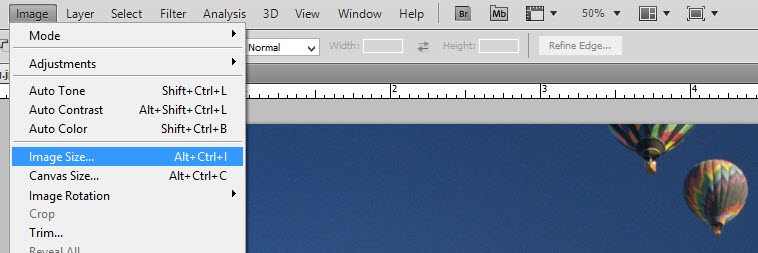
The first thing to do is make sure your image is using the web standard 72 dots per inch (dpi) and then to resize the width to 960 pixels. So select Image Size from the Image menu (Alt+Ctrl+I on a PC keyboard) and make sure ticks are in the 3 boxes to scale styles, constrain proportions and resample image and then type 72 in the Resolution box and 960 in the width box (making sure they are set to pixels/inch and pixels respectively).
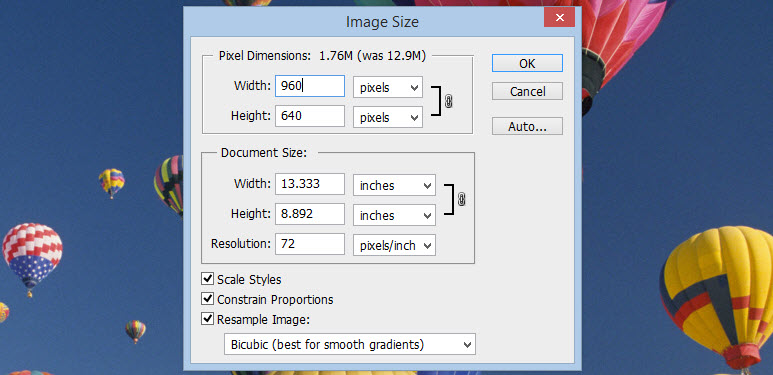
After clicking OK, the image will be the correct width so now we need to crop it so that it is 360 pixels high rather than 640. If I hadn’t constrained the proportions the image would have become distorted.
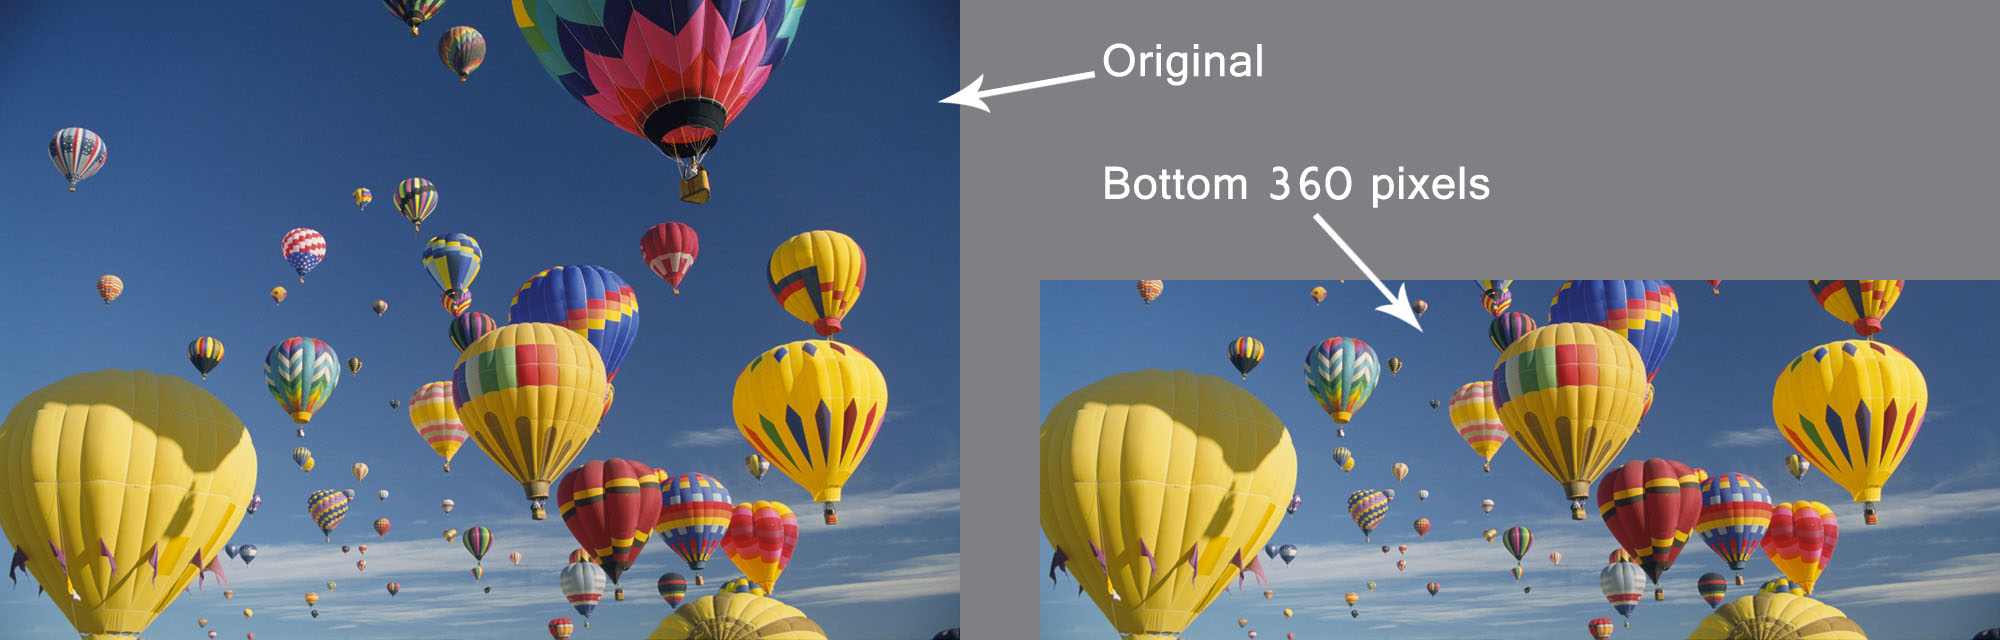
Looking at the image I have to decide upon an anchor position for me to take the best 360 pixels from. This will either be the top or the bottom and if it is right at the top of bottom or directly in the centre then you don’t need to use the crop tool. In this example, let’s make it easy and assume that I want the bottom 360 pixels.

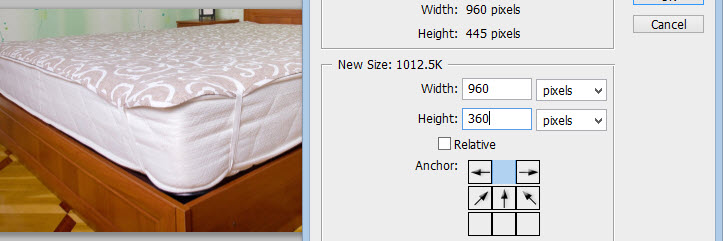
Just beneath Image Size on the Image menu is Canvas Size (Alt+Ctrl+C on a PC keyboard) so select that. Change one of the drop-downs in the Canvas Size dialog to pixels, make sure Relative is not selected, then set the bottom Anchor position (the centre most bottom down arrow in this example) and change the Height to 360. After you click OK you’ll have the bottom 360 pixels.
You could have chosen the top 360 (top up arrow) or taken the 360 pixels from the centre (just left it as the default). Now what if you have an image but don’t want the top, bottom or exact middle of it. This is where you need the Crop tool to set either a top or bottom anchor point from within the image.
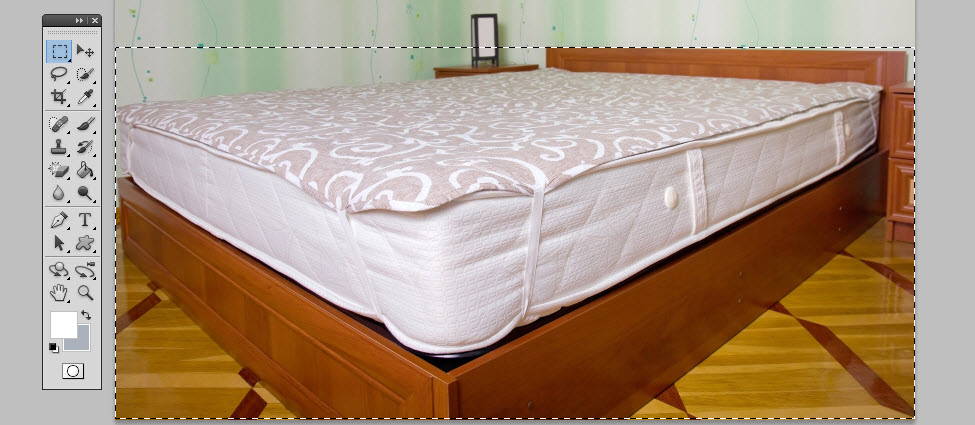
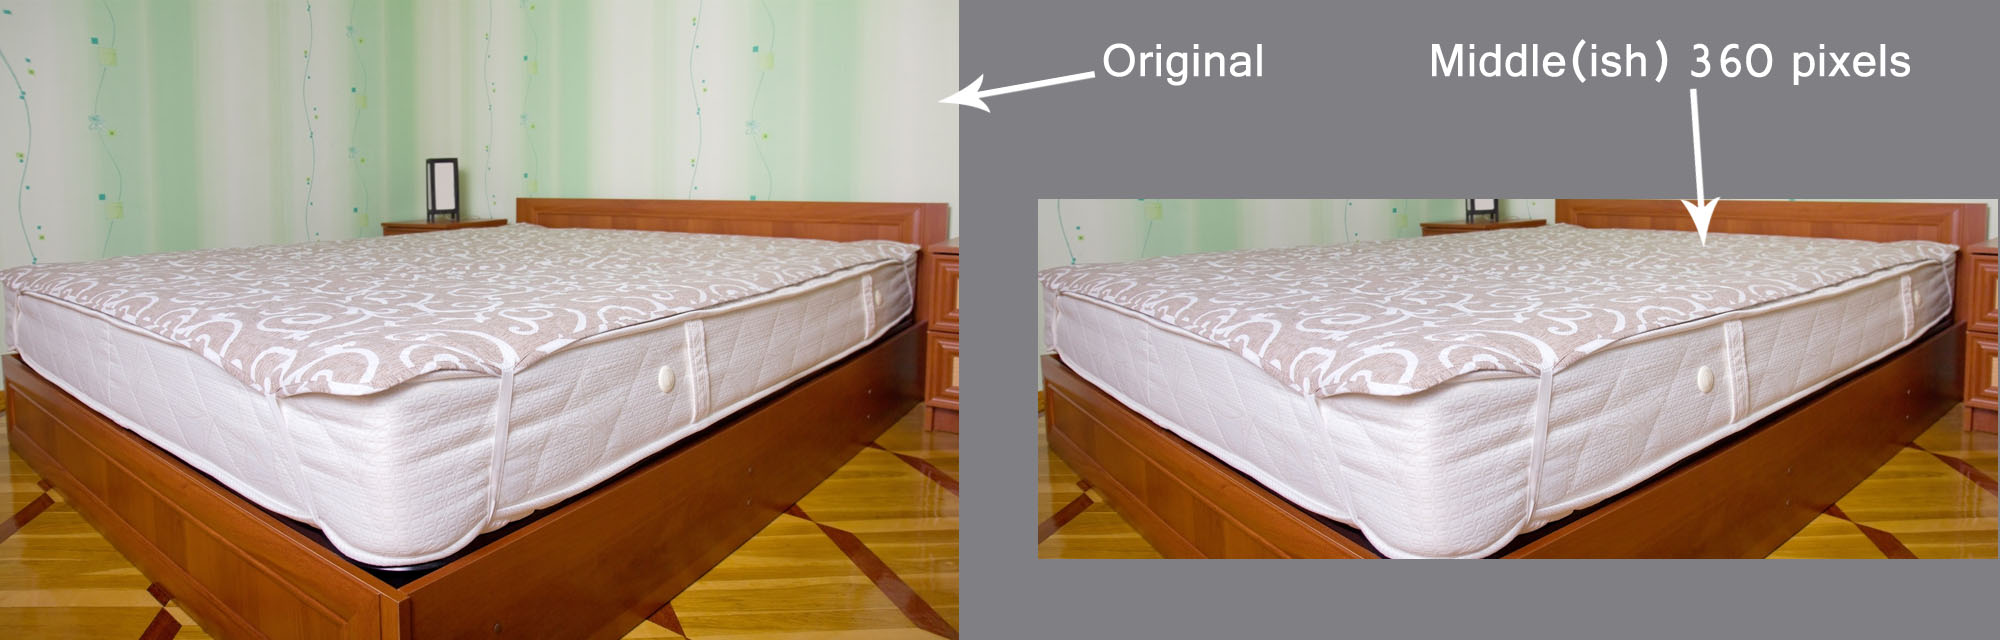
In this next example, I want to get as much of the bed in the 360 pixels as I can but if I choose top, middle or bottom, I’m going to miss some of it out. Here, I want to set my top Anchor at the top of the headboard and use the 360 pixels below that. It will miss out some of the bottom of the bed but will still contain enough to show it is a bed with a mattress. To do this. I’ll need to use the area selector and highlight the area at the top bed right the way down to the bottom. If you are a pixel or two out, use the keyboard up or down arrows to move the area selector.
When it’s in the right place, select Crop from the Image menu to remove the bits you don’t want. Then repeat the steps above with the Canvas Size but remembering to anchor to the top this time.