

Something that I use Photoshop for quite often is to straighten up wonky images. Most pictures don’t really need straightening but sometimes they look silly or need to be straight to fit in with another part of a design.
In this article I will show you show to straighten an image using Photoshop. It involves a bit of rotation and a bit of cropping but is quite simple and effective. Let’s get started.
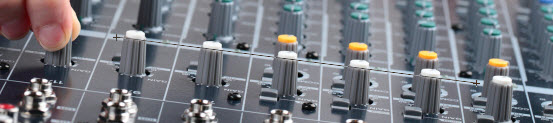
First you need to open your image in Photoshop. I always work on copies so if you are not working on a copy of the image, not is the time to save it as another filename. In this example, the photograph has been taken at an angle and I want to straighten it so the mixer controls are all level horizontally.

Once you have your copy open in Photoshop you need to find the ruler tool. It’s on the toolbar with the eye dropper tool. With the ruler selected draw a line across the area that should be level. It is great if you have a line in the image with which you can use to guide your ruler line but it’s not absolutely necessary. In my example there is a line on the mixer itself so I’m using that.
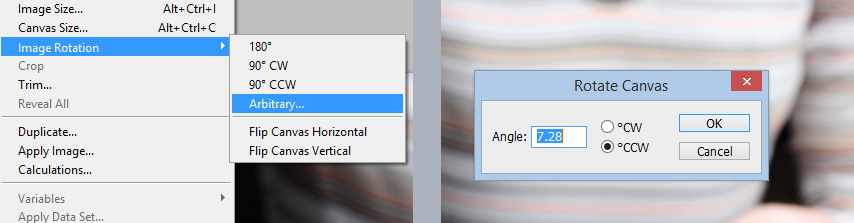
Now to rotate it you go to the Image menu and select Arbitrary from Image Rotation. This will show you what angle it needs to rotate to straighten the ruler path. So click OK to accept.
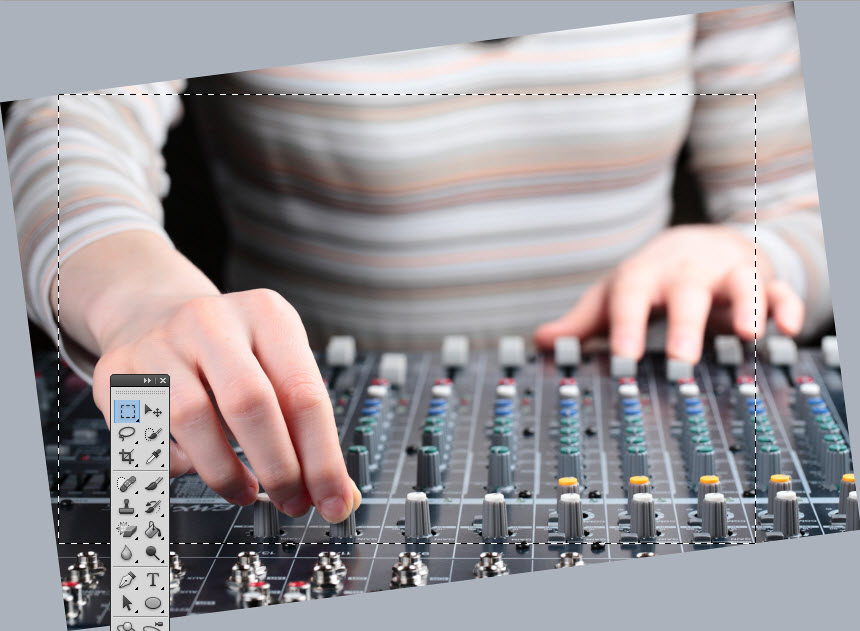
Now you have an image that has background added as it’s increased in size by being rotated. You will need to use the cropping tool so select an area of the image that does not contain the background using the Rectangular Marquee Tool from the toolbar.
Last of all from the Image menu select Crop and that’s it.
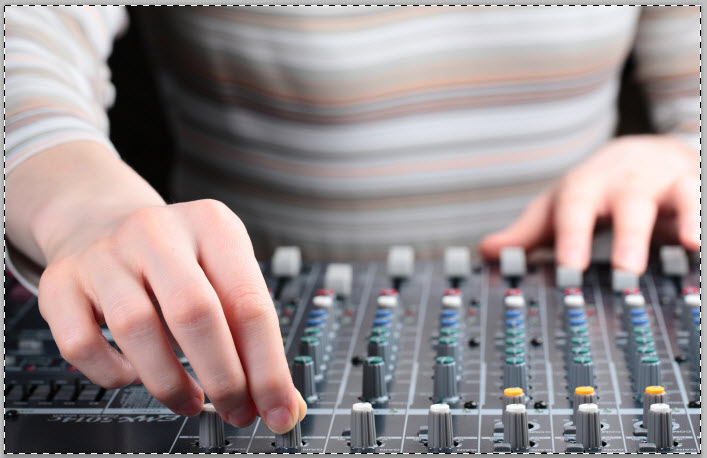
Click anywhere outside of the image to remove the marching ant effect around the image.