One of the things that we get asked to do in a design document is to get text to fill a particular shaped gap or follow a path that is not straight. In this article I will cover both of those scenarios.
There could be many reasons that you need your text to follow a curved path or to fit inside a particular shape. First up we will start with the shapes and getting your text to fit inside them is really simple.
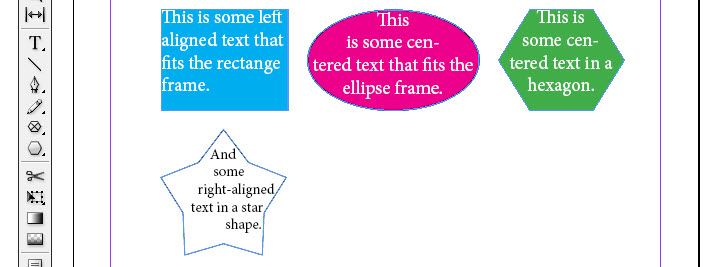
You use the framing tools to set the boundaries for the text and then enter the text within the frame. In the example I have three shapes on a page, a rectangle, an ellipse and a hexagon.

Select the Rectangle Frame Tool and drag an area the size of the frame that you want (in this case over the cyan rectangle). You can also create a frame to be an exact size and to do that rather than drag an area just click on a blank area of the page and you can enter the dimensions.
Next select the type tool, click in the frame and type some text. It is exactly the same process for the ellipse but you use the Ellipse Frame Tool in place of the Rectangle Frame Tool.

To create a polygon that is not the default six-sided or even a star frame the process is slightly different. My example is six sided but I will do it the other way. Select the Polygon Frame Tool and double click on it, enter the Number of Sides and keep the Star Inset as zero percent.

After setting the polygon sides you drag the frame where you would like it on the page in the same way as using the ellipse or rectangle. Then select the type tool and enter your text within the frame.

You can also do the same with a star shape by repeating the polygon process but choosing a Star Inset. In this picture above I chose 5 sides and 20% Star Inset.
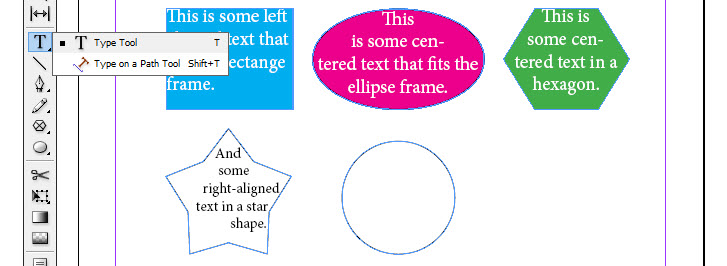
Next up is how to get text to follow a path that is not a straight line. In this example, I have a circle (created using the ellipse tool but holding down the Shift key so all dimensions are equal) and I want to place text around the circle.

First, select the Type on a Path Tool and then click on the shape that you want to the text to go around and start typing.

If you want to edit the text make sure you use the direct selection tool, click on the type to get brackets at central, left and right positions, then drag the bracket to adjust the position of the text.

You can move the start position of aligned text by moving the left, central or right brackets or swap sides by dragging the central bracket to the other side of the object as in the picture above which I also rotated the left aligned text by moving the left bracket starting point.
If you need to change the type on a path options you can get those from the Type menu by pointing to Type on a Path and clicking Options. Keep Preview ticked so you can view the effect your changes are having as you make them.

That’s it, I hope you will find these tips useful in your future InDesign work.
