

I had to convert a photograph to black and white recently and I remember from many years ago having a problem trying to achieve this.
It was a simple automated task in many other photo editing tools (including Photoshop Elements) but I couldn’t figure it out in the full version of Photoshop (I think it was CS2 but may have been earlier). I can’t remember when Camera Raw was introduced to Photoshop but that was where the functionality could be found (Convert to Grayscale option at the top of the HSL/Grayscale tab). It makes a good guess at a black and white conversion and you can use the sliders to adjust it.
For this article, I’m using Photoshop CS5 as the same functionality found in Camera Raw has been moved and improved.
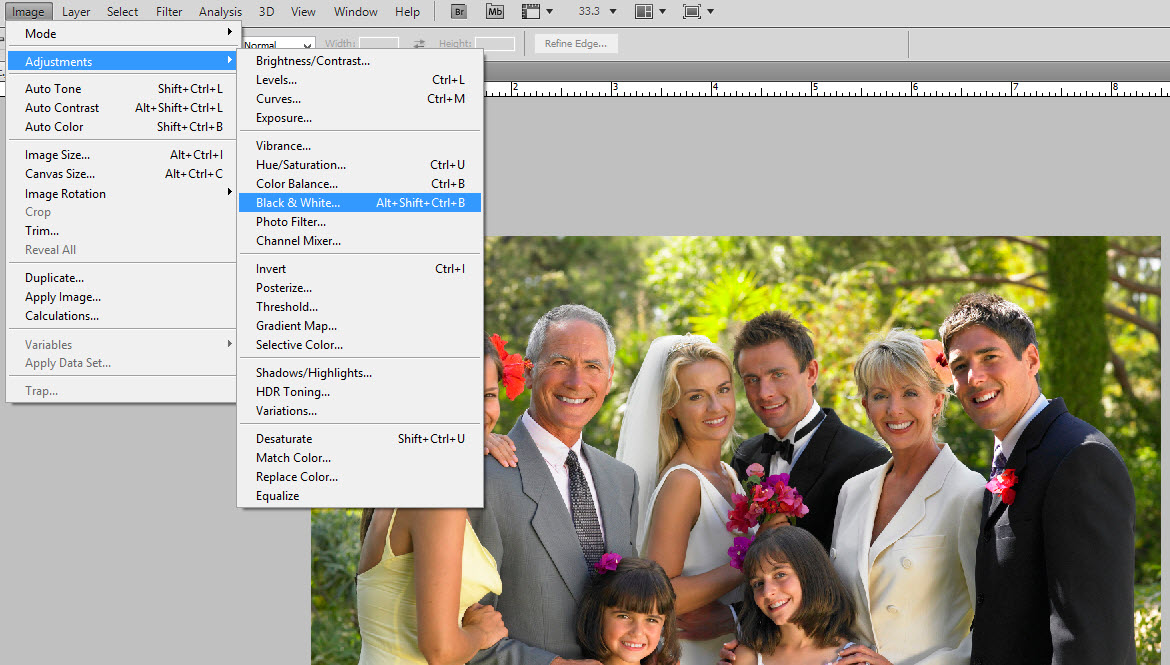
To modify an image directly, the black and white conversion functionality can be found under the Image – Adjustments menu. Actually you should always work with a new layer whenever changing an image so you always have the original preserved (i.e. Layer – New Adjustments Layer – Black & White).
In this article I am applying the adjustment directly to the image but just to reiterate the advice above; I would advise that you add a new adjustment layer then right-click on it and click on Edit Adjustment to give all the same options found here.
So, first up I have a wedding picture that I want to convert to black and white (greyscale). I select Black & White from the Image – Adjustments menu.
This shows the Black and White dialog box. The default setting makes a pretty good job of conversion and the colour sliders show you how Photoshop determined the best conversion of that image.
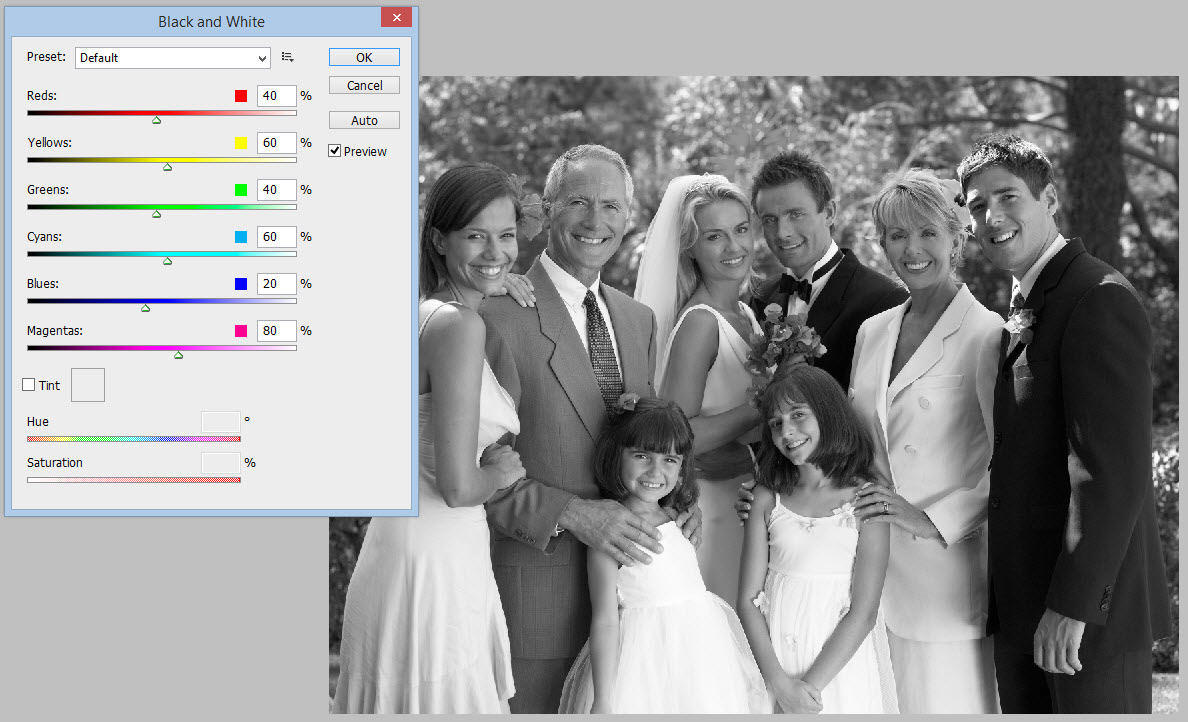
If you don’t like what Photoshop has done, you can adjust the colour sliders. For example, if you image had a lot of dark blue it tends to look black so you might want to lighten that a bit so you can still make out the definition.
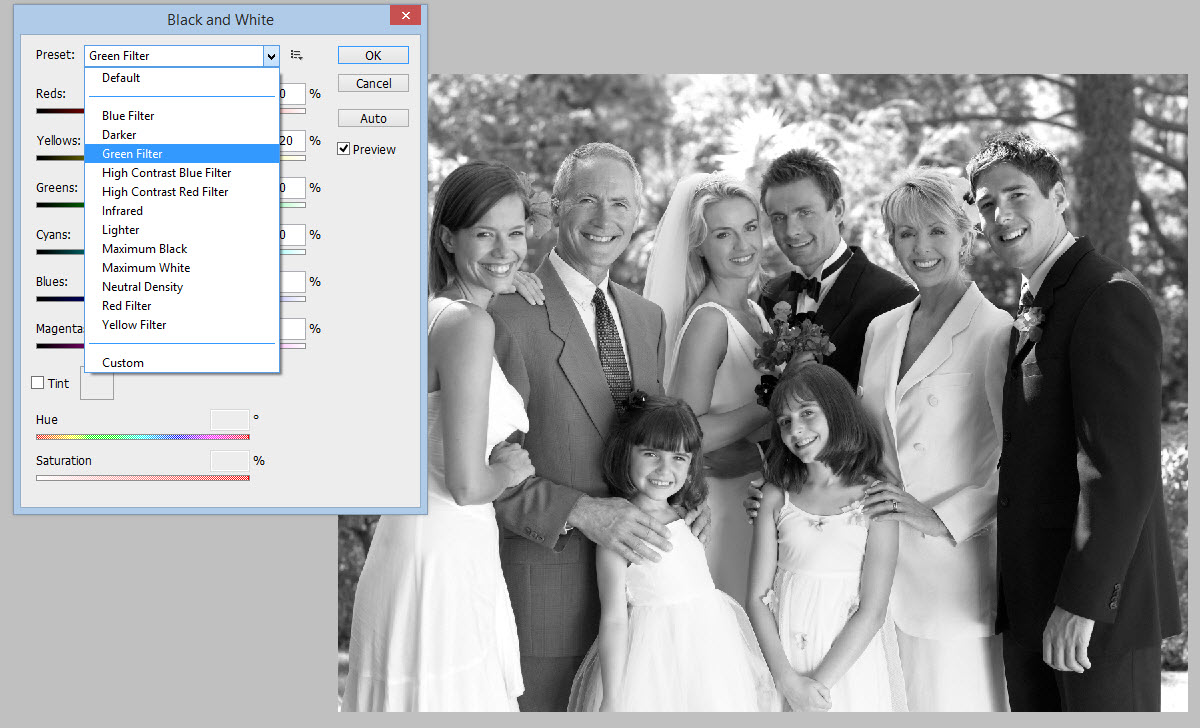
You can also make adjustments using predefined filters. In my example, the background is very green but there is little green on the wedding party themselves so I can make the wedding party stand out by filtering out some of the green by applying the Green Filter.
Another thing people like to do is make photographs look old and they apply a sepia effect. This can be achieved from the same Black and White dialog box by selecting the Tint option.
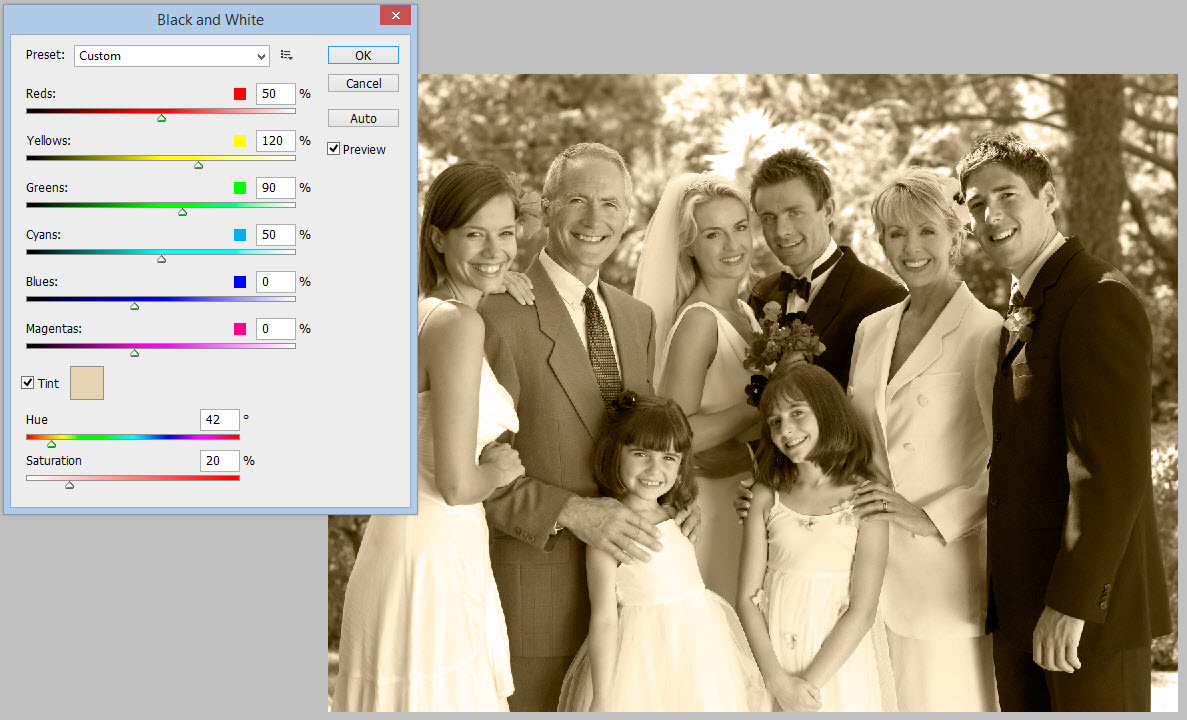
I left it as the default which is a good sepia effect but you can change the tinting colour by clicking on the coloured box next to the Tint checkbox.